Timeline notes
The Timeline Notes allow artists to add graphical annotations and notes to their animations. Notes are accessible at the bottom of the Layer Stack, by clicking on the Notes button:

The Notes area is divided into two sections, one above the Layer Stack (1) and one above the Timeline (2). The first section gives you access to the Notes' tools and settings. The second section is where you draw annotations.
The tools and settings section
Different tools are available:
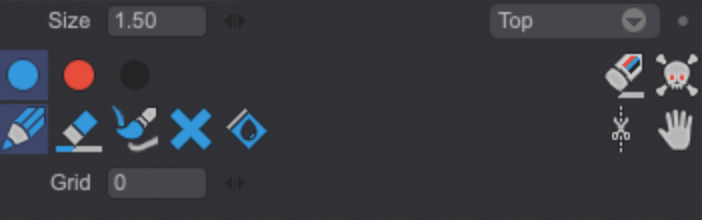
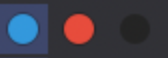 : click on one of the colored dots to select the annotation brush's color. The chosen color will also affect the behavior of the other tools, as explained below.
 : select the Pencil tool to draw annotations on the Notes strip.
 : use the Color Eraser tool to erase annotations of the selected color.
 : select the Tint tool icon to color any pre-existing annotation with the selected color. You can turn any line blue, red or black.
 : click on the Cross icon to delete all annotations of the selected color.
 : click on the Fill icon to color all annotations with the selected color.
 : the Multicolor Eraser tool erases annotations regardless of their color.
 : clicking on the Clear All icon erases all the annotations at once.
 : use the Slice tool to split the Notes and then move them around.
 : select Move tool to move all the notes by clicking and dragging them.
The additional settings are the following:
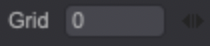 : the Grid slider allows you to display gray vertical lines on the Note's strip. Its value represents the number of images between each gray vertical line. Using the Grid slider can help you getting a better idea of the images your annotations correspond to.
If the slider's value is set to 0, no vertical lines will appear. It is the setting's default value.
-
 : the Size slider allows you to change the size of the different tools. Each tool saves its own size value.
 -
 Use the Notes drop down menu to display the Notes strip over the Project when it is played back in real time (Display during Preview). The Display on project option also allows you to display the Notes strip on the Canvas area when the Project is not playing back. Different settings are available so you can choose when, where and how the Notes strip should appear.
Using the Notes:
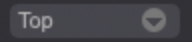
Let’s see how we can make use of this feature. Start by loading the Sun Talk project from the examples (you can download those on the first page of the user manua).
As you can see, artist Chad Essley has added annotations of different colors through the use of the Pencil tool to create a proper lip synced animation:
Now, let's say we have to add 6 Exposure Cells to one of the Project's Instances. By doing so, the notes won't match the images timing anymore:
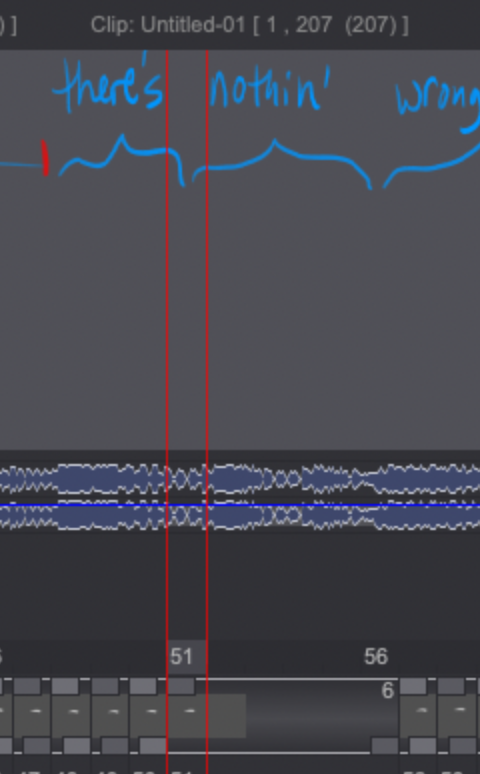
In this case, we can select the Slice tool, cut the Notes strip above the 51st frame and then move the strip at the desired location: