Paint Bucket in depth
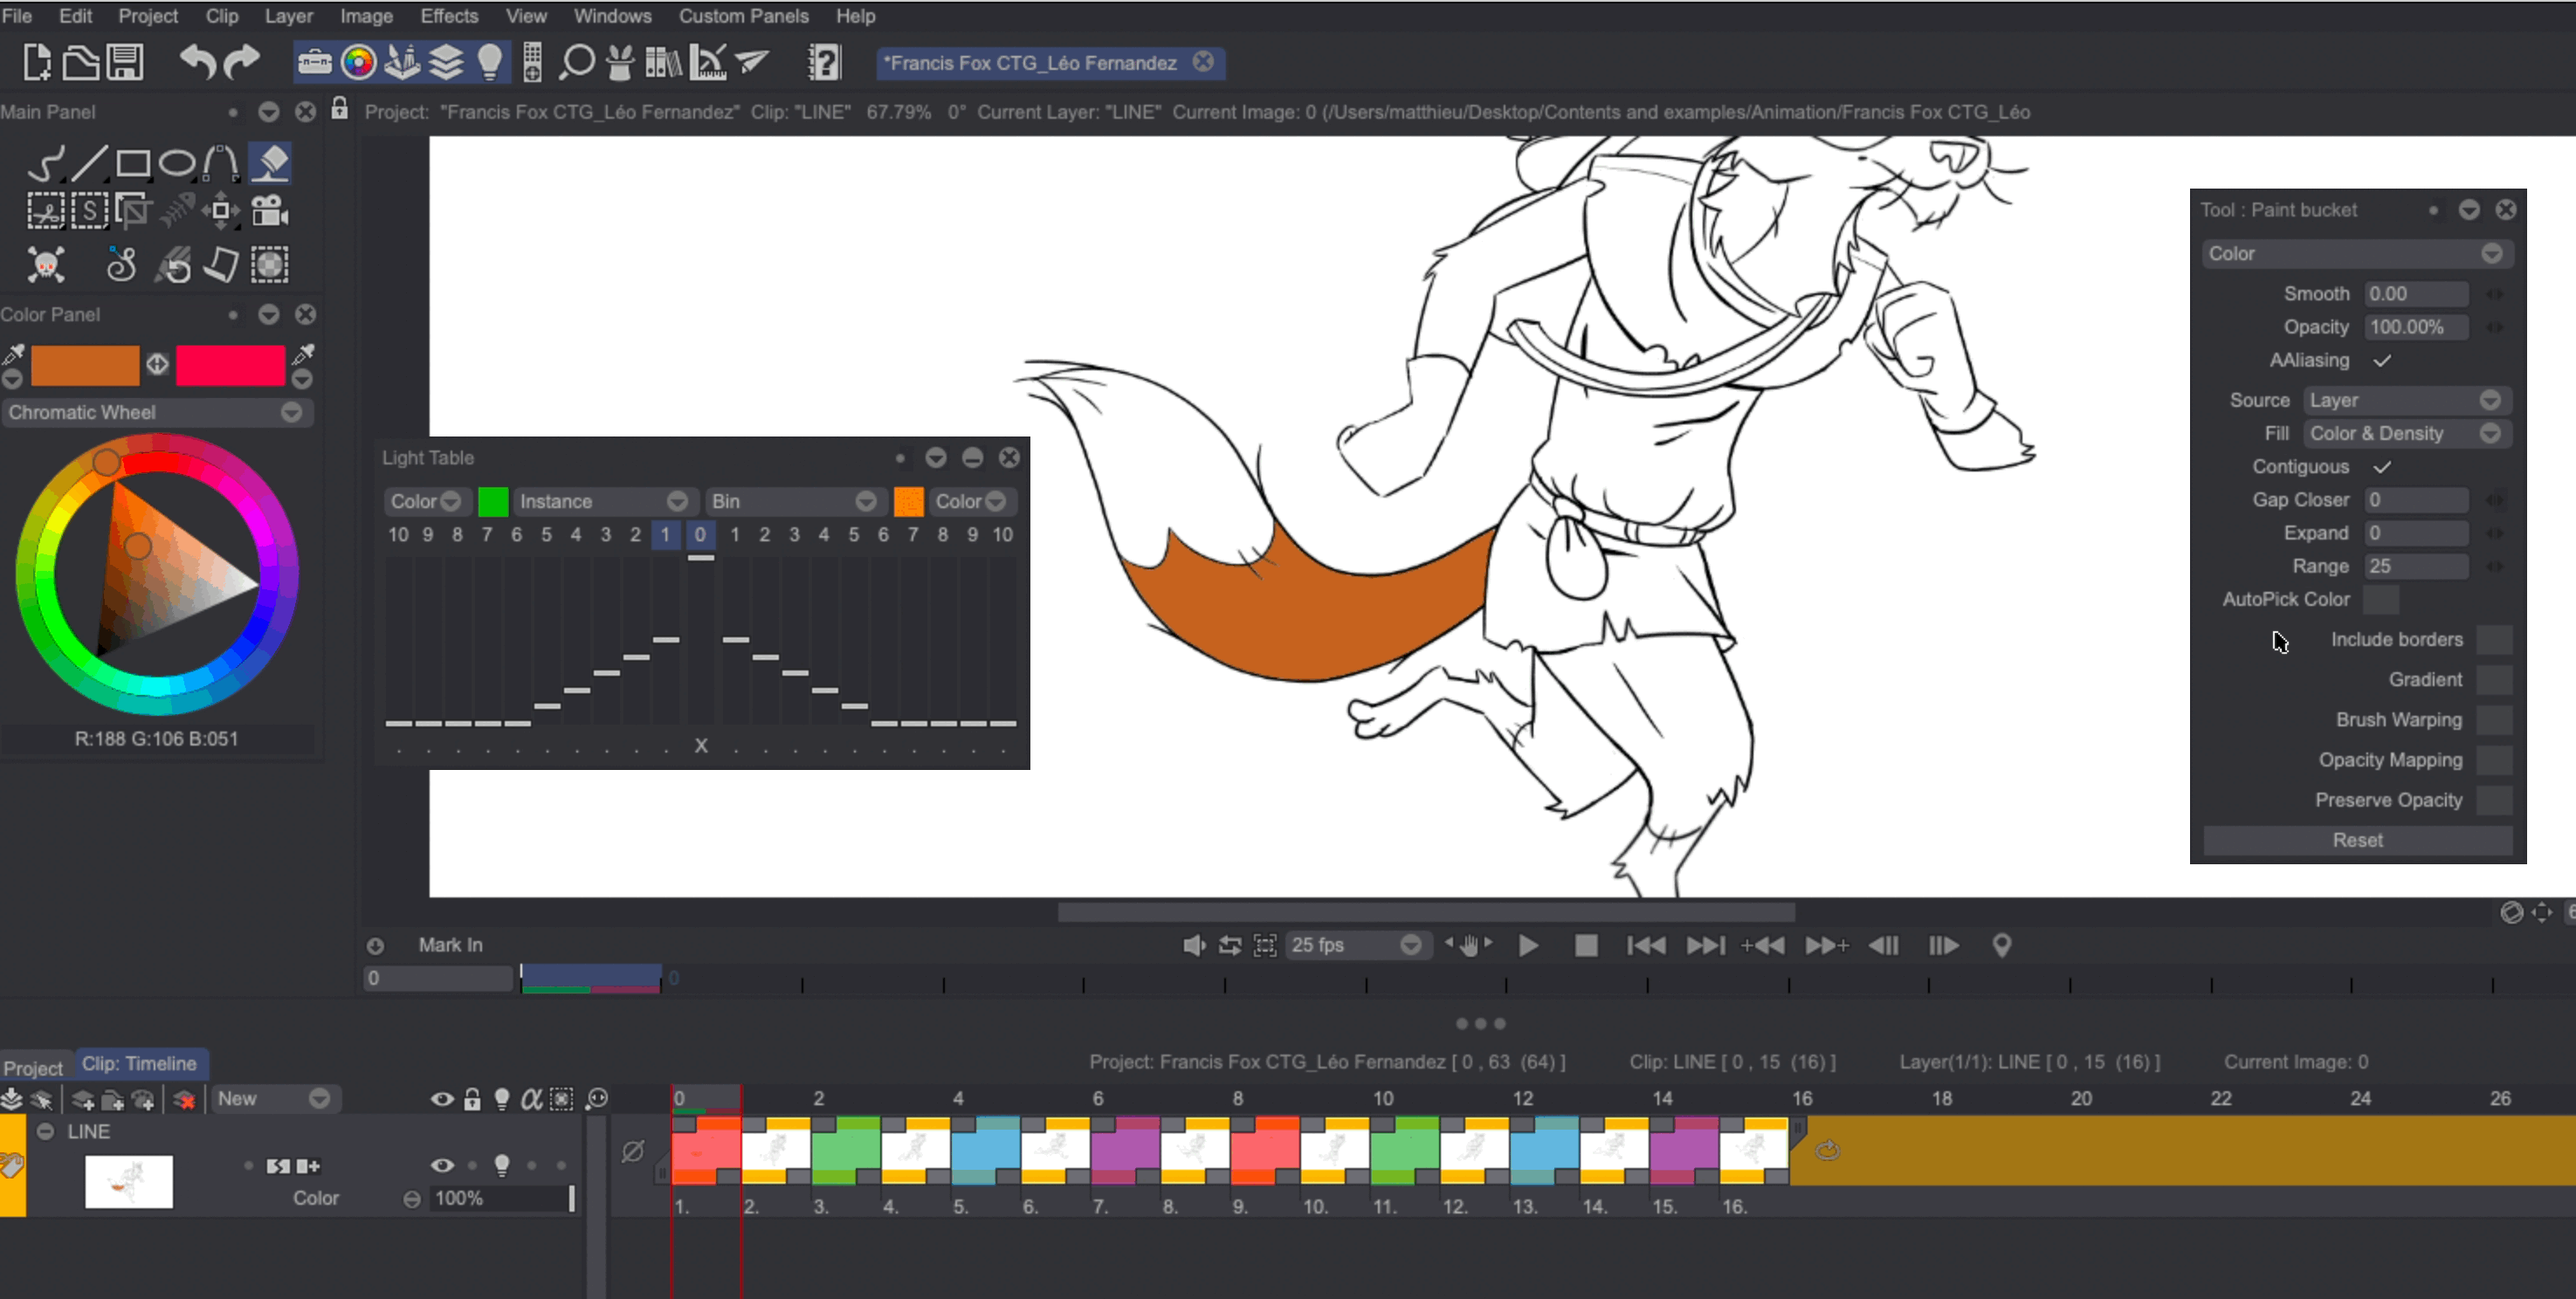
The Paint Bucket tool (also called Floodfill tool) can be used to color your drawings. You can select it from the Main Panel or by using the default shortcut [F]:
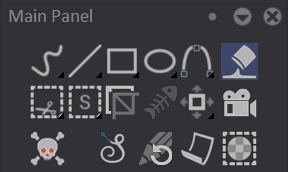
Once selected, simply click on the area you wish to color: the Paint Bucket will then change the color of the selected area's neighboring pixels until it is prevented from progressing by bordering pixels:
Various settings can be adjusted in the Tool Panel, once the Paint Bucket tool has been selected:
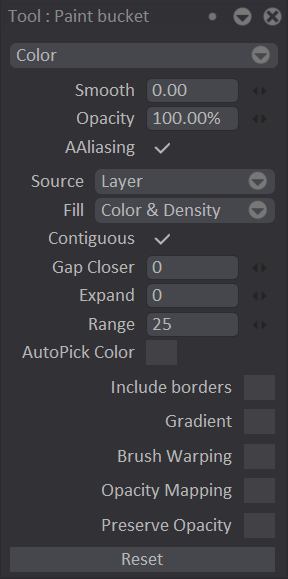
The settings below are also commonly found on other tools:
- You can select a Drawing Mode.
- You can add some feathering (Smoothing) to the applied color, adjust its Opacity level or apply an AAliasing filter to it.
- It is also possible to set a Gradient for coloring.
- Brush Warping allows you to use the currently selected Custom Brush as a fill pattern (you have the choice to Stretch, Tile or Warp the brush's pattern).
- Opacity Mapping let you adjust the opacity levels of various areas of the fill.
- You can check the Preserve Opacity setting should you want the fill to affect only non-transparent areas.
The settings below are however specific to the Paint Bucket tool:
- Source: lets you select which source the tool will consider the bordering pixels of:
- The (Current) Layer (by default).
- Layers Above the current one.
- Layers Under the current one.
- The current Display.
- The current Display without TVPaint's Canvas default background.
Adjusting the Source setting can be very useful should you want to separate your line work from the colorization one.
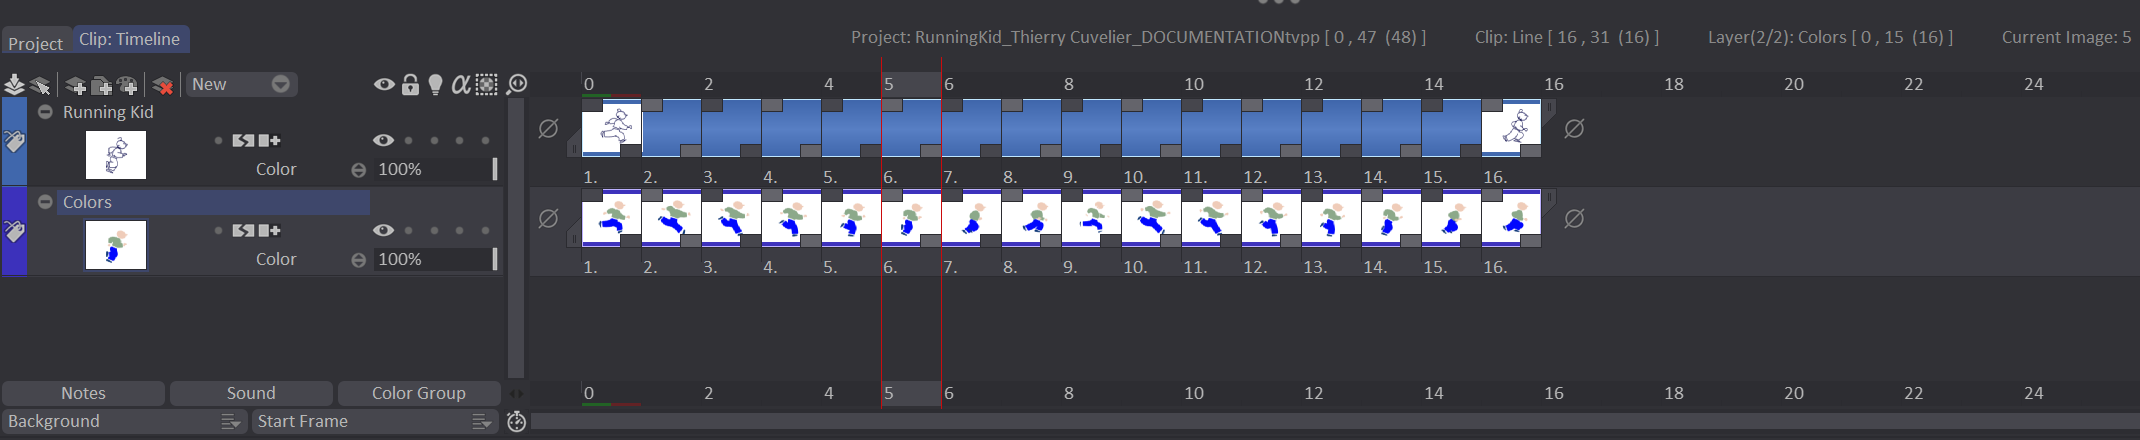
Let's take the Running Kid project as an example. You may choose to create a Layer dedicated to color work under the Running Kid line one:
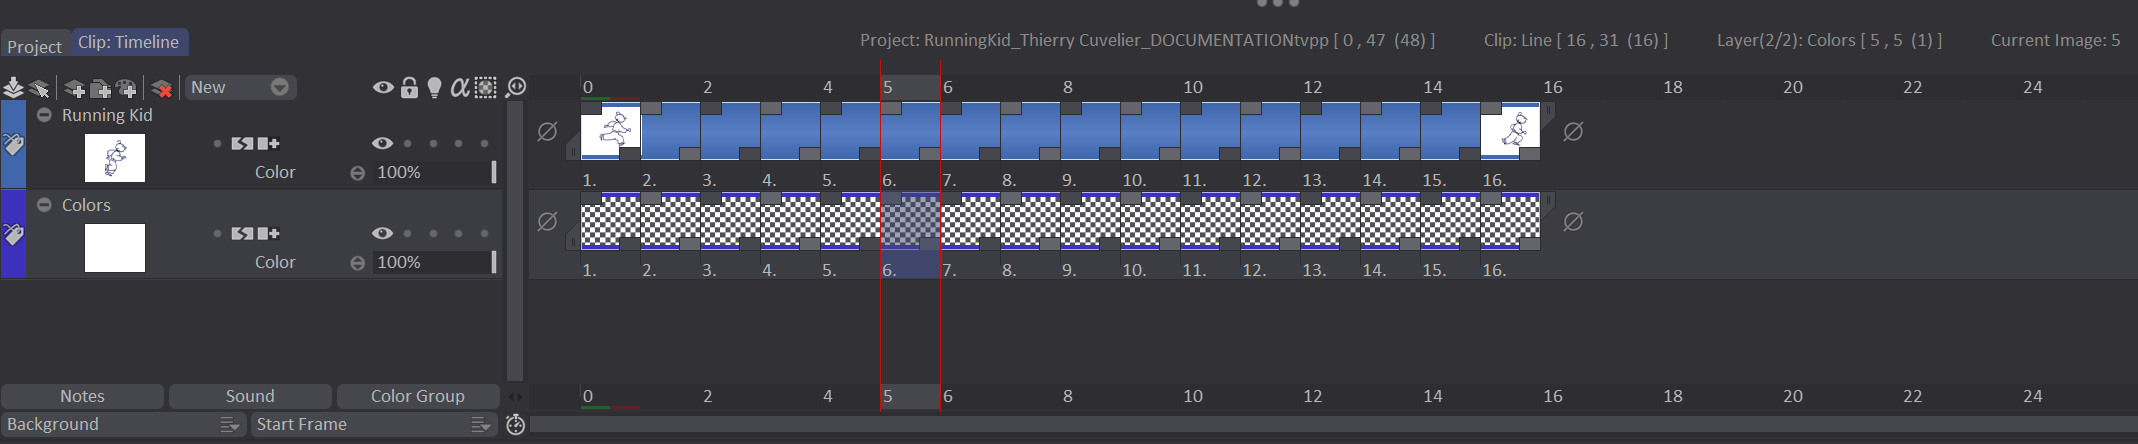
Then, select the created Colors Layer as the Current Layer and set the Paint Bucket Source to Above. Color your animation to achieve the desired result:
-
Fill: lets you choose which type of pixels should be considered part of the pixel border:
- Pixels of different Color and Density, Color, Density or Luminosity (Luma) from the one you have selected when defining an area to color.
- Pixels of the same color than the B Color.
-
Check the Contiguous box if you wish the border to be defined by adjacent pixels only.
-
The Gap Closer setting allows to artificially close pixel borders with gaps to avoid overspill. Low values are used for small gaps, whereas high values are used for larger gaps (it is worth noting that higher values sometimes result in a lower floodfill quality):

-
The Expand setting increases the size of the floodfill area to the number of pixels of your choice.
-
The Range field lets you set the tolerance threshold for the chosen Fill setting.
Fine-tuning of the Expand and Range settings can help in getting smoother filling results, as can be seen below:
- Finally, the Include Border option allows you to colorize the pixel border as well. Specific Expand and Range settings are available for this parameter.
The auto pick color option
The AutoPick Color checkbox is a special option which can help you colorize an animation faster.
It allows you to pick a color from an area and use it to color another area through a simple click-hold-release motion. You can also use this feature with the Light Table turned on, set to display only the previous frame. You may then pick a colored area from this previous frame and move it to your current frame. Here is an example of this feature being used: