TVPaint Converter
The TVPaint Converter is a tool allowing you to export TVPaint projects simultaneously to various formats without having to launch TVPaint Animation. It can also be used to import video files and turn them into TVPaint projects.
This tool is only available to TVPaint Professional users.
The Converter’s interface
The Converter has three main panels:
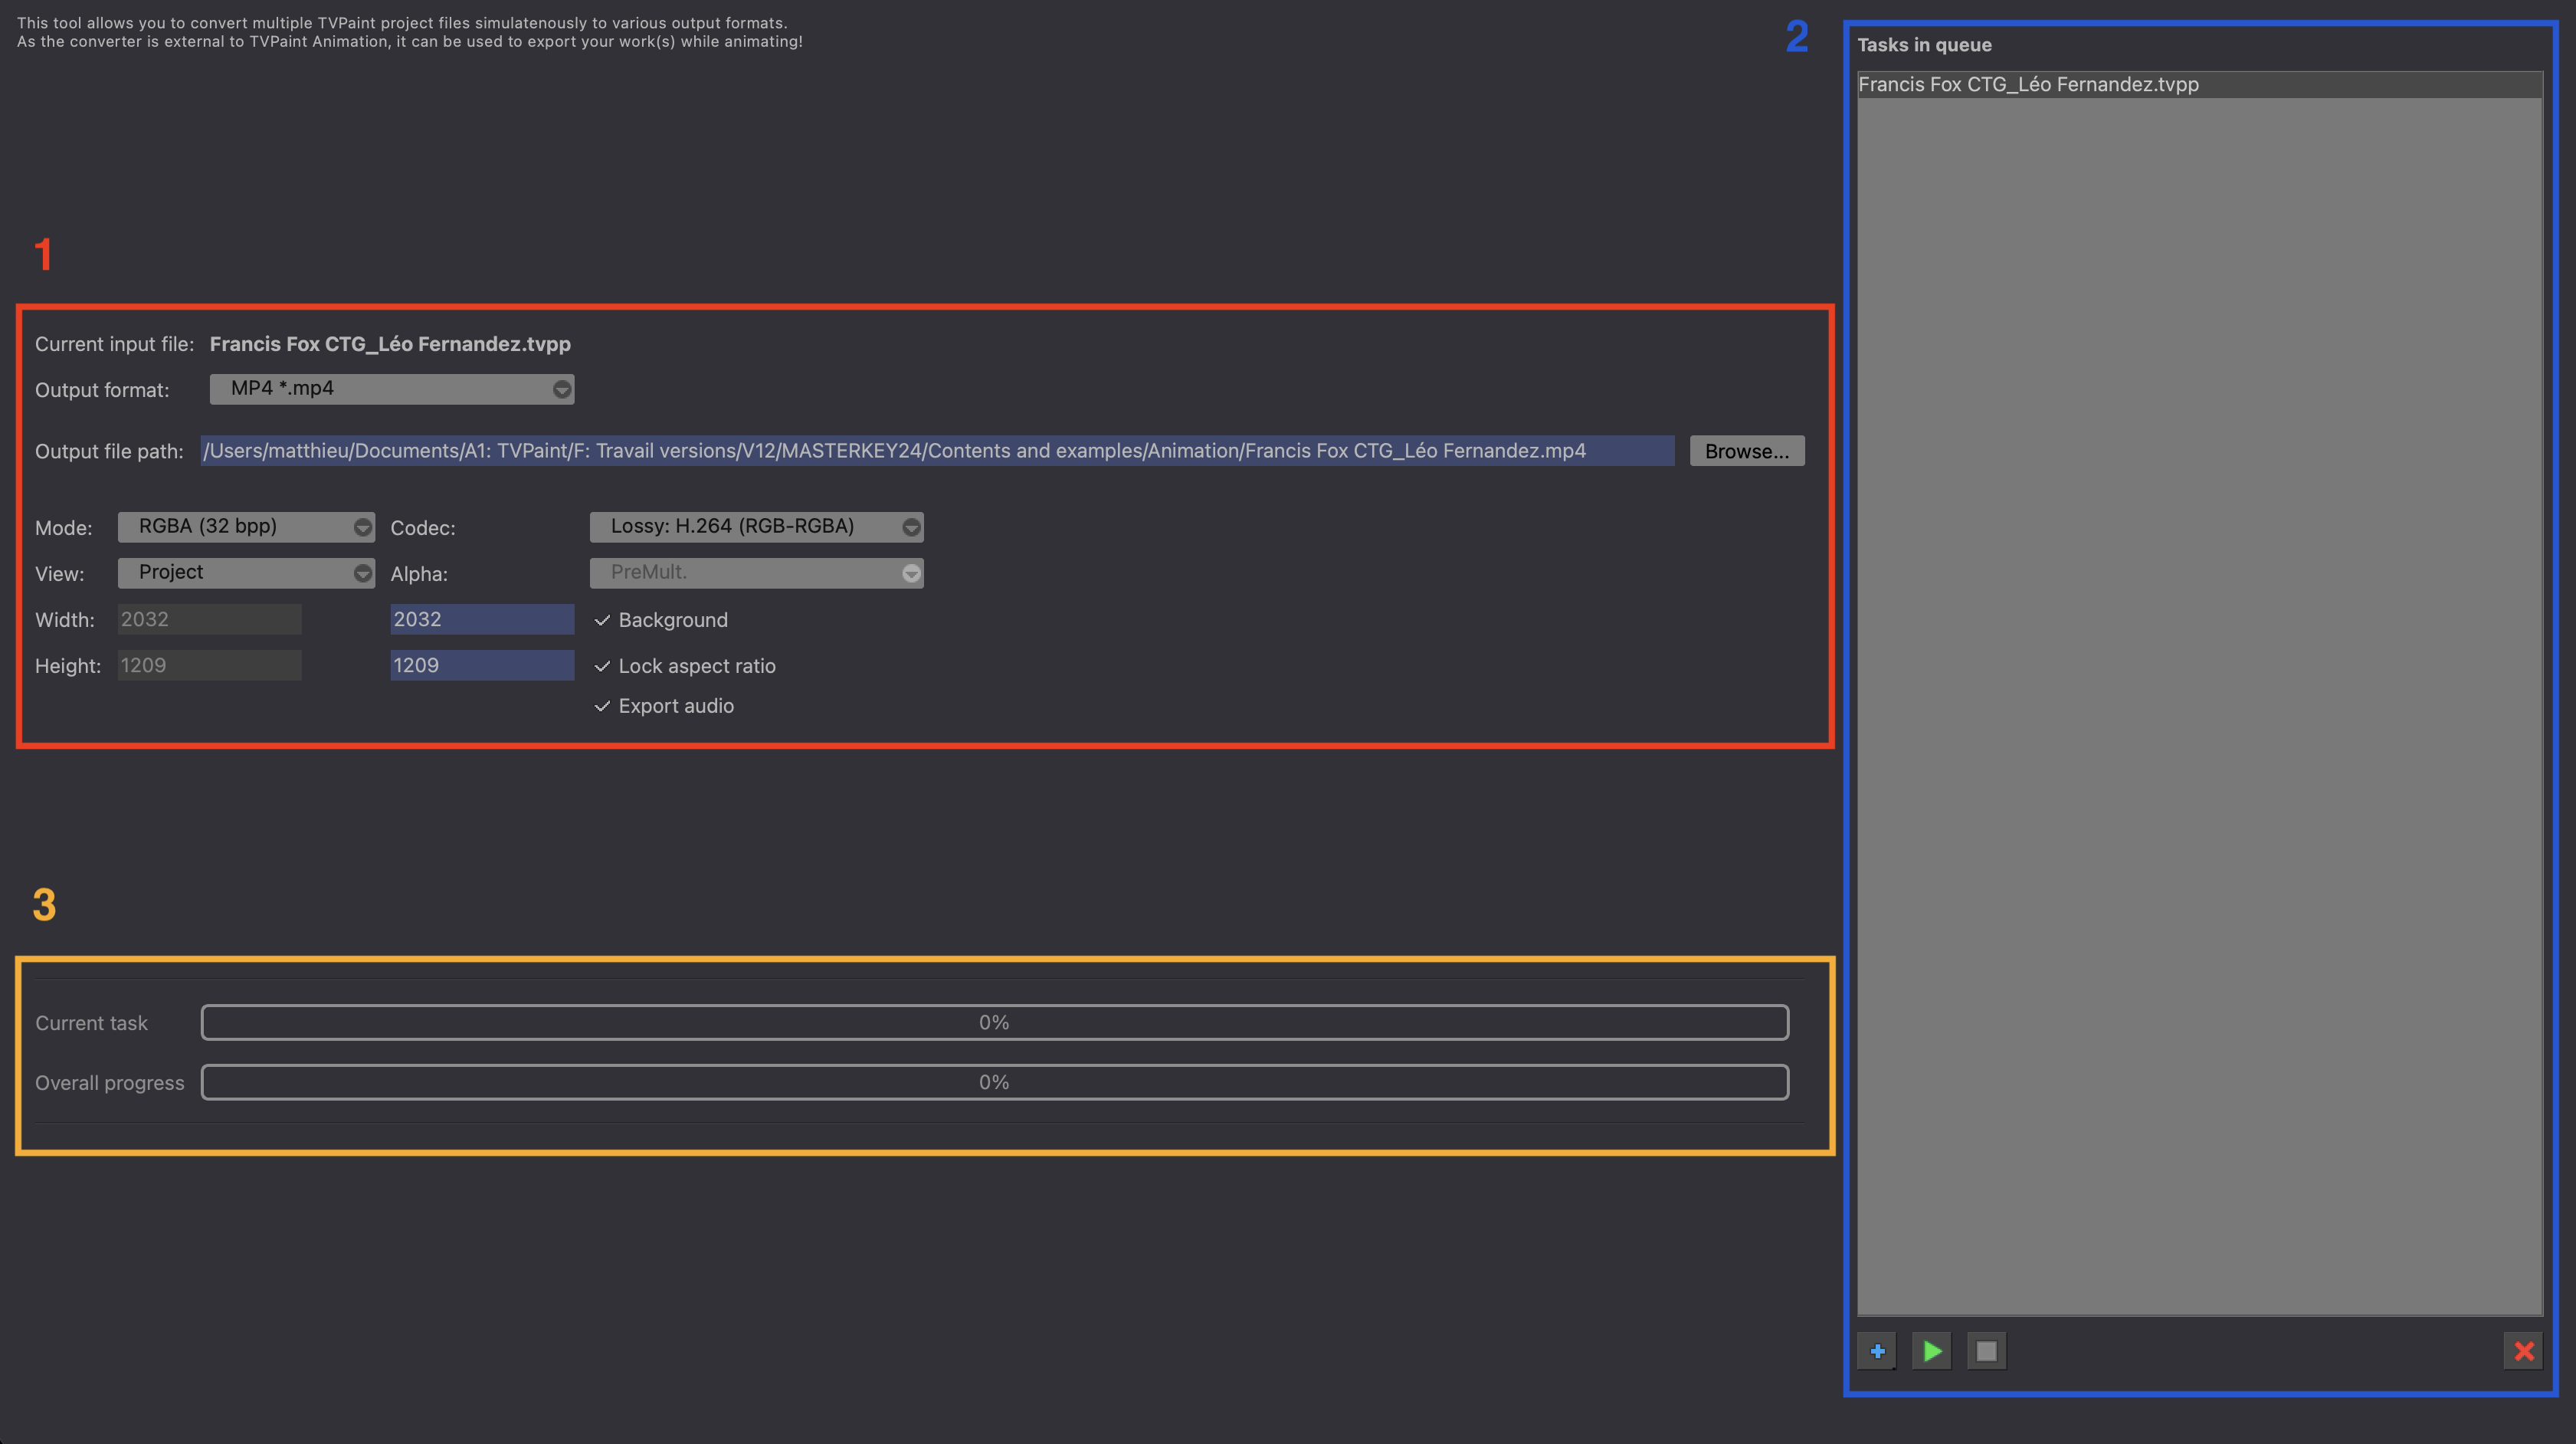
The first one, called the Input-Output (1) panel, contains various parameters allowing you to set the output format of each imported file.
The second panel is the Queue (2): it allows you to add files to the Converter or remove them. The added files will be listed in the panel. It’s also from here that you’ll be able start the converting process or stop it in its tracks should the need arise.
Finally, the Task (3) panel shows information regarding the current task remaining processing time as well as the overall progress of the export task.
How to use the Converter?
First, choose the way your files will be imported. This is done via the blue Plus “+” button of the Queue panel:
-
Clicking on the Adding files button will open a file explorer for you to select any file you wish to add to the Queue.
-
The Add from directory button will open a file explorer for you to choose a directory. Files from this directory whose format matches the one specified in the File Type field will then be automatically added to the queue, without you having to select each one of them. You can choose to automatically add .tvpp, video files (avi, mp4, mkv, mov) or both of those.
-
Of course, you can also drag and drop files into the Queue panel to add them to the Converter.
Once added, files will appear in the Queue.
You can remove some of the imported files by selecting them from the Queue and clicking on the red Cross “X” button.
You can then choose the way you wish each file to be converted by changing various options from the Input-Output panel. Those parameters will appear upon selection of a file in the Queue. The selected file will then show in the Input-Output panel, next to the Current Input tag.
First, let’s see which options are available when you choose to convert a .tvpp project into a video file. Some of the listed parameters below may or may not appear depending on the Output Format that will have been chosen:
-
Output Format: this drop-down menu offers you different export formats to choose from: JSON, CSV, BMP, JPEG, PNG, TGA, AVI, MP4, MKV and MOV.
-
Output file path: this field allows you to select the save pa"th of the converted file. Click on the Browse button to choose it through a file explorer.
-
Mode: this parameter allows you to choose between different color models such as RGB, RGBA, Grey Scale (8 bits), Alpha Only. A higher number of bits will make for a bigger number of colors used in the exported file. Choosing the RGBA mode will keep transparency information in the converted file. The M-JPEG mode (only available when exporting in JPEG or AVI) will allow for the Motion-JPEG video coding format to be used.
-
Codec (MP4, MKV, MOV): use this drop-down menu to select the codec that will be used to compress the exported file.
-
Alpha (MP4, MKV, MOV): depending on the codec chosen for those formats, you may be offered different options regarding the way transparency will be managed during the conversion process.
-
Quality (JPEG): this slider lets you choose the quality of the exported file. A higher number will make for a sharper image but will result in a bigger file size.
-
Compression (PNG): a higher compression value will make the conversion slower but will make the exported file’s size smaller. PNG compression doesn’t affect your exported file’s quality.
-
View: this drop-down menu allows you to take either the Project or Camera view into account for the conversion.
-
Width and Height: those two parameters allow you to choose the dimensions of the converted file.
-
Background: when checked, this option will add an opaque background to drawings made on a transparent background.
-
Export audio (AVI, MP4, MKV, MOV): check this box to embed your project’s audio tracks into the exported file.
-
Compression checkbox (TGA): check this box to apply compression when using the TGA export format.
-
Choosing the JSON format will let you export a JSON file describing your project’s structure as well as your Clip’s images as individual files. You will be able to choose the name pattern of both the folders and files which will have been created from your Clips and their images (Folder name pattern, File name pattern). The Extension and Mode options let you set the file format and color model for the exported images. All of the other options are similar to those found in TVPaint Export panel when JSON export is selected: you can learn more about those in lesson 9 of our documentation.
-
Choosing the CSV format will let you export a CSV file describing your project’s structure as well as your Clip’s images as individual files. This option features a few unique parameters. The Exposure label parameter can be used to differentiate the exposure cells from unique images in the resulting CSV file. The other one is the CSV Only checkbox which allows you to output only the CSV file without exporting a project’s images.
If the chosen file is a video, you will have different parameters to set:
-
Output format: this parameter can only be set to TVPaint 11 project (.tvpp file).
-
The Output file path option is the same and allows you to choose the converted file save path.
-
The Width and Height parameters will be greyed out as you won’t have the possibility to change them when importing a video.
-
You will be able to choose the Framerate of the created project.
-
Alpha Mode: this drop-down menu offers you several options regarding the way the imported file’s transparency will be managed by the conversion process.
-
Finally, you can also choose to Import the audio of the video file into the newly created TVPaint project.
Modifications to the conversion parameters will be automatically saved for the current selected file.
You can select multiple files of the same original format and apply them the same output parameters at once (format, mode, view, width, height…). Be careful however about the output file path: it will have to be set individually.
Once this is done, simply click on the green “Play” icon from the Queue to start the converting process. If needed, you will be able to stop the conversion by clicking on the red square “Stop” button.
The Task panel will then show you the remaining time before the conversion’s completion.
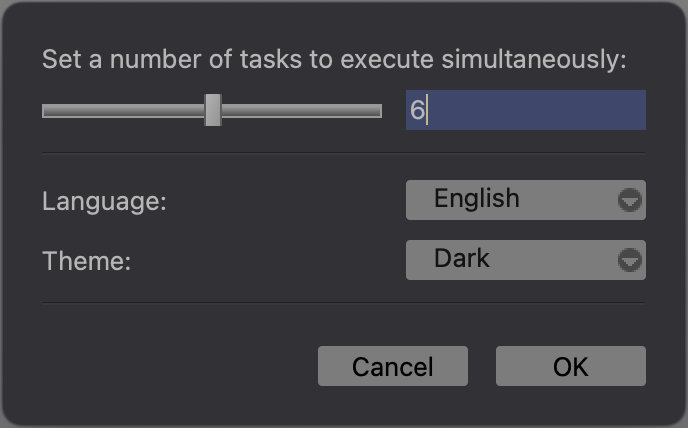
Lastly, the Preferences panel will allow you to Set a number of tasks to execute simultaneously as well as the Language and Theme of the application’s interface: