Project creation and settings
First, access the File > New Project menu to create a Project which will contain your storyboard. The New Project Panel should then appear. This time, we will focus on the Project with Camera tab:
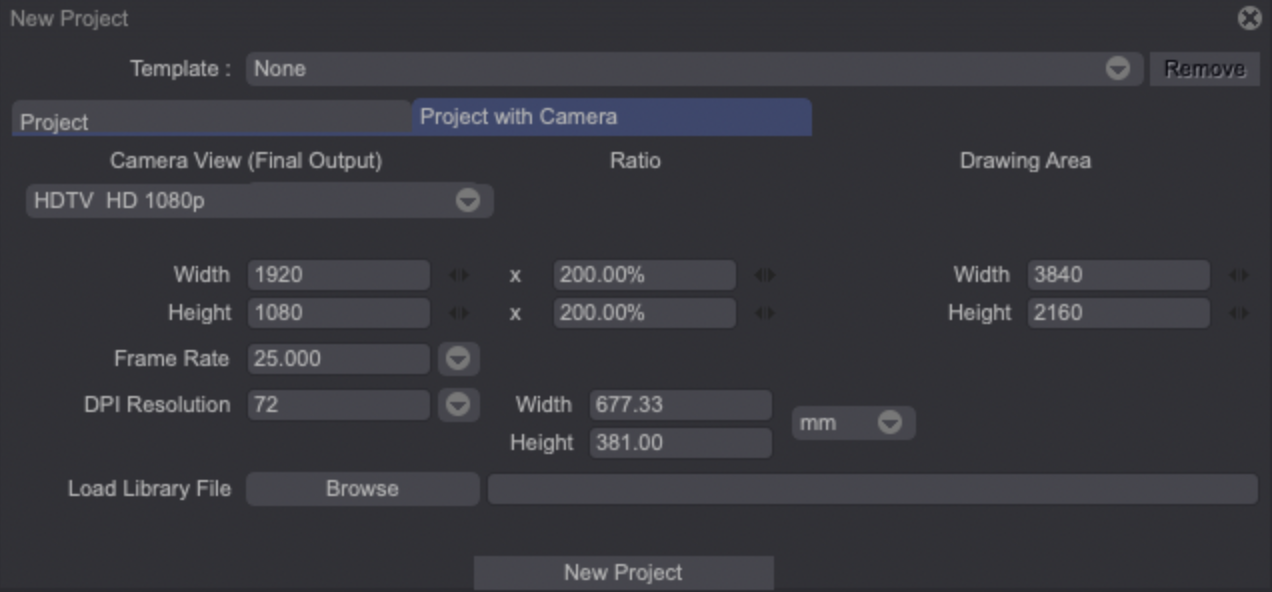
As you can see, this Panel is divided into three sections:
- Camera View (Final Output): regroups Camera settings that will be used for the final export (unless changed within your Project).
- Drawing Area: lets you set the size of the Canvas.
- Ratio represents the enlargement percentage between the Camera's view size and the Drawing Area.
Animation movies usually involve various camera moves (zoom, pans...). Those camera moves often require the use of a larger Canvas, hence why an enlargement percentage is set by default when creating a Project with Camera.
Select a format such as HDTV 1080p x 200%, and click on New Project to create your new Project.
By default, a grey veil (called View Finder) is displayed on your Canvas when you are working with a Camera Layer:
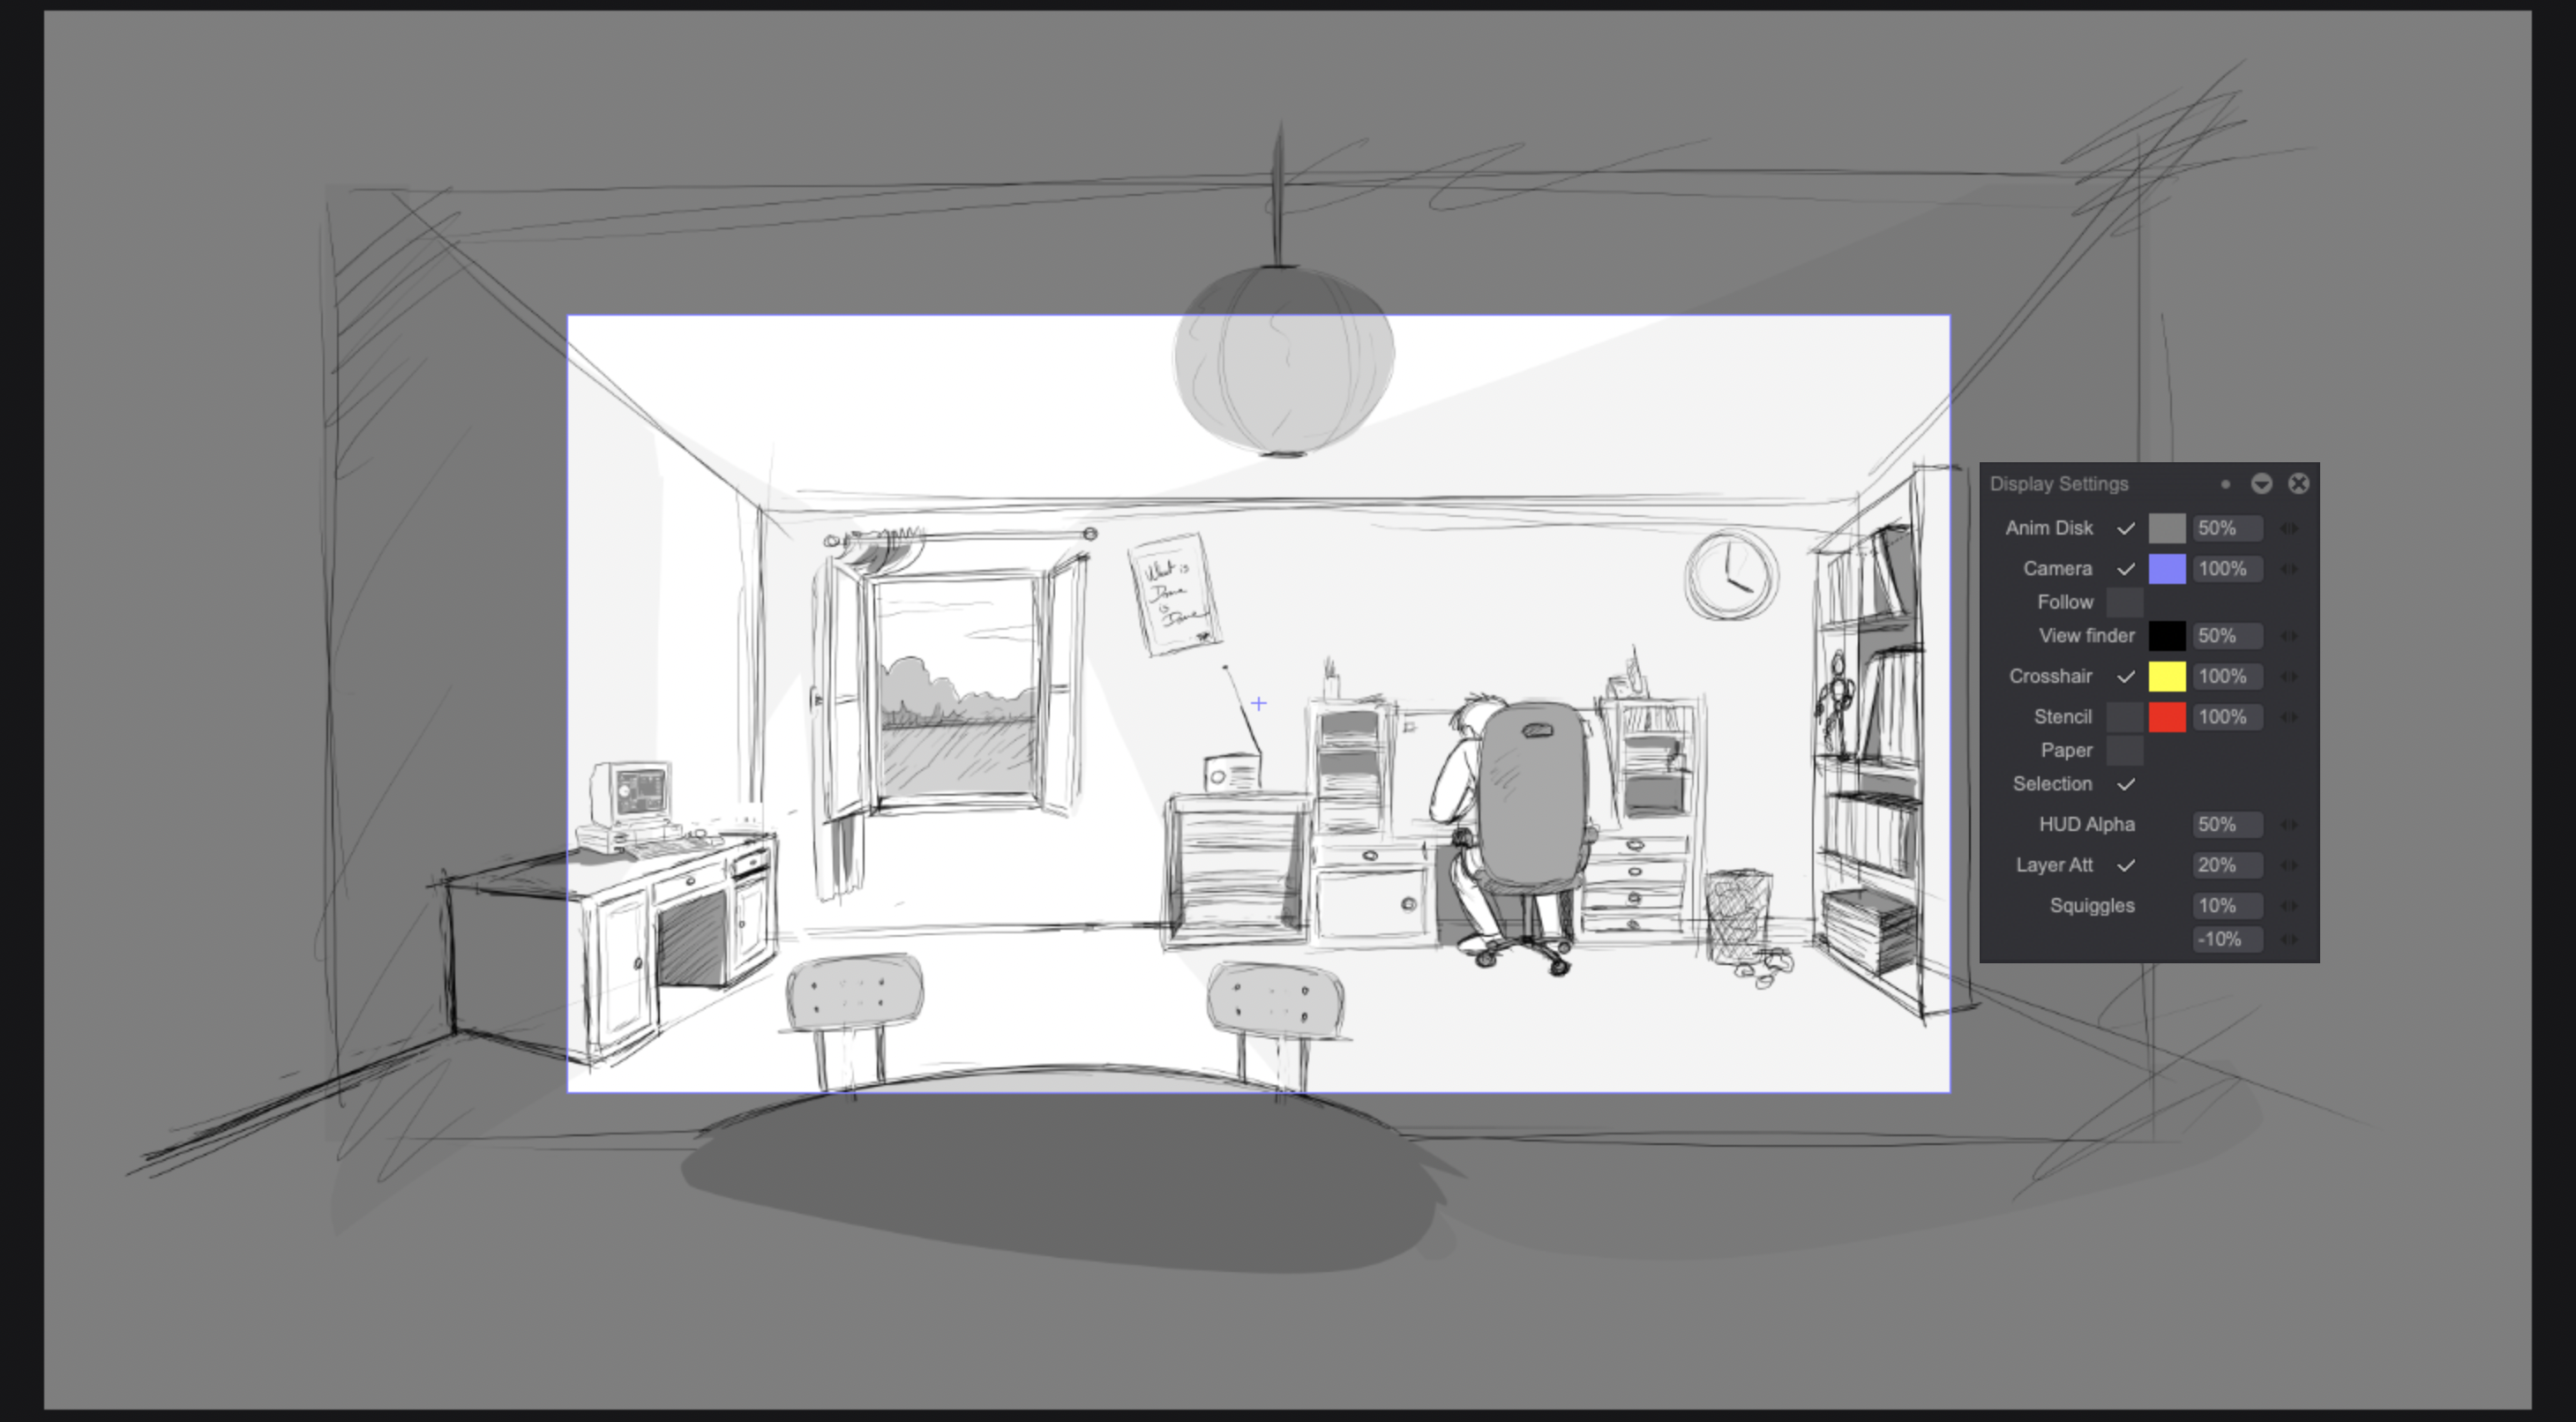
This View Finder helps you see the final output view. For your visual confort, you have two ways to disable it. Open the Display Settings Panel (by going to the Windows > Display > Display Settings main menu): you can either click on the Camera checkbox or decrease the View Finder's slider value until it reaches 0%.