Creating a texture
CTG Layers also allow you to Texturize your animations.
Textures can indeed be applied to CTG-colored areas: they will adapt to their change of position and form. However, you must use textures which follow some requirements for this to work.
-
First, it is very important that the texture(s) you wish to use have the same size as your Project's. They don't need to fill the whole Canvas, but their files must have the same dimensions as the Project you intend to use them with. Textures can also be created directly in your Project.
-
You also need to use or create a texture large enough to cover the area you wish to apply it to (clothes, skin, hair, etc.).
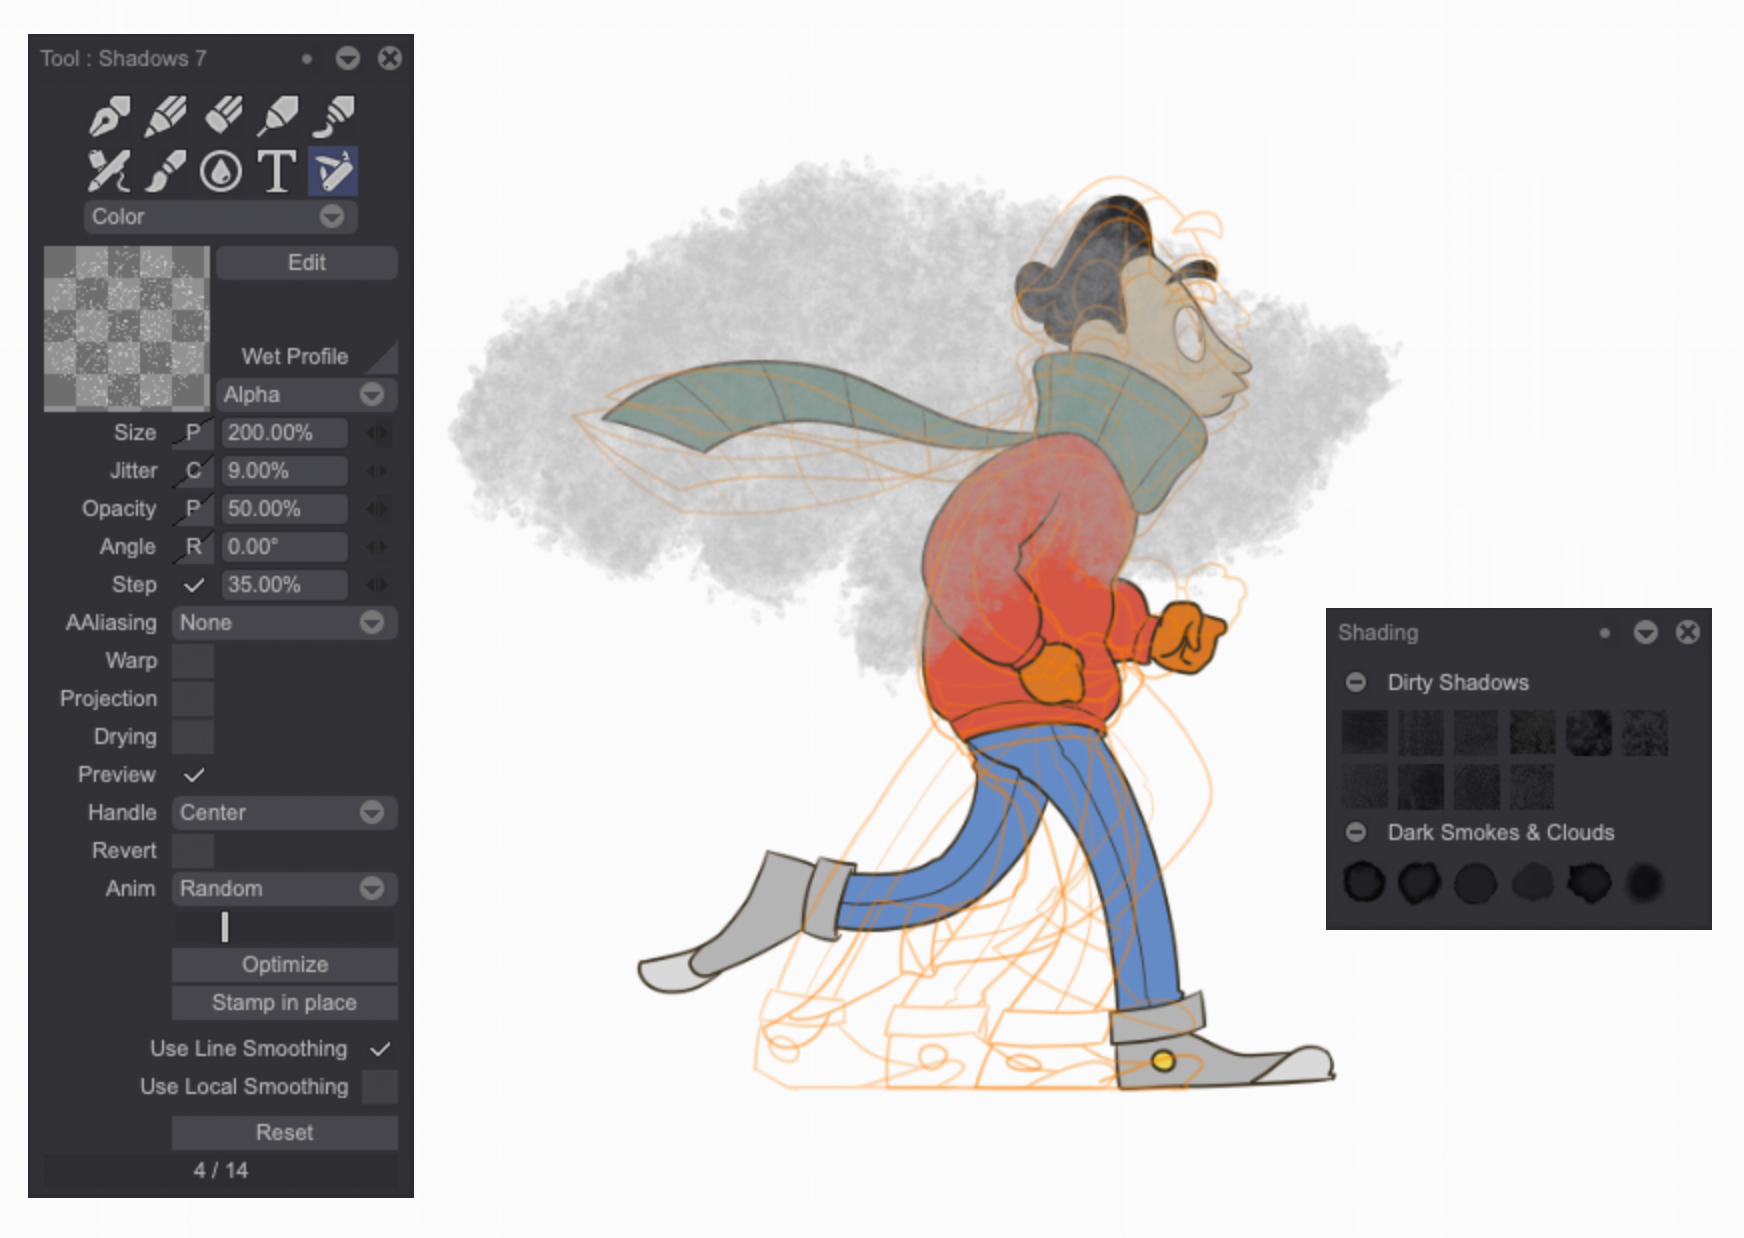
Example
We will make use of the Bob project, to create and apply a texture on the character's scarf. By looking at the 16 instances, you can notice that this cloth has been animated with lot of movement. Therefore, we will need a quite large texture so that there is not any missing texture on any of the drawings.
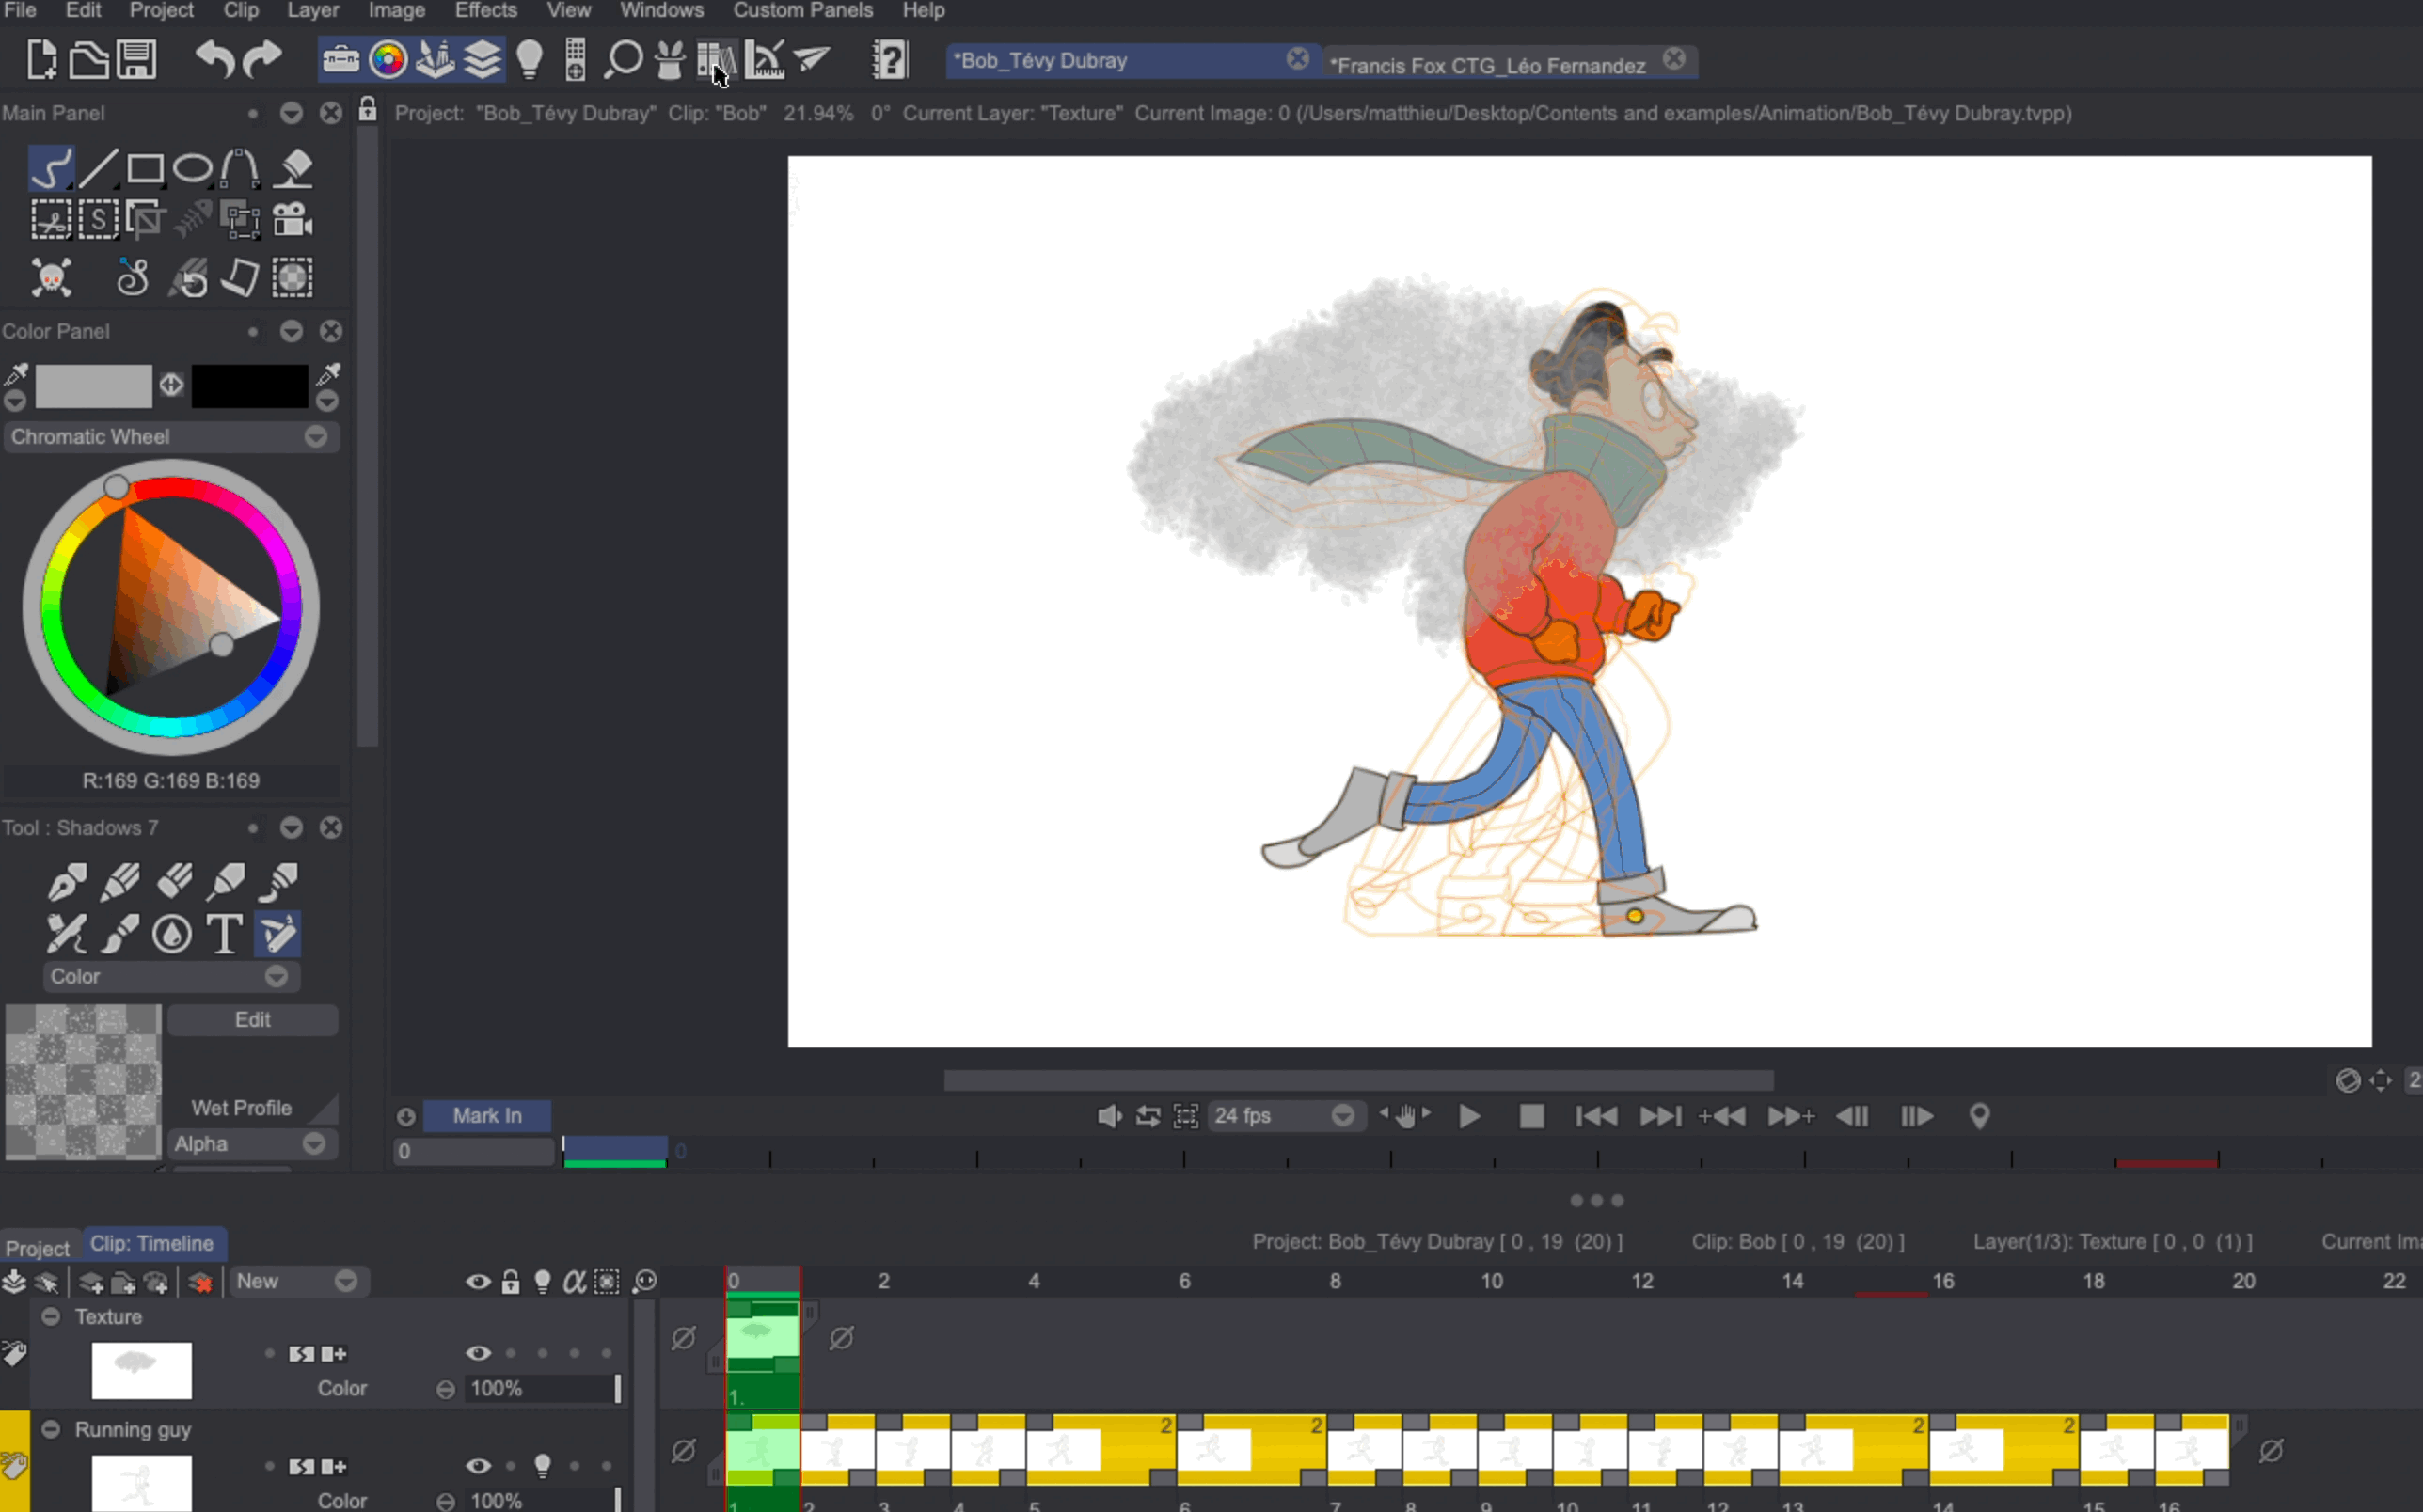
To create this texture, start by turning the Light Table on the line Layer to check the whole movement of the scarf. This will help you see what area must be covered by the texture you will be creating. The, add a new Animation Layer above the line Layer. Select any tool you wish (we are making use of the Shadows 7 brush in the example below) and start drawing over the scarf to create a texture (only one drawing is needed):
Once you are finished, save the texture in the Library by opening it, doing a right click and selecting the Add from Project... > Image from Current Layer option:
We now have created and saved a texture which can be applied to our character's scarf through the use of the CTG Texturizer feature.