Transform
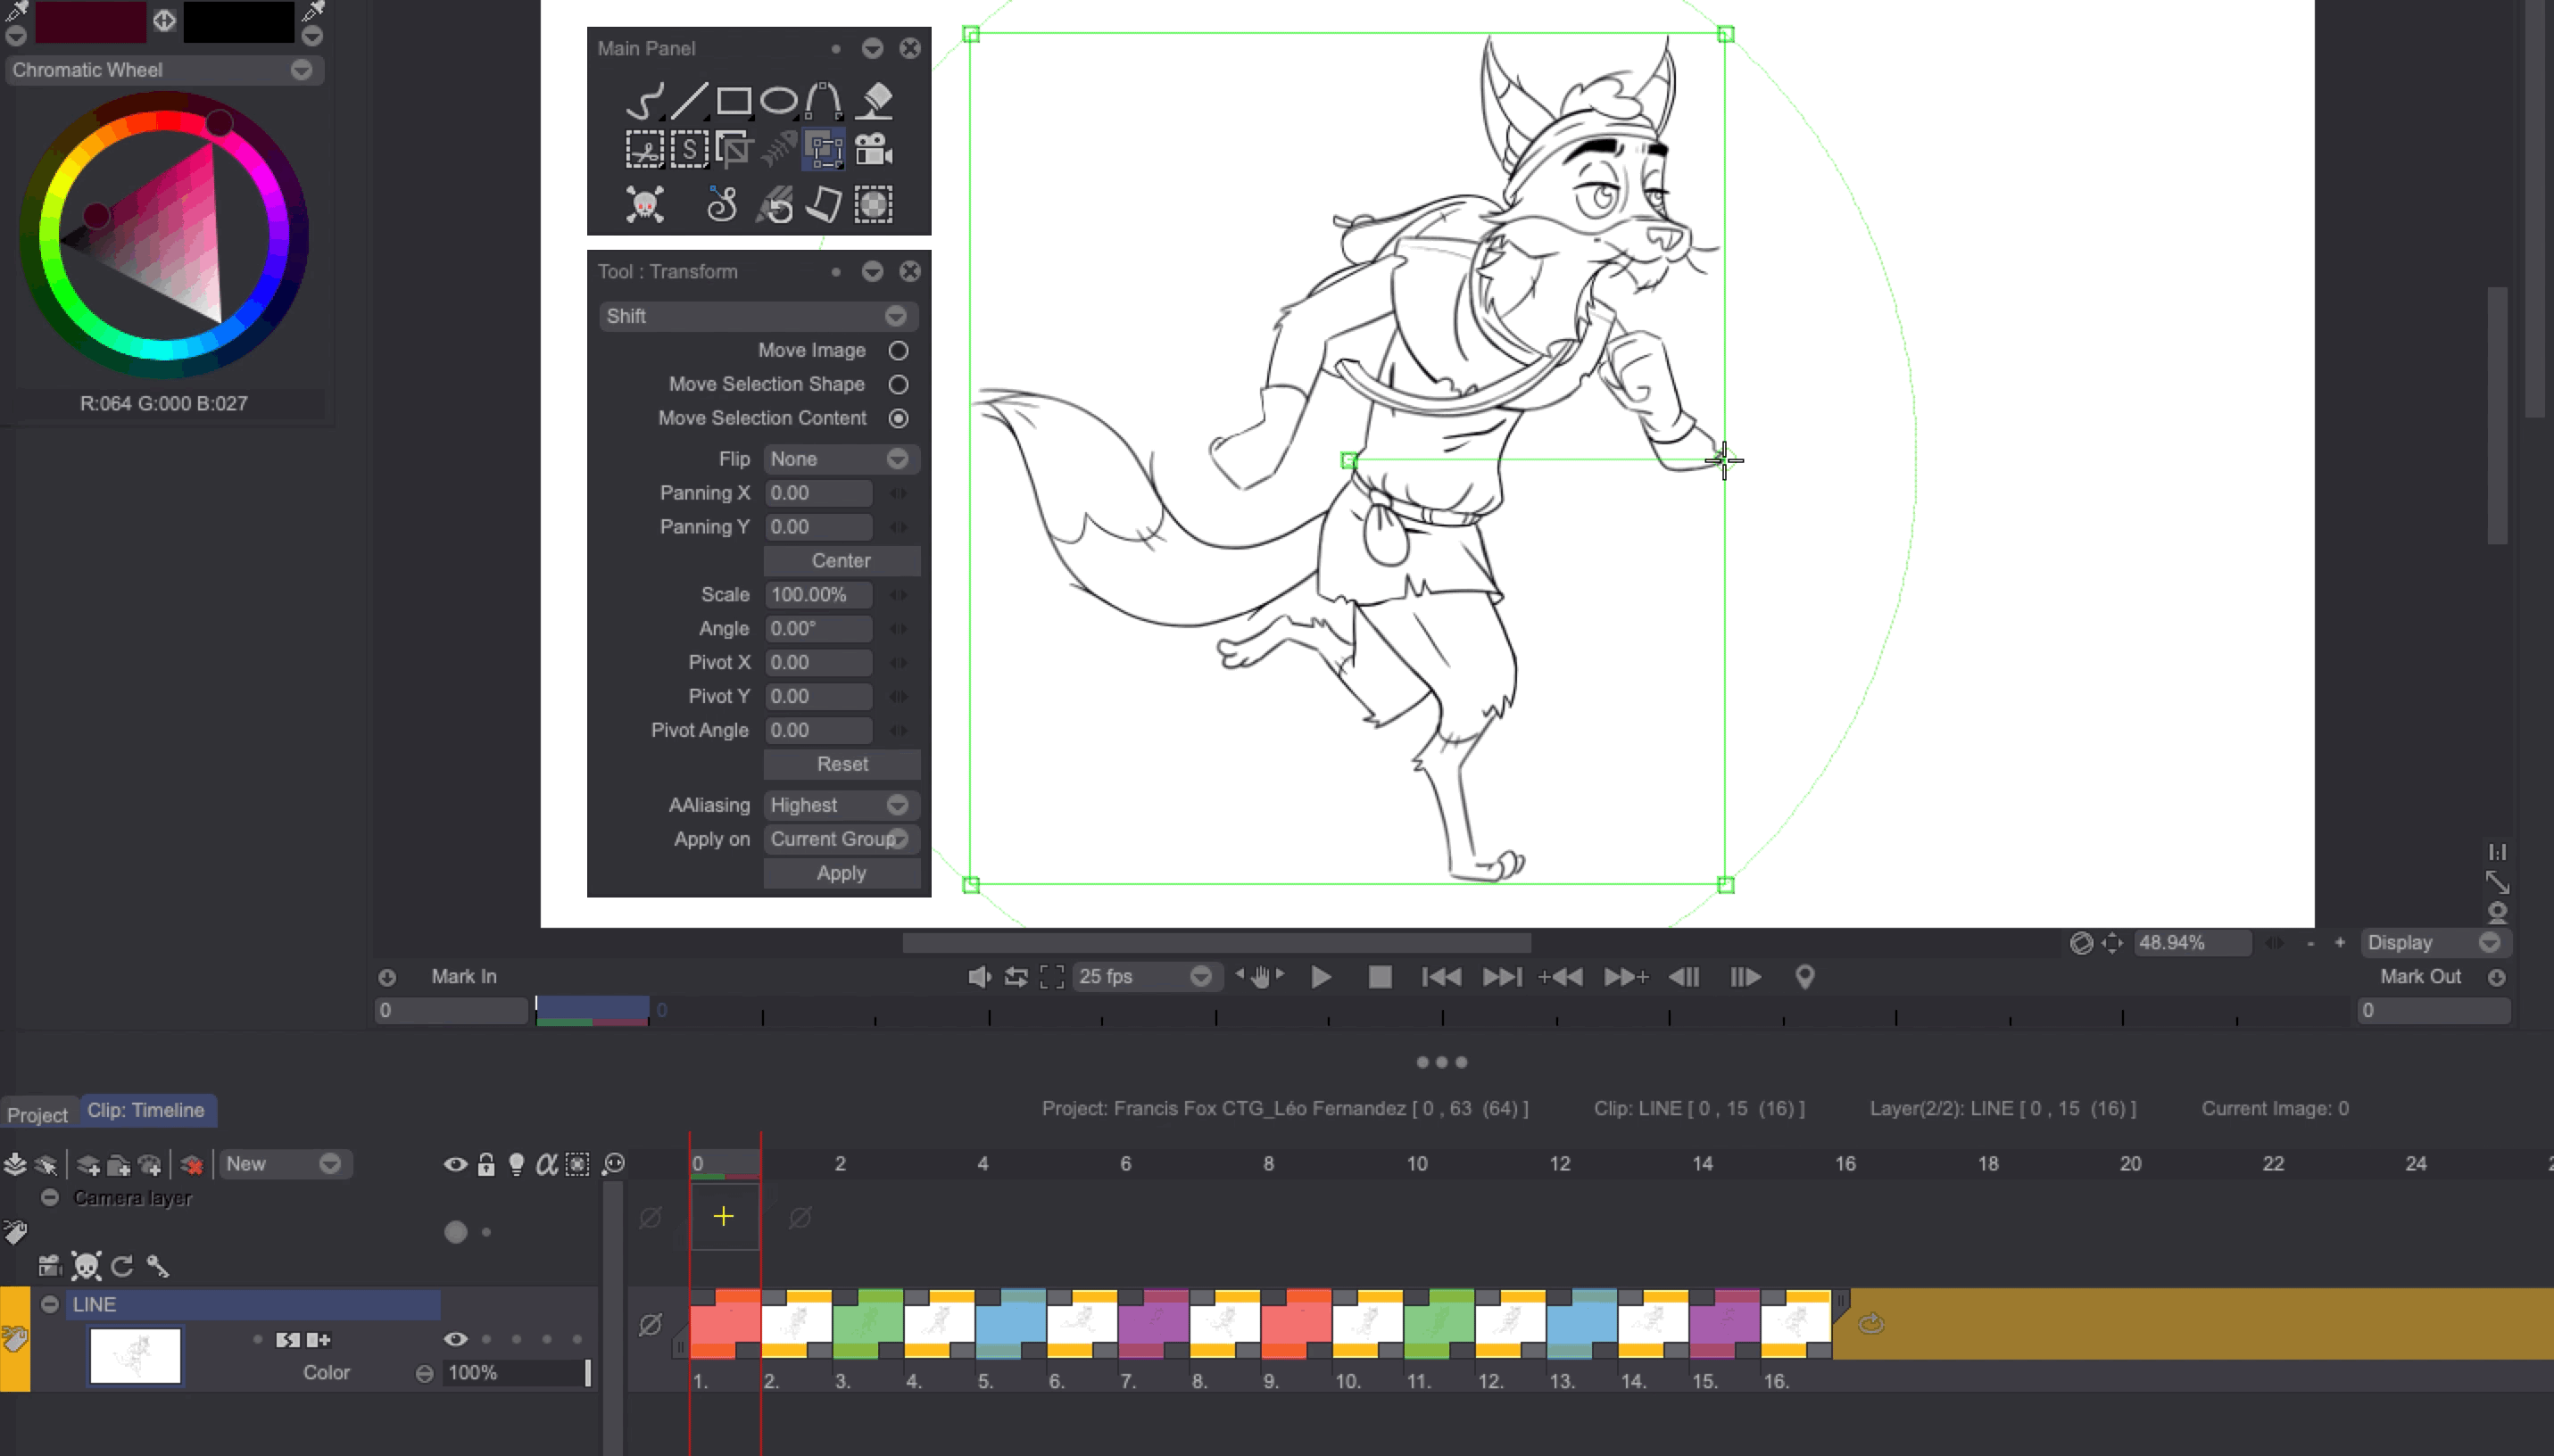
The Transform tool can be used to resize, rotate and shift drawings.
You can use the HUD's handles to perform such actions on the Canvas. Changes will be previewed in real time but will only be applied when pressing the ["Enter"] key or clicking on the Apply button located at the bottom of the Tool Panel.
- The Transform tool can be selected using the ["Ctrl + T"] shortcut.
- You can repeat the previous transformation operation by pressing the ["Enter"] key again.
A few additional options will be available in the Tool Panel when the Transform tool is selected. We will review them below.
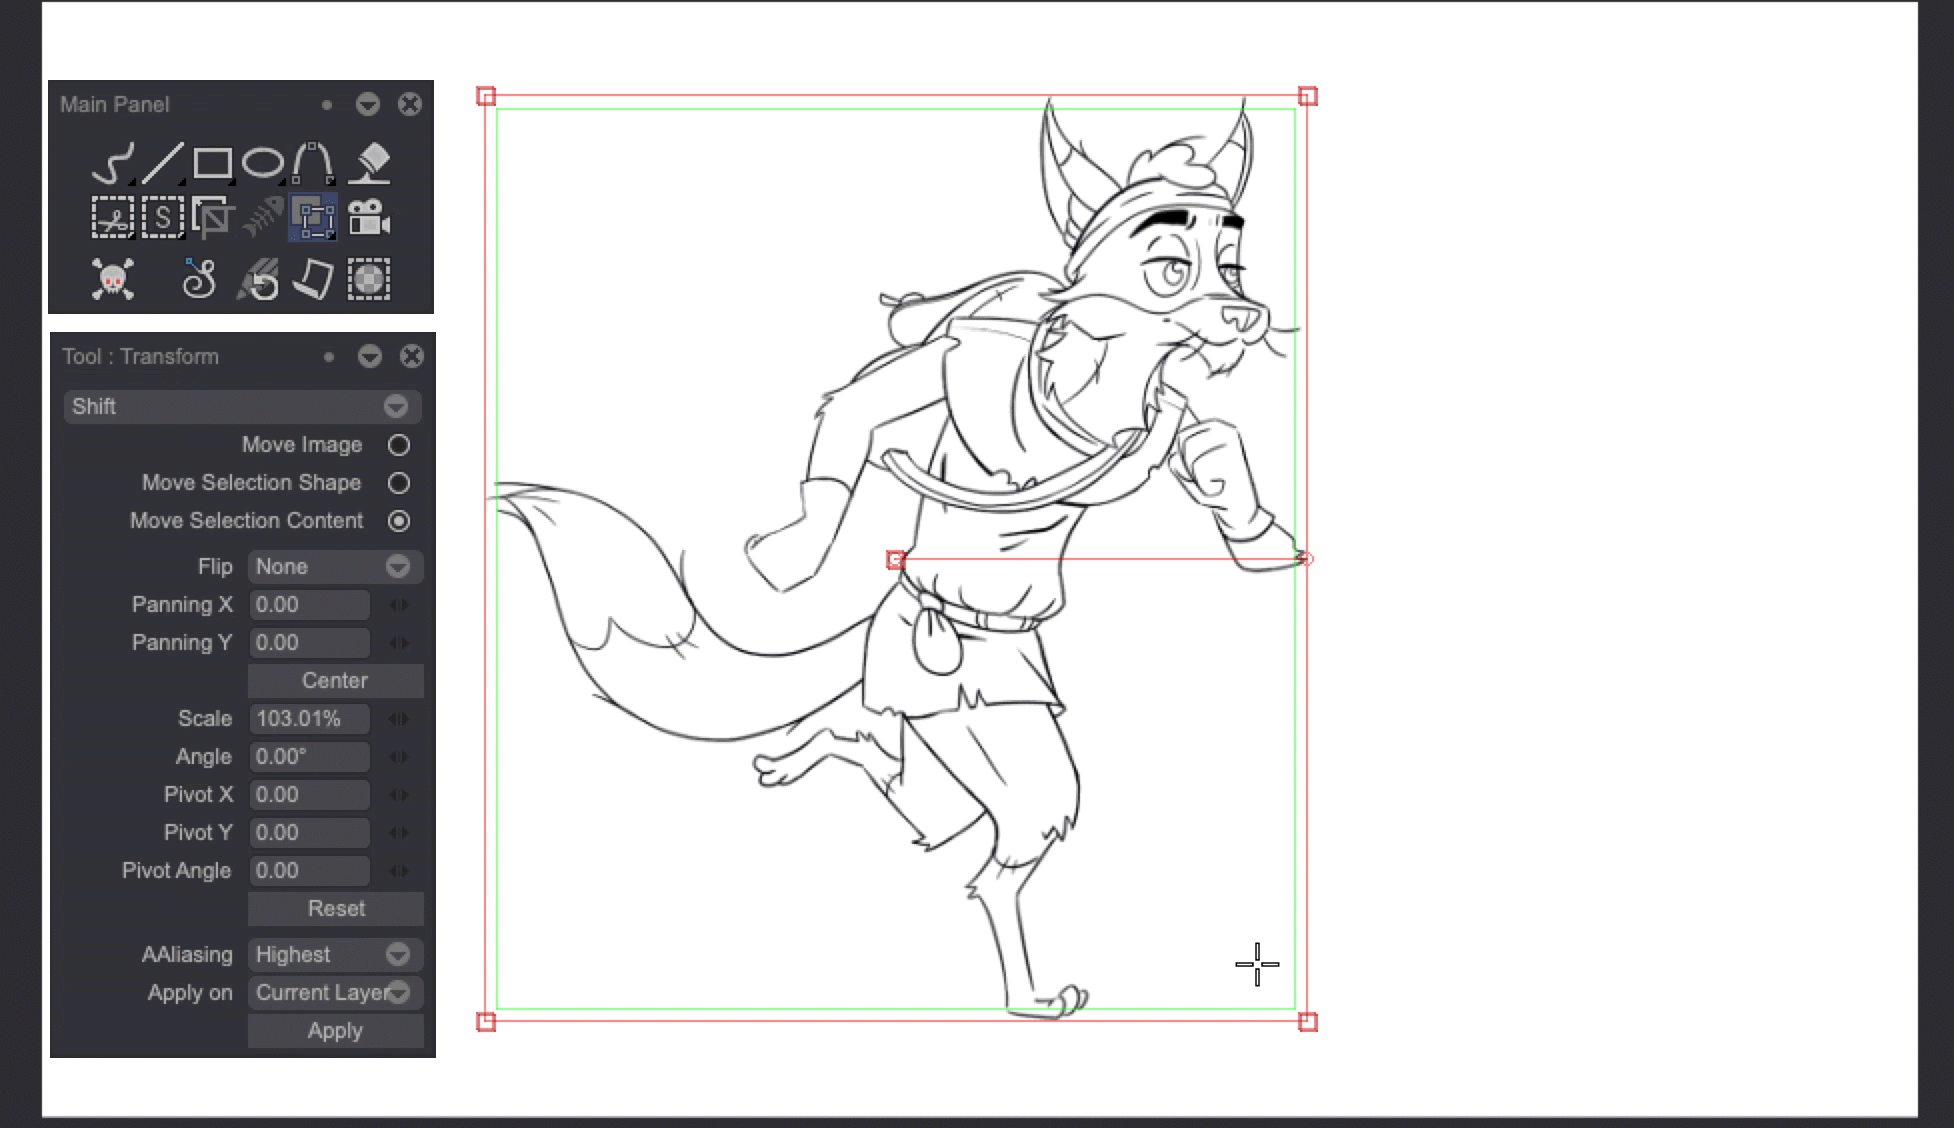
Move options
- Select the Move Image option to take the entire current image into account when transforming.
- Select the Move Selection Shape option to transform your selection shape only: your image will not be affected by the transformation.
- Select the Move Selection Content option to transform your selection and its contents at the same time.
Flip options
The Flip drop down menu offers several options:
- Horizontal: to flip your image horizontally.
- Vertical: to flip your image vertically.
- Both axes: to flip your image both horizontally and vertically.
Panning, scale and angle options
Those options allow you to perform transformation operations using precise numerical values instead of using the HUD.
- The Panning X and Panning Y fields are used to shift the image on the Canvas. Use the Center button to re-center your drawing. You can also use the ["Ctrl+8"], ["Ctrl+6"], ["Ctrl+2"] and ["Ctrl+4"], to respectively move your image at the top, to the right, at the bottom and to the left of the Canvas.
- The Scale field allows you to change the size of your drawing.
- The Angle field allows you to rotate your image according to the chosen angle value.
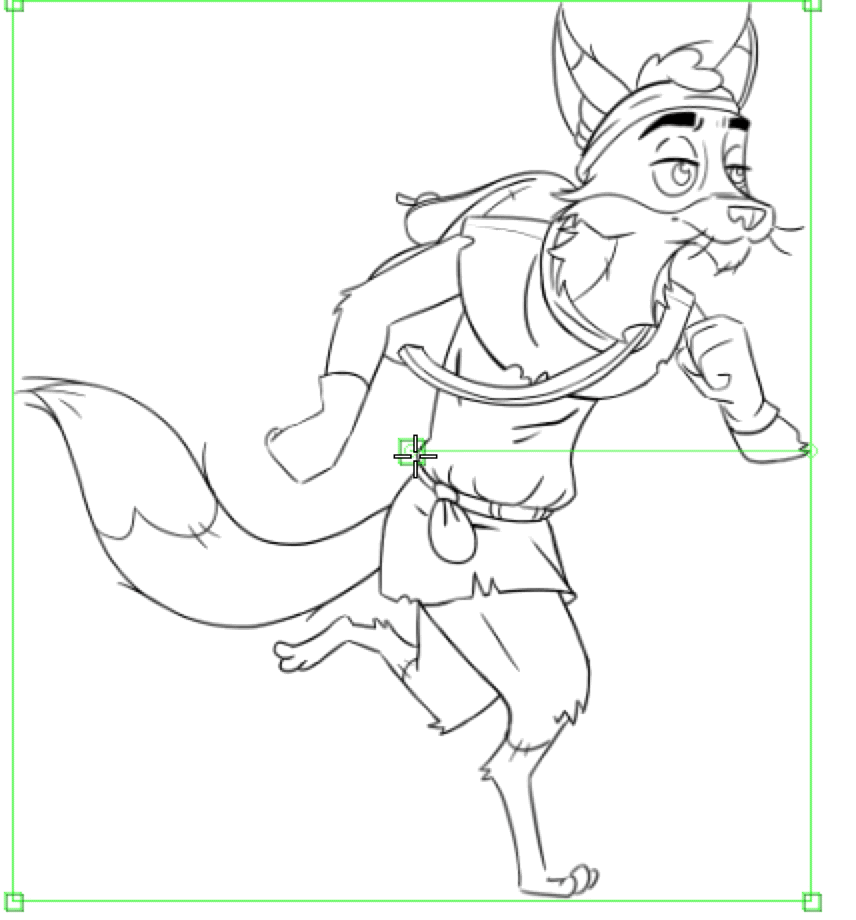
Pivot point options
The Pivot X, Pivot Y and Pivot Angle variables can be used to adjust the the coordinates of the pivot point using numerical values.
You can also use the HUD to move the pivot point by performing a left-click-and-hold on the pivoit point square and then dragging it out by moving your pen:
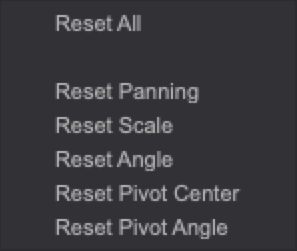
Reset
- Clicking on the Reset button resets the Transform tool settings.
You can also reset individual parameter settings. To do so, simply right click anywhere on the project window. The following pop up menu should appear, allowing you to reset specific settings' values (Panning, Scale, Angle, Pivot Center or Pivot Angle):
Antialiasing settings
The AAliasing drop-down menu allows you to choose the quality of the anti-aliasing filter applied when processing your transformations. The better the filter's quality, the more time your transformations will take to be applied. You can choose between four different algorithms:
- None: no anti-aliasing will be applied.
- Medium: a basic, performance-friendly filter.
- High: a more effective but more CPU-intensive filter.
- Highest: the most effective anti-aliasing filter. It also takes the most resources.
Apply on and apply the changes
Finally, it is possible to transform several images at once. To do so, select them before applying the changes, or use the Apply On menu reviewed in the previous pages of the manual, should you want the transformation be applied to several Layers at once. By default, the Panning, Transform and Perspective tools' changes will be applied on Instance Heads only. Instances will be reviewed in a later section of this manual.