Practical applications
- If you have applied the Stylize > Mosaic effect, click on Undo to cancel the effect and return to the unmodified animation.
- Go into the Options popup menu of the FX Stack and choose Delete All. Your stack is empty again.
- Select the Transition > Fade effect from the available menu.
- Import the "Flowers" image as a new Layer, spread it over 30 images:

- Finally, go to the first image on the Timeline, on the "Palette" Layer.
- Set the value of the Position parameter to 50% then apply the FX Stack.

You should get the following result:
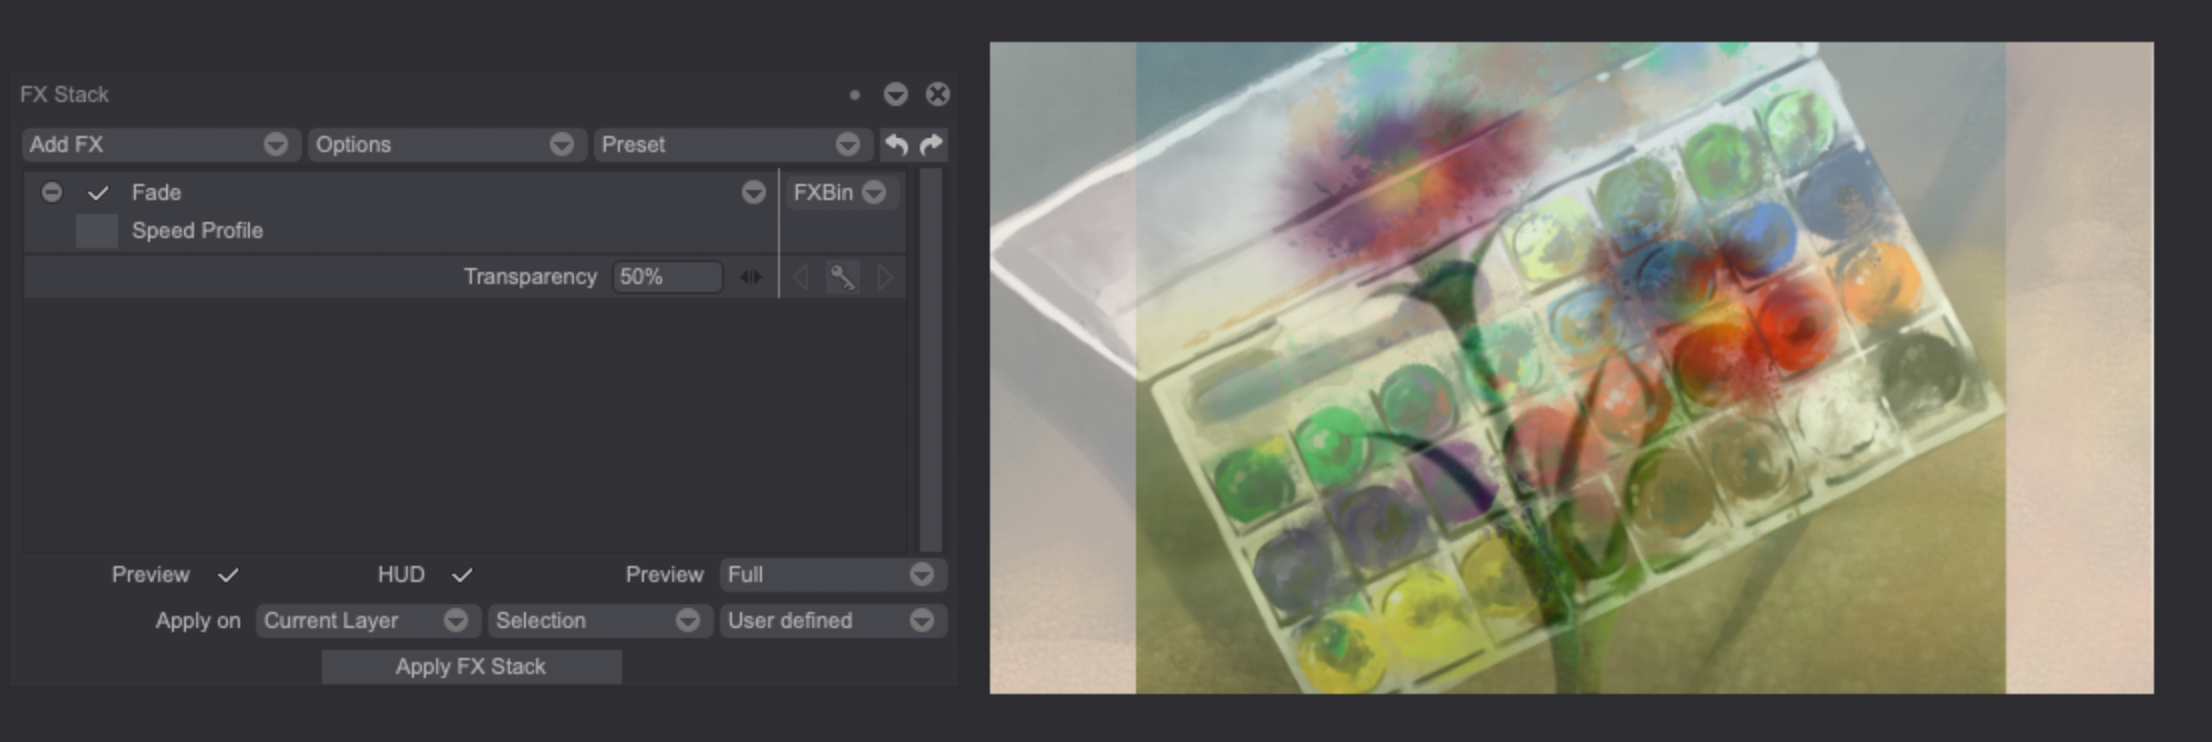
You have certainly understood that this effect creates a fade between the image of the Current Layer and the image of the lower Layers.
However, in our example, the effect is only applied to the current image and not to all of the Layer's images… So let's remedy this.
- Click on Undo to find the Layer named "Palette" intact.
- Select all the images of the Layer and apply the FX Stack.
- The effect is now applied to the entire Layer.
- This is not perfect yet since the fade effect does not evolve in time.

To get a true fade effect on the screen, one has to apply the FX Stack with a position value: 0% for the first image, 1% for the second, 2% for the third… and so on all the way to the last image (assuming that our animated footage has a total length of 100 images… If not, complicated adjustment calculations must be made!).
At first sight this seems like a long and complicated process. Fortunately, TVPaint Animation offers tools helping you to do this in a few seconds: FX Stack Keyframes.