Creating a new Puppet Layer Folder
Drawing the different parts
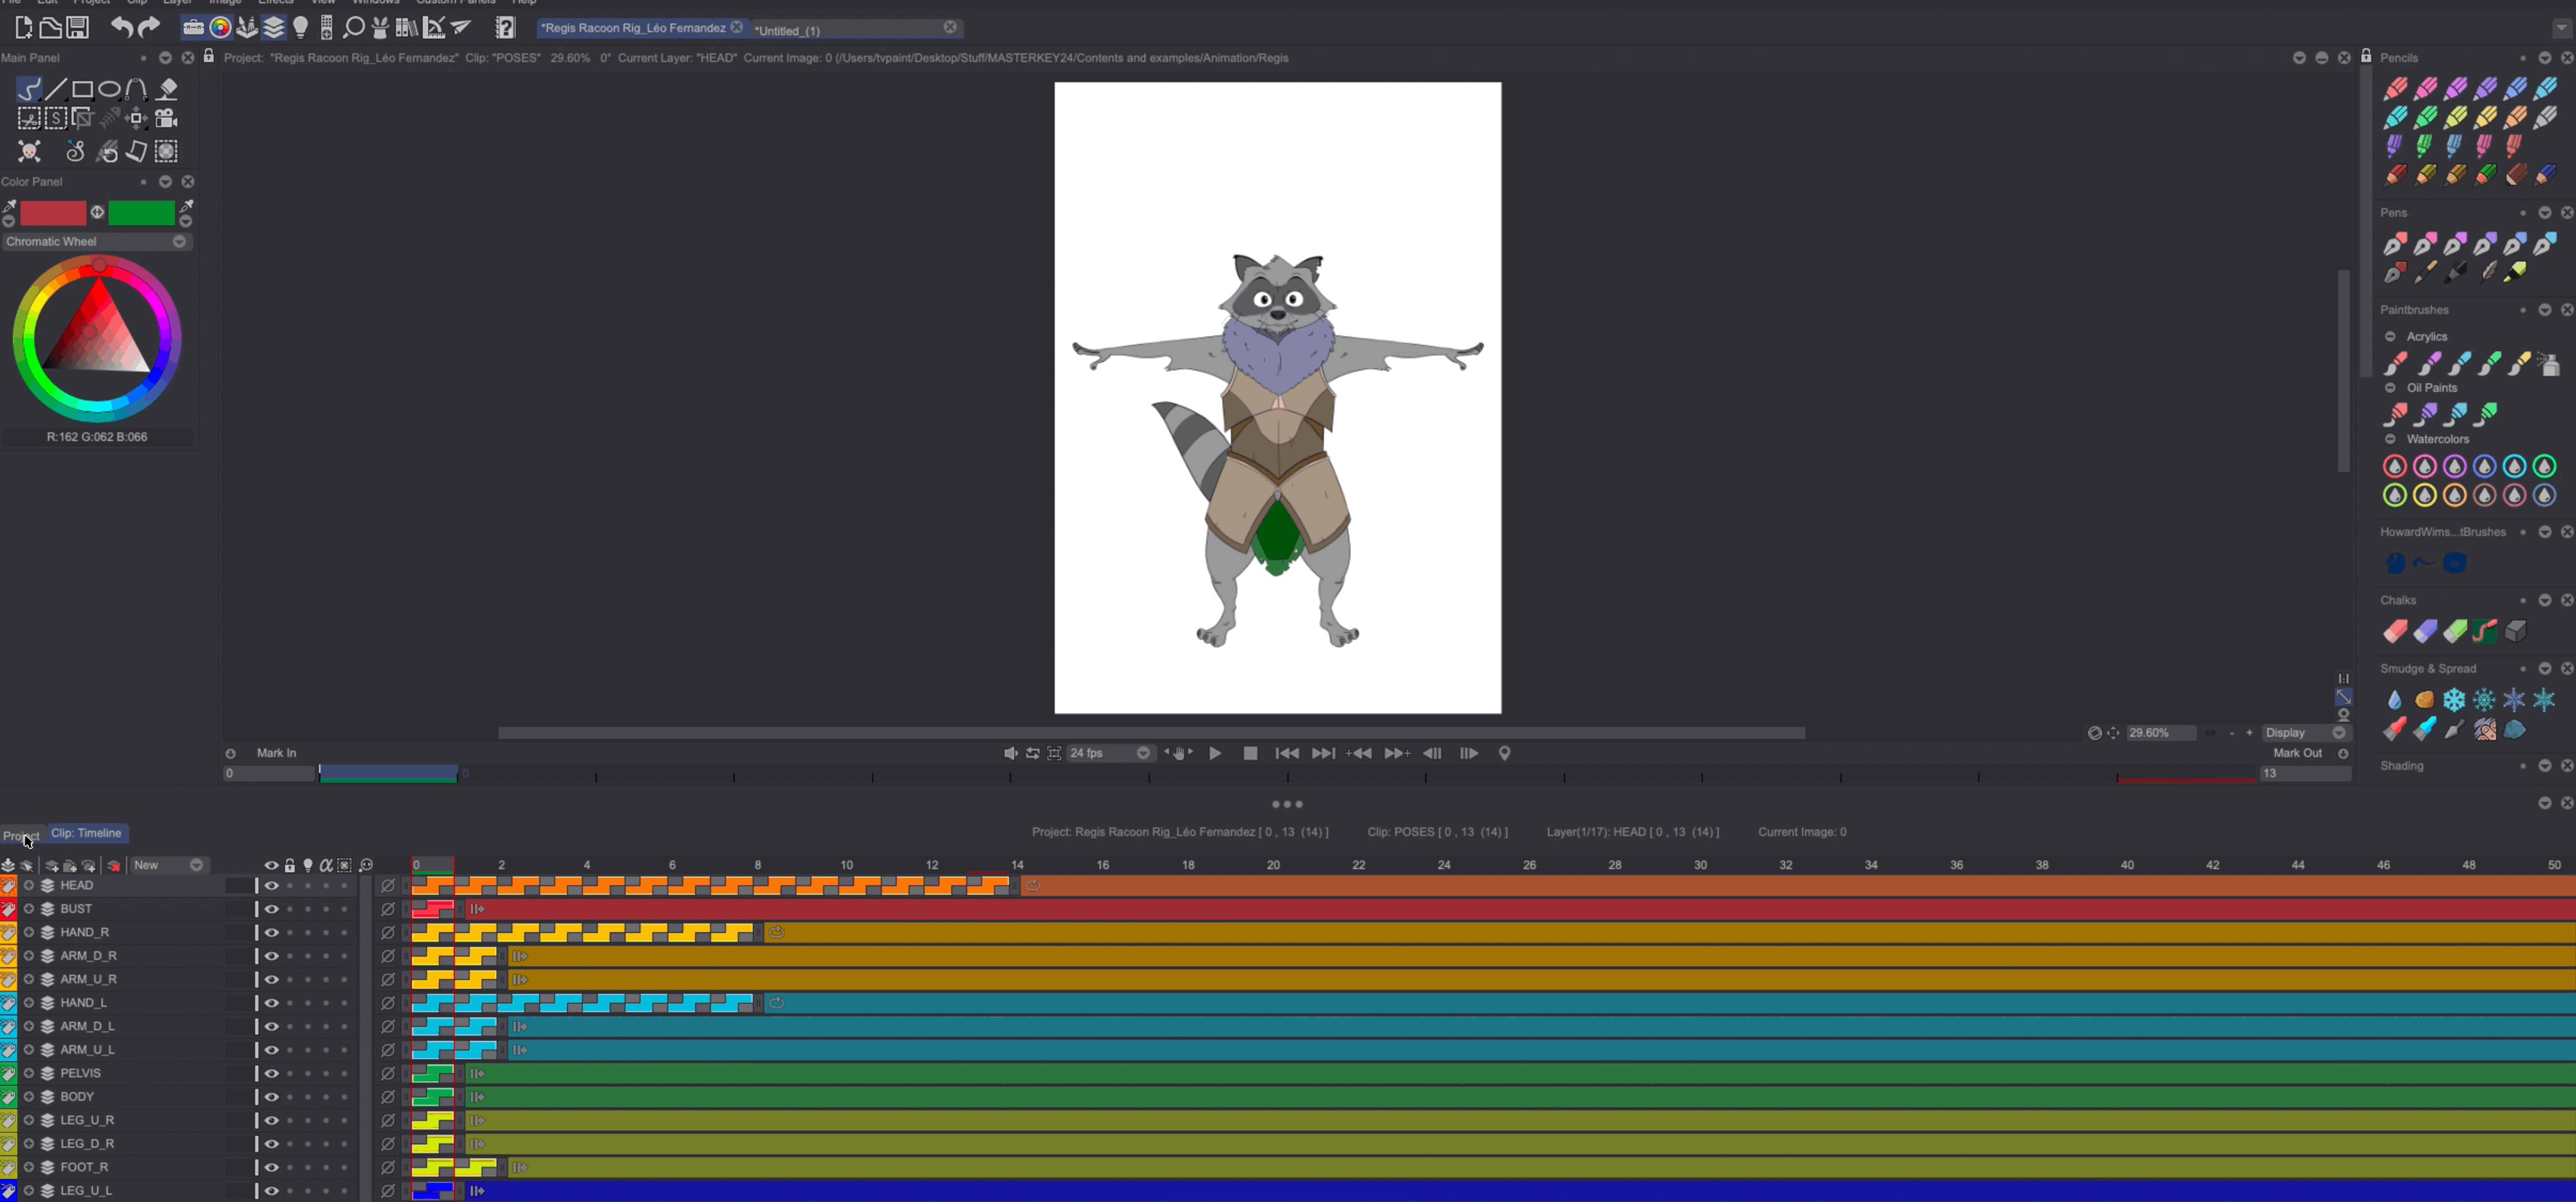
The first step in using TVPaint’s Puppet Layers is to break the element you wish to animate into multiple parts which you will be able to move around. Plan ahead and draw each part or limb of your character on different Animation Layers.
The example project we are using for this lesson contains a racoon which has been drawn following this method:
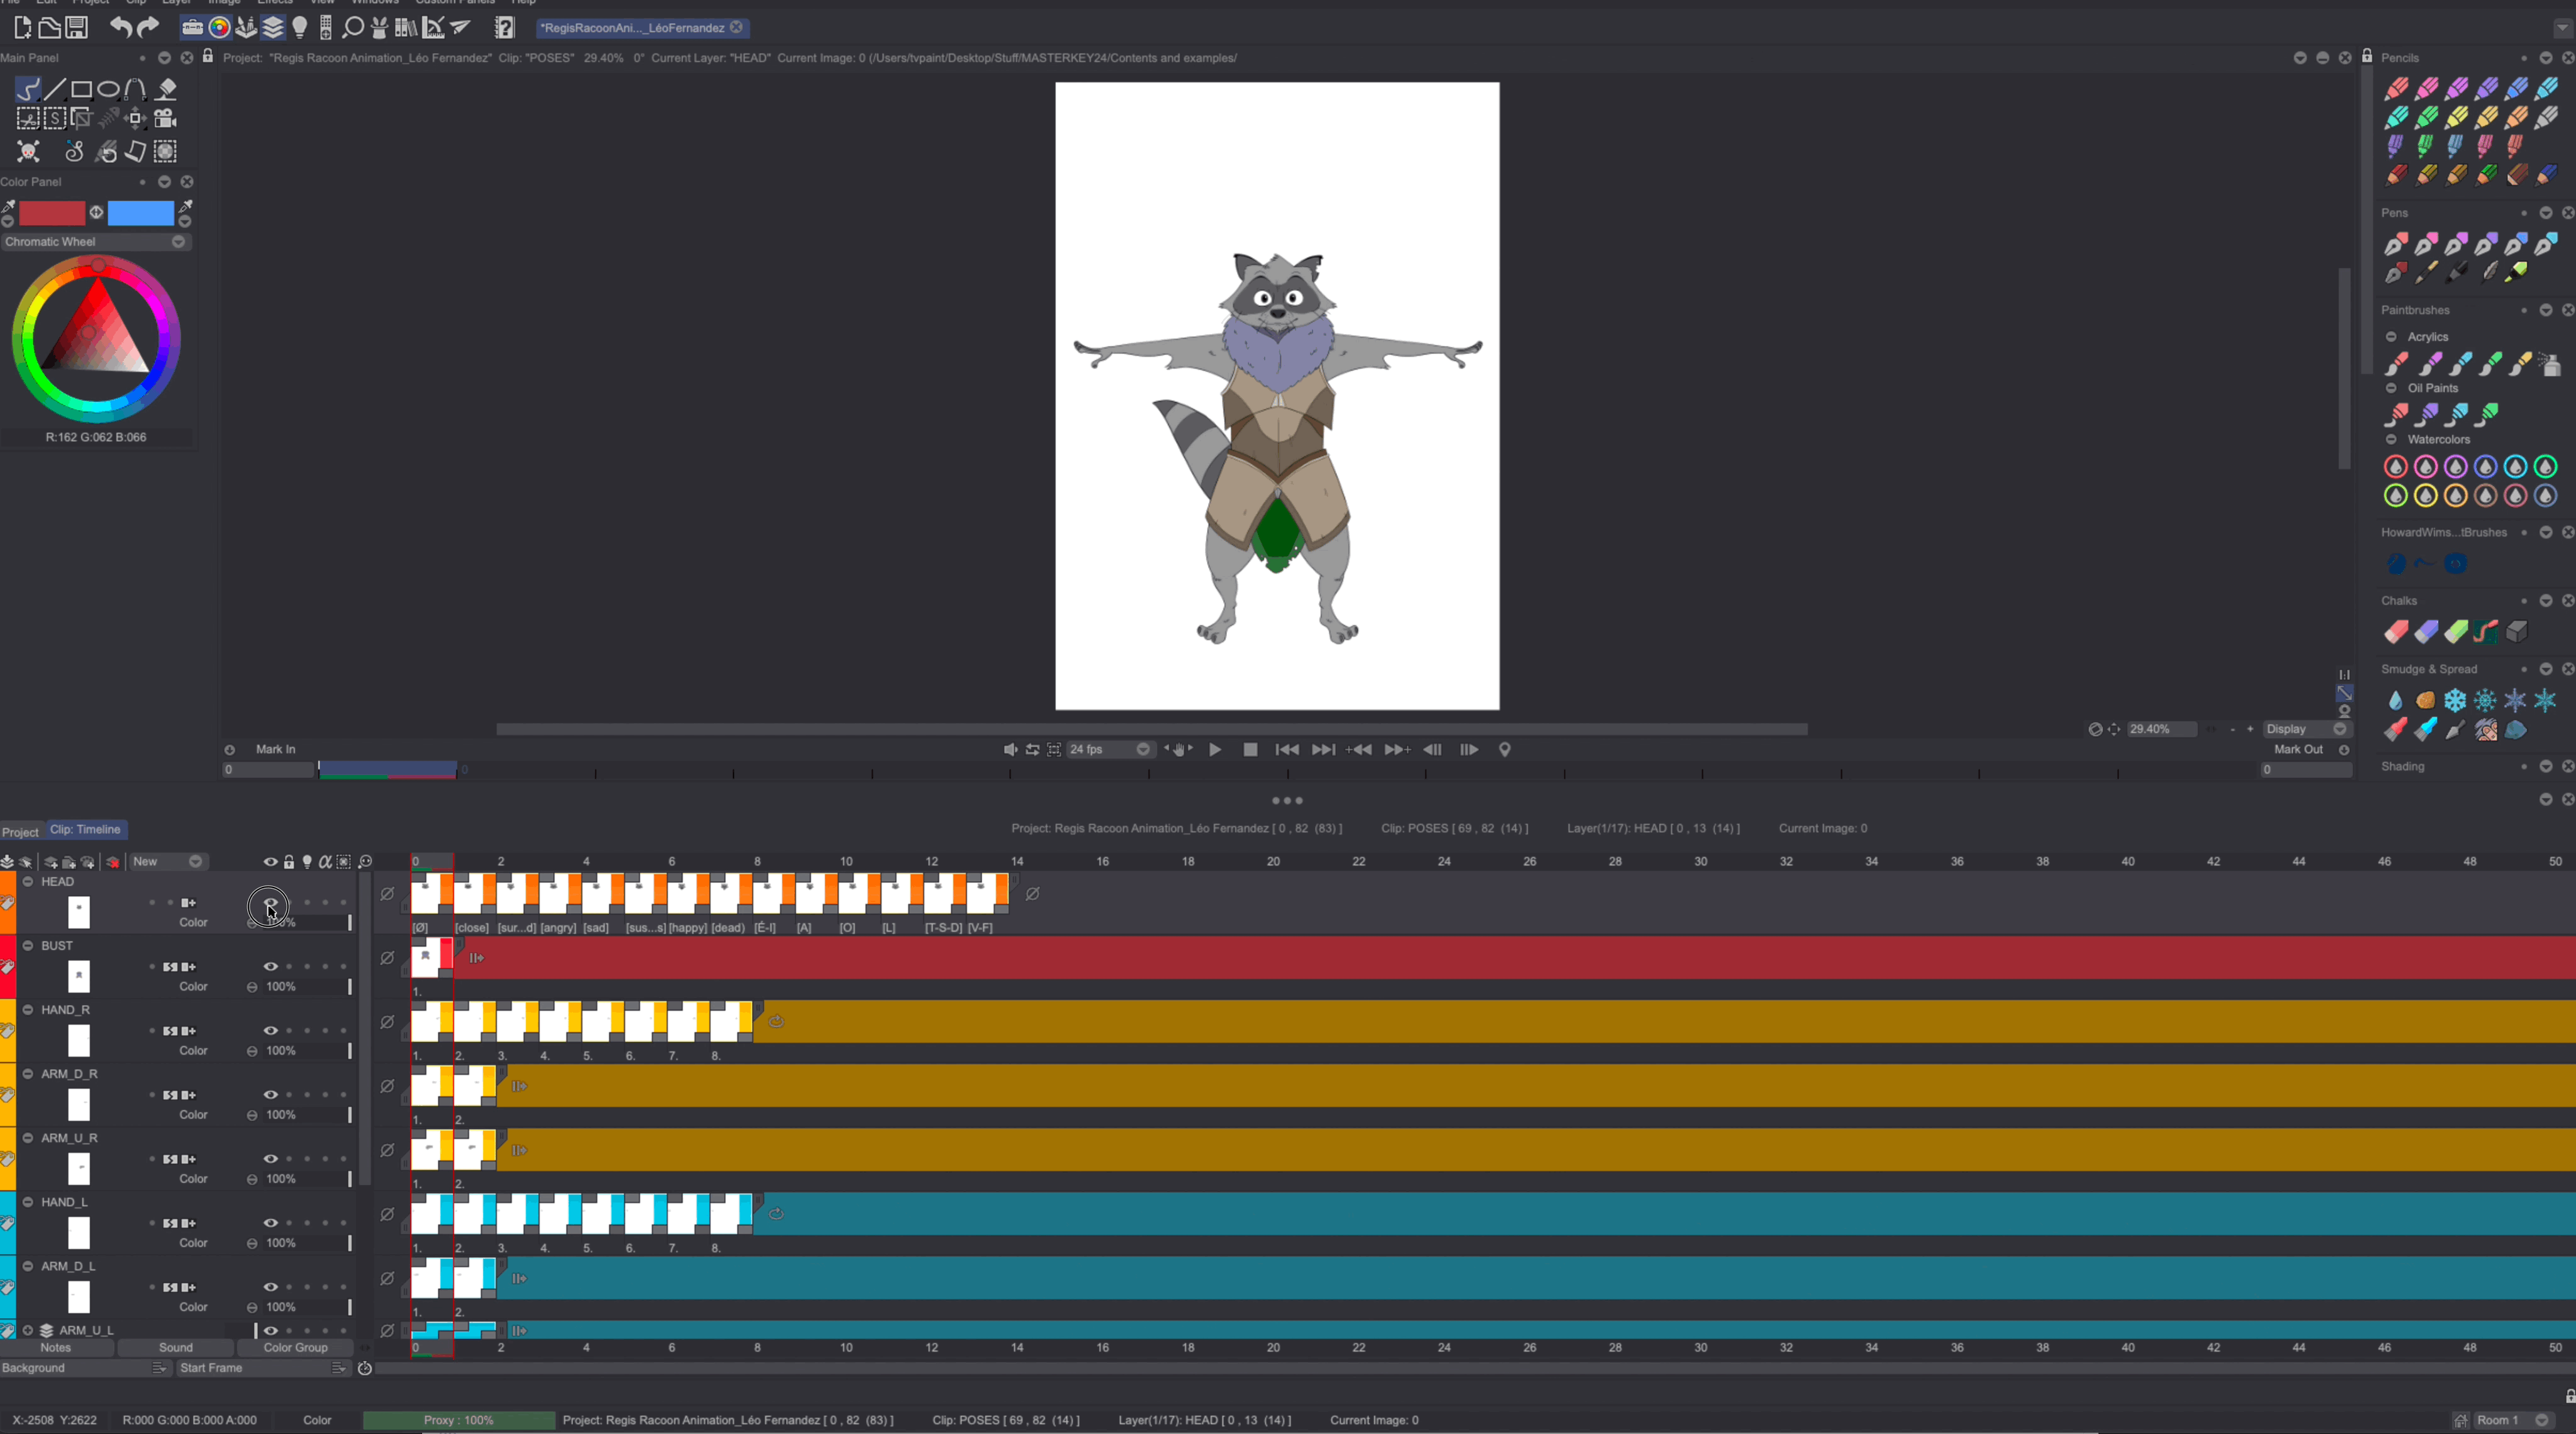
You can also add poses for specific elements, such as the mouth, by creating new frames on the dedicated layer:

It is very important to correctly name your layers and your instances at this stage, since you will be referring to those layers’ names when creating your bones.
- To name a layer, simply double-click on its name or right-click on it and select the Rename option.
- To name an instance, right-click on it and select the Rename > Current instance option.
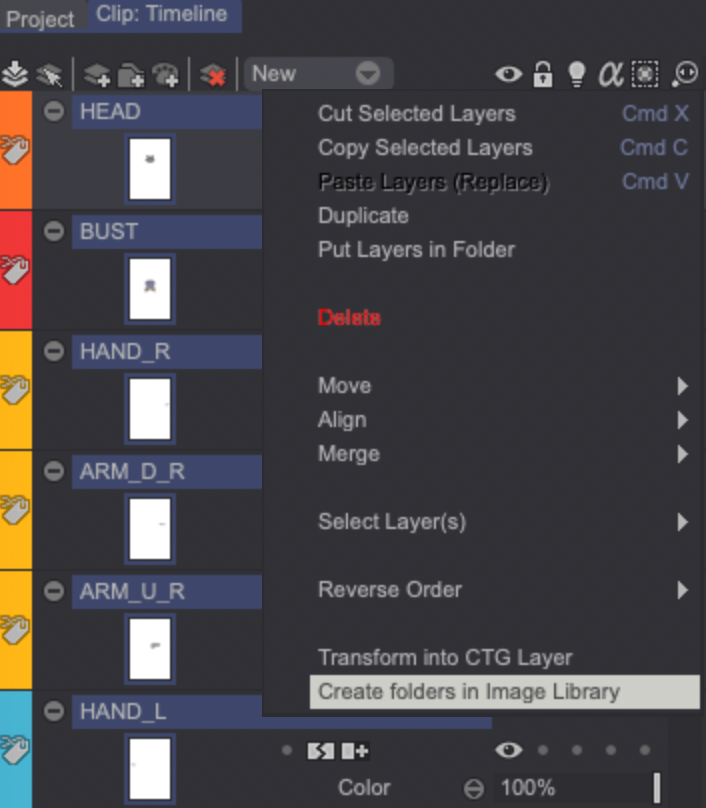
Once you have drawn everything, select all of your layers, right-click and select the Create Folders in Image Library option:
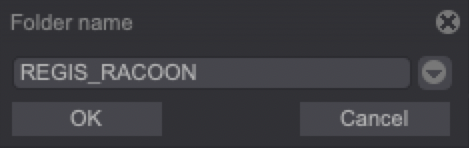
You will then be asked to give a name for the root folder containing your assets. We have chosen to give it the name of our example project's character (Régis) here:
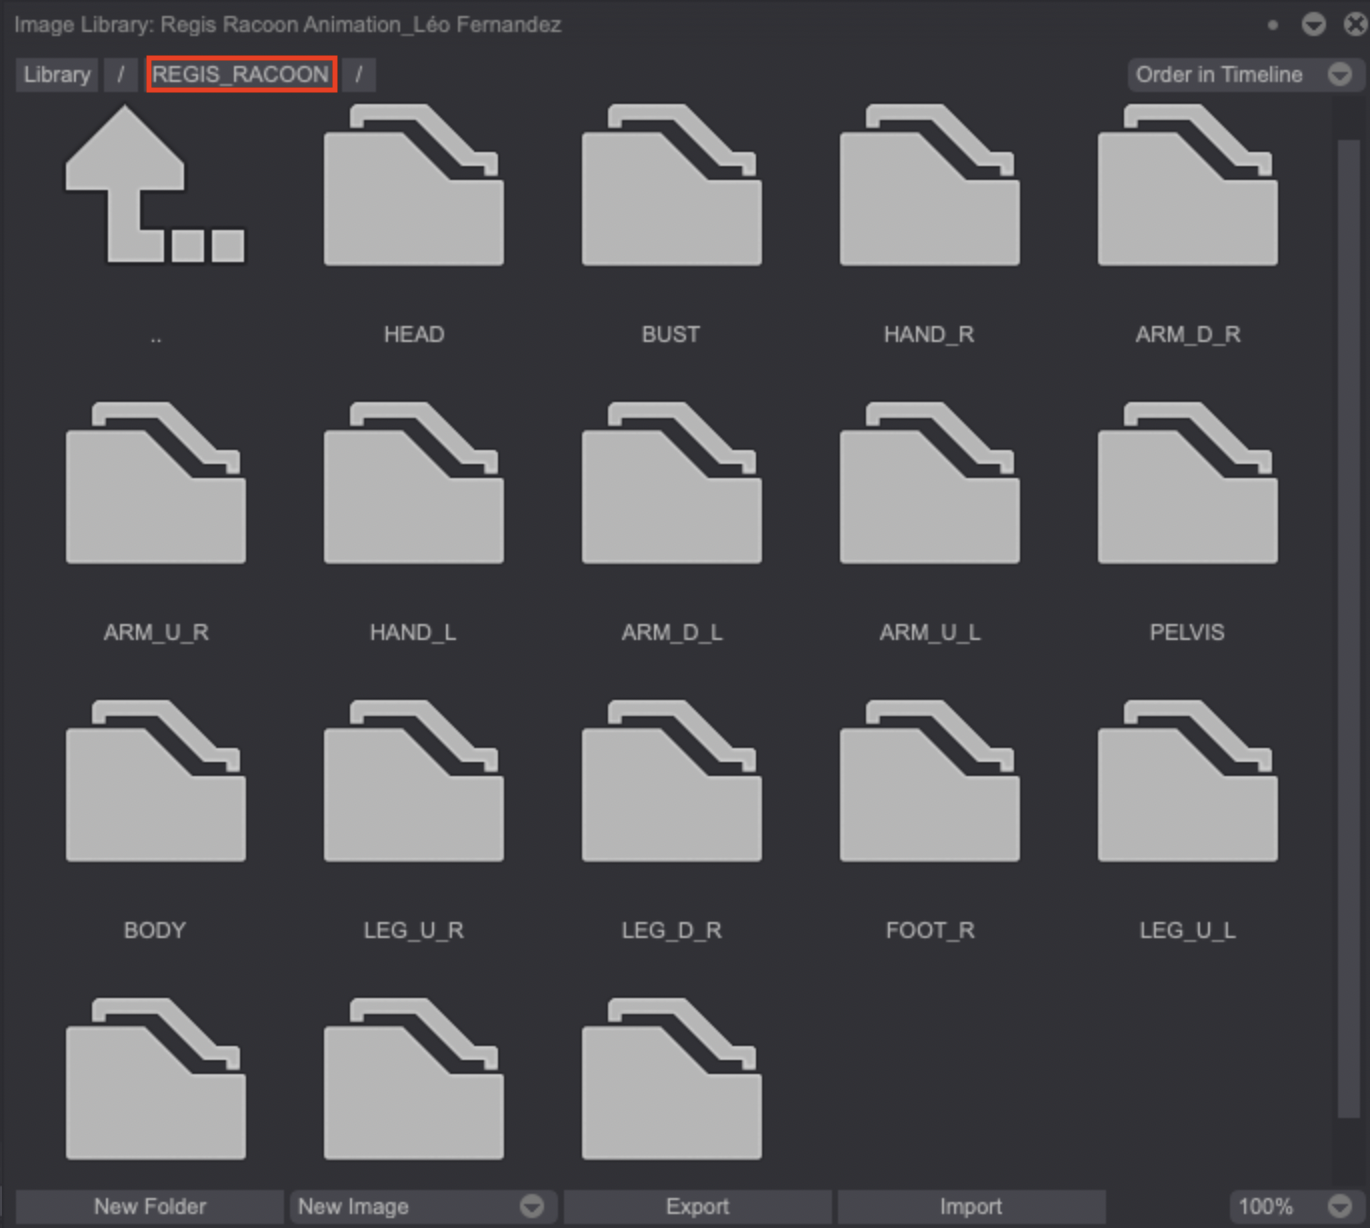
A folder containing all of those assets will now have been created in TVPaint’s Image Library. Sub-folders and images will be automatically named following the names you had chosen for your layers and instances:
We are now all set to create a Puppet Layer Folder.
Creating a Puppet Layer Folder
Once all of your drawings have been saved in the Library you can create a Puppet Layer Folder. This special type of folder will require you to select a folder from the Library which it will be linked to.
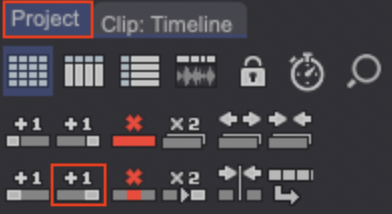
First, start by creating a new Clip, by clicking on the Project tab and then on the New Clip icon shortcut:
Once this is done, double-click on the newly created Clip. Click on the New* layer drop down menu from the Layer Stack and select the Puppet Layer* option. The Image Library will then open: select the folder you wish to create a Puppet Layer Folder from:
TVPaint will then automatically create a Pupper Layer Folder and embedded Puppet Layers matching your Library folder’s tree structure.