Tracking zone and rendering area
Once a texture has been selected, it will appear on the Texturizer Panel. It is possible to change its name if needed, and also to delete it by clicking on the cross icon on the right.
It is of course possible to add several textures to apply them to different areas. In this case, they will appear stacked on Panel's left column.

Here are the different settings available before proceeding:
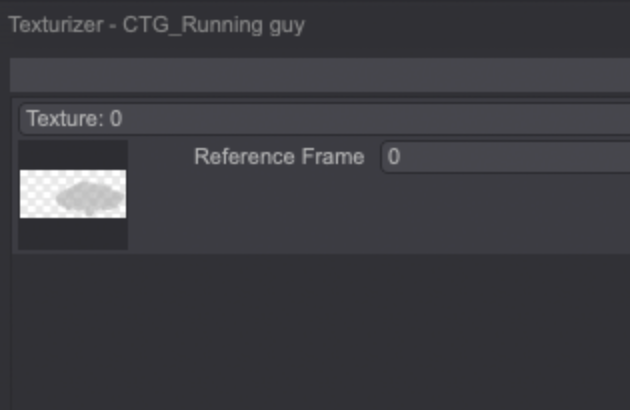
- Reference frame: start the texture application at whatever Instance you want using the adjacent mini-slider.
- Reset tracking: active by defaut, allows to start a new tracking process for the added texture.
- Tracking Zone: the selected color(s) will act as a tracking guide to apply the texture.
- Render Area: the selected color(s) upon which the texture will be applied.
By clicking on one of the Select Colors buttons the colors used by the current CTG Layer will be listed. If they have been named through the CTG's Edit Colors option, their names will also be displayed. Click on the colors' square icons or on their name to select one or more colors:
In our example, we will select the scarf colors for both the Tracking Zone and the Render Area:
However, keep in mind is not mandatory for the Tracking Zone and the Render Area to be of the same colors. You can indeed choose a Tracking Zone that has less movement than your Render Area: it may be easier to control the texture's application in this case (for example, should you be animating a lion's head, it may be easier to choose its face's color as a Tracking Zone -since it will not move much- to have a texture applied on the mane as a Render Area -since it will be moving a lot more than the lion's face).
It is highly advised to track as little colors as possible. Render Areas, however, don't have this restriction.
Once the two zones have been defined, click on the Start button to launch the texture application process.
If you choose a different Reference Frame than the first Instance, TVPaint will start the texture application from this frame. For example, should we apply a texture to the Bob Project starting from image 5, the texture will be applied on the following images, from left to right: 6, 7, 8, 9, etc, until 16. The texture will then be applied on the images 4, 3, 2, 1, in this order, from right to left.