Managing effects' Speed
You have probably noticed the Speed button under the name of each effect in the FX Stack. This button is used to manage the speed at which the chosen effect will be carried out.
Click on the Speed checkbox and then on the small black rectangle appearing on the screen:

The Speed Profile Editor should open:
The interface of this window is identical to the Brush Profiles'. The Bin and Spline menus, the Flip X, Flip Y and Delete buttons are the same as the ones we have already reviewed.
However, the Speed Profile Editor has a very specific function within the FX Stack:
- The abscissa in the graph represents time.
- The ordinate in the graph represents the Speed of the chosen effect.
Let's go back to the Fade effect in the "Palette" Layer:
- Use the Undo option to recover the Layers intact.
- Create identical Keyframes to those mentioned in the previous chapter of the manual.
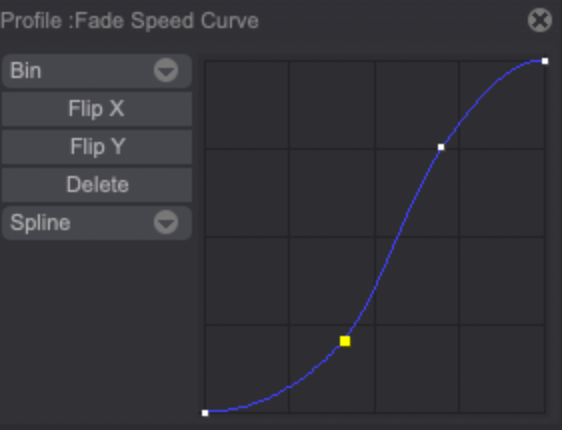
- Draw the Spline shown above before applying the FX Stack.
After playing the Project you will note that the effect is first carried out slowly and then at top speed. This corresponds to our spline: it rises slowly first and then very fast:
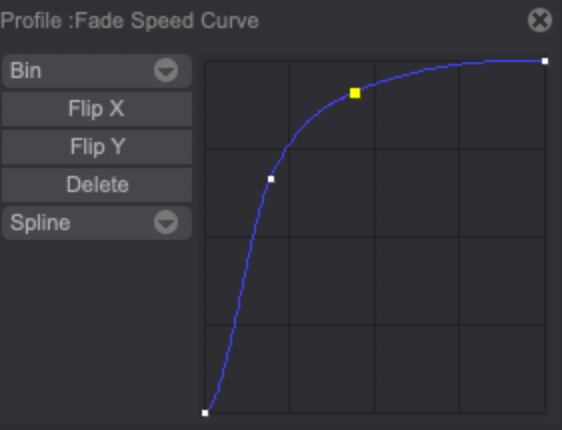
If we draw the spline shown below before applying the FX Stack, the Fade effect will be fast at the beginning and slower at the end:

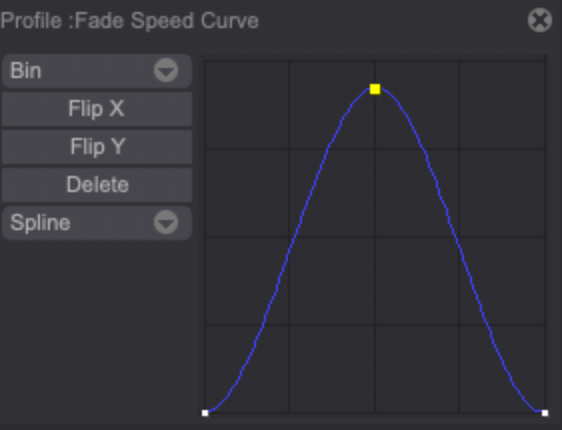
If we draw the spline show below before applying the FX Stack, the Fade effect will initially be applied only to become inactive on our Layer's last frames: