Project and Clip Display tabs
As explained in previous sections of this user manual, the difference between these two tabs is simple: the first tab lets you export your entire current Project (Scenes and Clips) whereas the second tab only exports the current Clip.
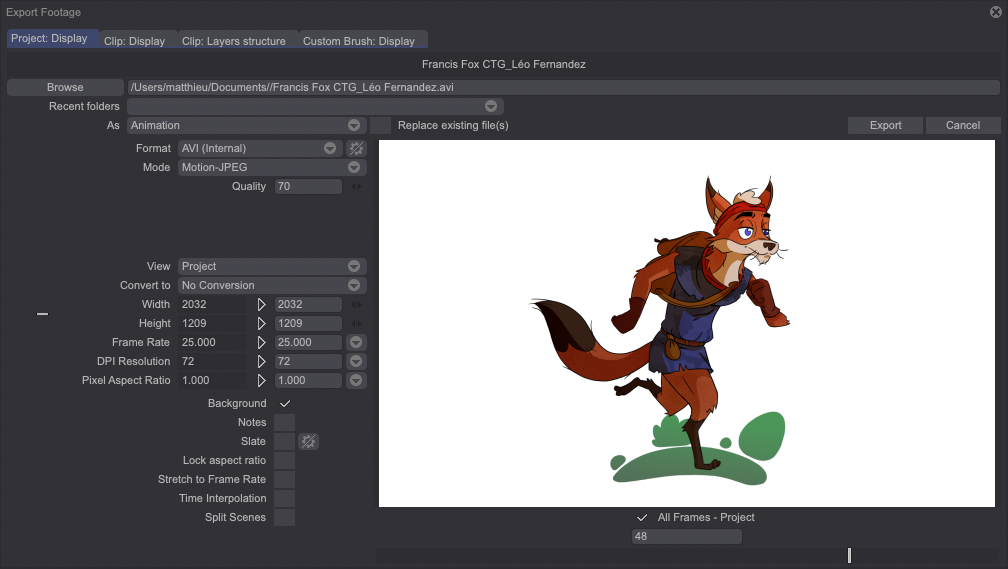
The second section deals with the export file formats: TVPaint Animation allows you to export your Projects in a wide variety of formats: AVI, GIF, JPG, MOV, MP4, PNG, PSD, PDF, BMP, TGA, TIFF…
You may have more control over PSD exports using the Clip: Layers Structure tab, which is reviewed in the following pages of the user manual.
When the export file format imposes the choice and setting of a video and audio codec, click on the Config button to display the corresponding settings panel. The codecs present in the popup menus and their configuration options are those installed in your operating system.
When required, and depending on the various formats of export, you may need to set the following settings:
-
Mode: you may choose to export your work in the form of images or a video with a limited palette (8 bits=256 colors), a large palette (24 bits=16.777.216 colors), a palette which takes into account the pixel transparency (32 bits), a palette with no color data, but only pixel transparency (a mask).
-
Palette: in the case of a limited color palette, you may choose to use a gray scale palette, the user defined palette located in the Palette Panel, a global quantized palette to be used for all frames of your footage or animation, or a local quantized palette which is modified for each frame of an animation.
-The number of colors: you may also choose a precise number of colors between 2 and 256 (to do this you must first choose one of the two quantized palettes).
-
Dither : this button is used to disperse the pixels of your animation in order to simulate use of a palette with a lot more colors (technically referred to as «Floyd-Steinberg dithering»).
-
Alpha: options relative to the Alpha function were discussed in the Load an image or animation chapter.
-Compression (lossless): this setting may or may not appear depending on the chosen export format. When exporting to PNG, this setting will allow you to apply lossless compression to the exported file, thus reducing its size while not altering its quality in any way. However, the more compression you add, the more time TVPaint will take to export your file:
- Setting this parameter to 1 will result in a quick export but a big file size.
- Setting this parameter to 10 will result in a slow export but a small file size.
The third section of this panel manages the restrictions and attributes imposed on a file to be exported (Width, Height, Frame Rate, Print Res. (DPI), Pixel Aspect Ratio), compared with the original attributes (chosen when you created your Project).
The last section allows you to fine-tune some parameters, following the options you chose in the third and second sections:
-
The Background button, when checked, renders all the pixels of your images opaque using the background selected (color, check or none) which is placed behind the transparent pixels of your images.
-
The Pixel Aspect Ratio button is used to correct the pixel aspect ratio of the images to be exported in accordance with the setting made in the fourth section.
-
The Stretch to Frame Rate button, when checked, imposes a previously selected frame rate on the file to be exported while retaining the original duration.
-
If the aforementioned button is checked, the Time Interpolation button allows you to decide whether the frame rate (or fields) correction should be carried out by interpolation (smoothing) or duplication (or deleting as the case may be).
-
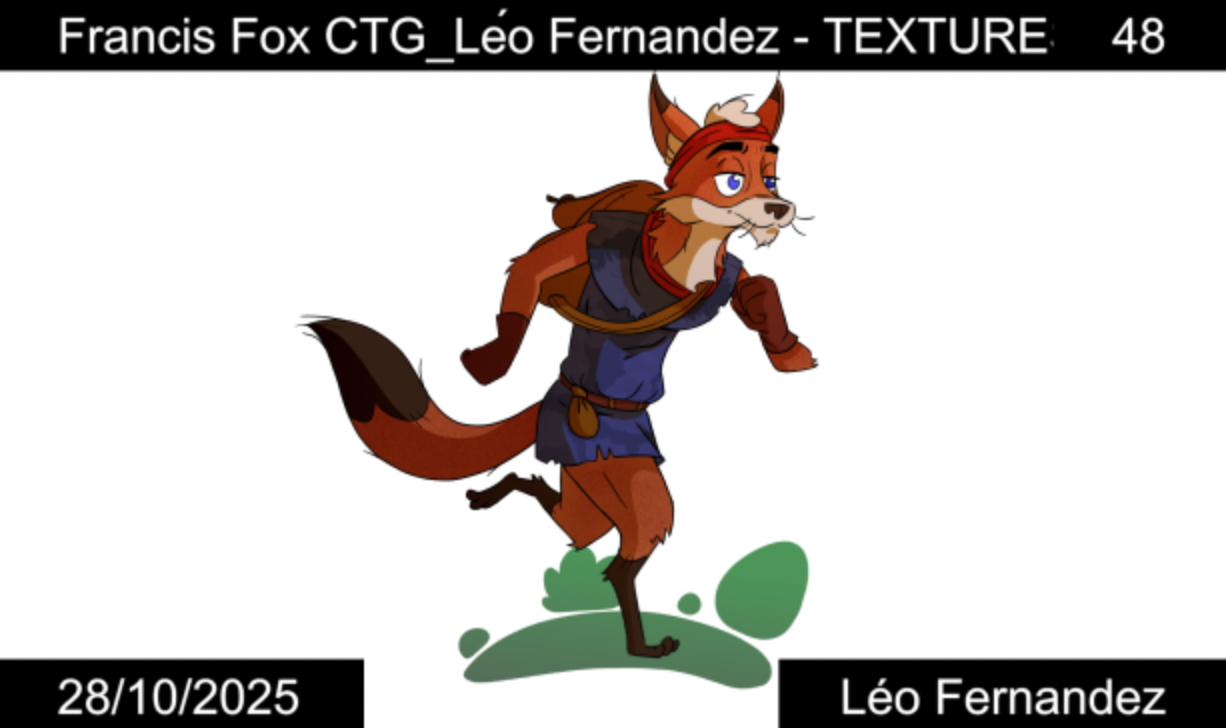
The Slate option can be used to display additional information (such as your Project’s name, the frame count etc.) on your exported Project’s frames, as you can see in the screenshot below:
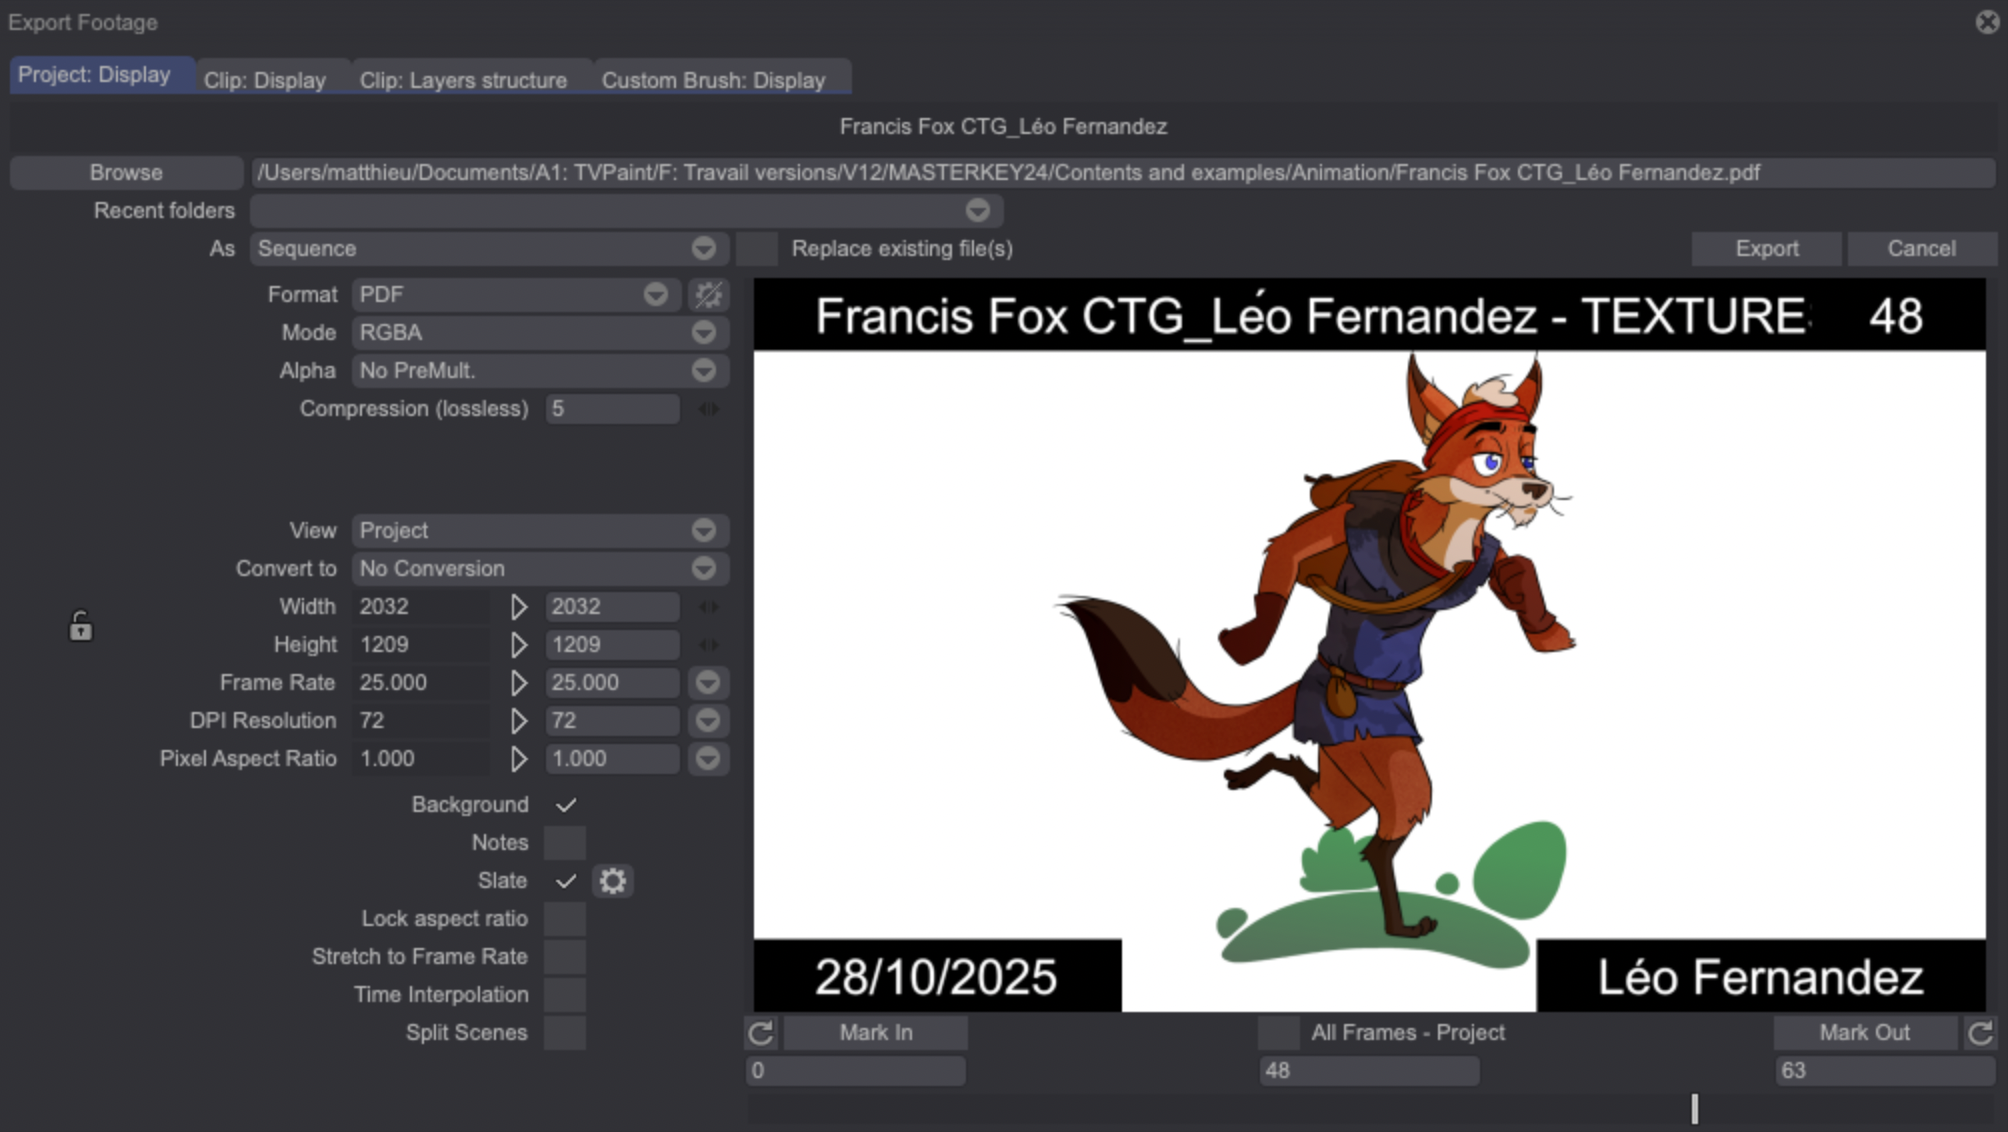
Clicking on the Cog icon next to the Slate checkbox will open another panel allowing you to select and customise the elements you wish to display:
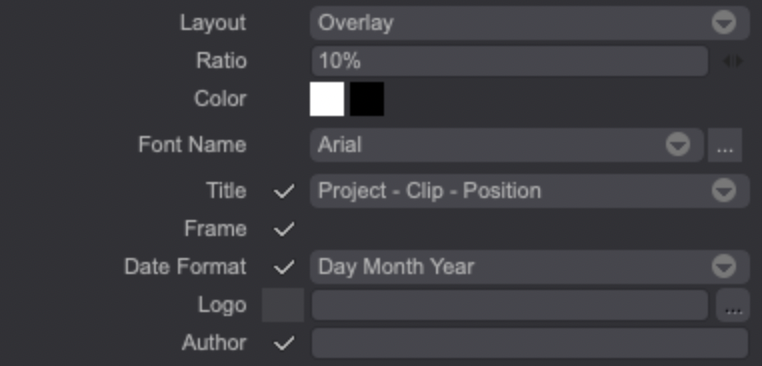
You can change the layout of the displayed information using the first section of this panel. It is possible to choose between two layouts using the Layout drop down menu:
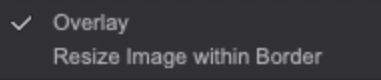
The Overlay layout will make the selected information appear directly on the corners of your frames as an overlay:
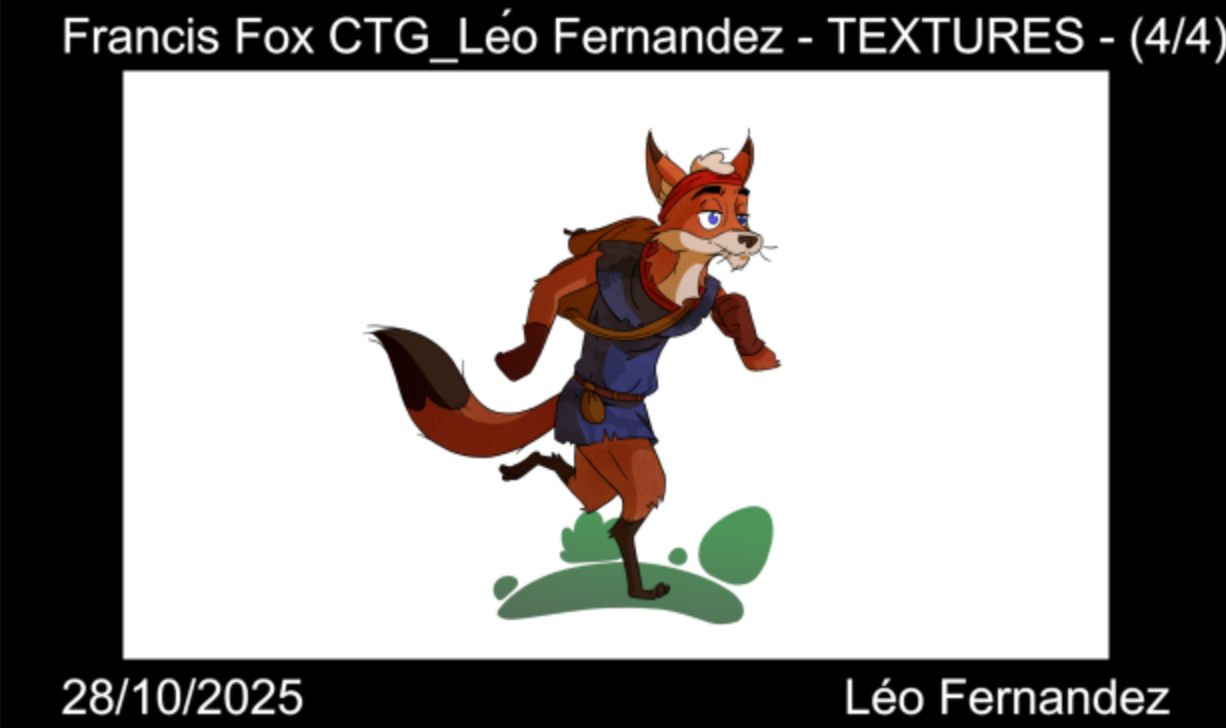
The Resize Image within Border layout will add a border containing the selected information on your frames. It will also resize your frames so that your drawings won’t be hidden behind the border:
-
You can use the Ratio field to choose the overlays’ and border’s size.The Color option allows you to choose the font color as well as the overlay or border background color. The Font Name section offers a drop down menu where you can choose the displayed information’s font.
The last section of the panel can be used to select which elements you want to display:
-
The Title drop down menu lets you choose between four different ways of showing your Project’s title as you can see in the screenshot below:
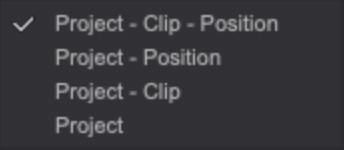
You can also uncheck the Title checkbox if you don’t want to show any title on your frames.
-
The Frame option, if checked, will display the number of the frame currently shown. The Date Format checkbox allows you to display the date of the export on the frames. Several options are available using the drop down menu regarding the date format.You can also choose to display a Logo (by default, TVPaint Animation’s logo will be selected) and the name of the Author of the animation (by default, the Project’s author will be shown).