Add instances
Recap
In the previous Instances: application chapter, we have seen how to create new Instances by appending or duplicating existing Instances.
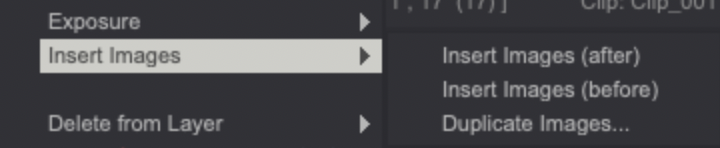
Indeed, a right click on the Timeline opens a contextual menu which allows you to Insert Images. You can Insert Images (after) the current Instance but you can also Insert Images (before) before the current image:
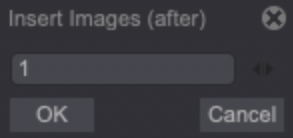
A numeric field will appear when choosing one of those two options. You can insert one or several empty Instances.
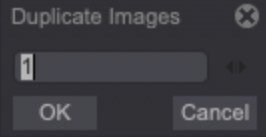
When selecting the Duplicate Images option, another field will appear, letting you duplicate one or several Instances. Whether they are empty or not, you will get one or several replicas of your current Instance (or the selected ones).
Finally, we also learned that clicking on the Delete icon ![]() creates new empty Instances.
creates new empty Instances.
However, there are also alternative methods to create new Instances.
Other creation methods
Drawing on an non-existing frame
You can simply place yourself on the frame following your layer's last Instance and begin a new drawing: a new Instance is then created.
Depending on your Layer’s Post-Behavior you may see your previous frame’s content in the newly created frame (however, you can easily delete the new frame's content).
This is possible thanks to the following options (activated by default) which are to be found in the Timeline: Auto Break Instance ![]() and Auto Create Instance
and Auto Create Instance ![]() .
.
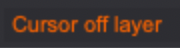
Be careful, if these options are disabled ![]() , you will not be able to draw on the Canvas if an Instance hasn't been created beforehand on the Timeline, and the following message will appear in the Info Bar:
, you will not be able to draw on the Canvas if an Instance hasn't been created beforehand on the Timeline, and the following message will appear in the Info Bar:
Using an Instance's handles
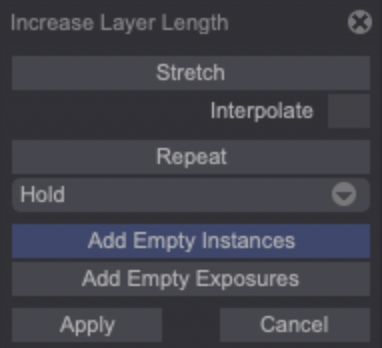
You can also use the Instance's upper right handle* and stretch it to the wished number of Instances (15 for example). By releasing the click, the Increase Layer Length window will appear. Click on Add Empty instances, then on Apply. The 15 Instances will then be created:
Increase Layer Length panel options
This panel allows you to either create new Instances or add Exposure Cells. We will review other ways to create Exposure Cells in the upcoming chapter, but let's review this panel's different options:
Here is an example of a Layer we would like to increase the length of:

- Stretch: will add new Exposure Cells to each image of the layer to match the desired length increase:

- Check the Interpolate option to create a fade effect between the original images:

-
Repeat: will repeat existing frames to match the desired length increase. A little drop-down menu will give you access to several repeat options:
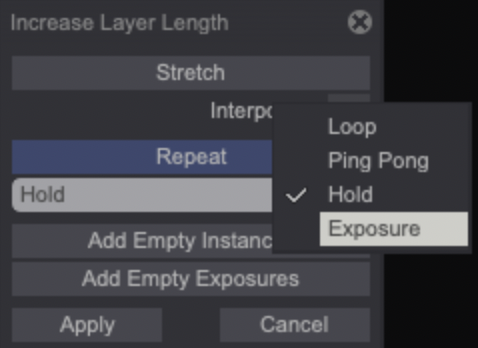
- Loop: will repeat each Instance in a loop pattern (1-2-3--1-2-3...):

- Ping Pong: will repeat each Instance through a back and forth pattern (1-2-3--2-1-2..):

- Hold: will only repeat the last Instance:

- Exposure: will only add Exposure Cells to the last Instance:

-
Add Empty Instances: will create empty Instances following the layers' last Instance:

- Add Empty Exposures: will create an empty Instance followed by Exposure Cells after the layer's last Instance:

We’ve just reviewed how to create Instances from the left to the right. However, it's also possible to create Instances from the right to the left, using the left handle.