Clip management and display modes
A few additional options allow you to manage your Storyboard and the way it is displayed.
-
The Lock
 button lets you lock the order of your Scenes and Clips. However, editing your Clips' content (drawings, title etc.) is still possible.
 -
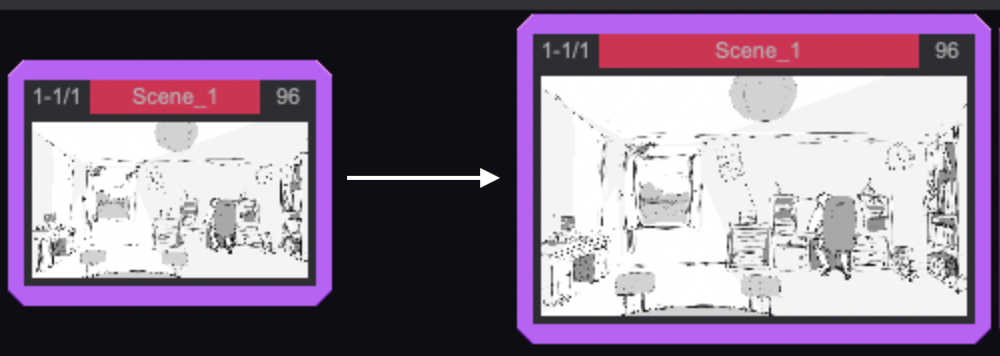
The Magnifying Glass
 button allows you to change the size of your Scenes' and Clips' thumbnails. Left click and hold on it, then move to the right or the left with your pen to change the thumbnails' size:
- Click on the Timecode
 button to modify how time should be displayed (either in images or in seconds).
Rename a Clip
Double-click on the Title area of your Clip or right-click on its thumbnail and select Rename Clip to rename your Clip:
Assign a Group to a Clip
Clips can be brought together into the same Color Group, just like Layers. To assign a Group to your Clip, right-click on its thumbnail and select Group.
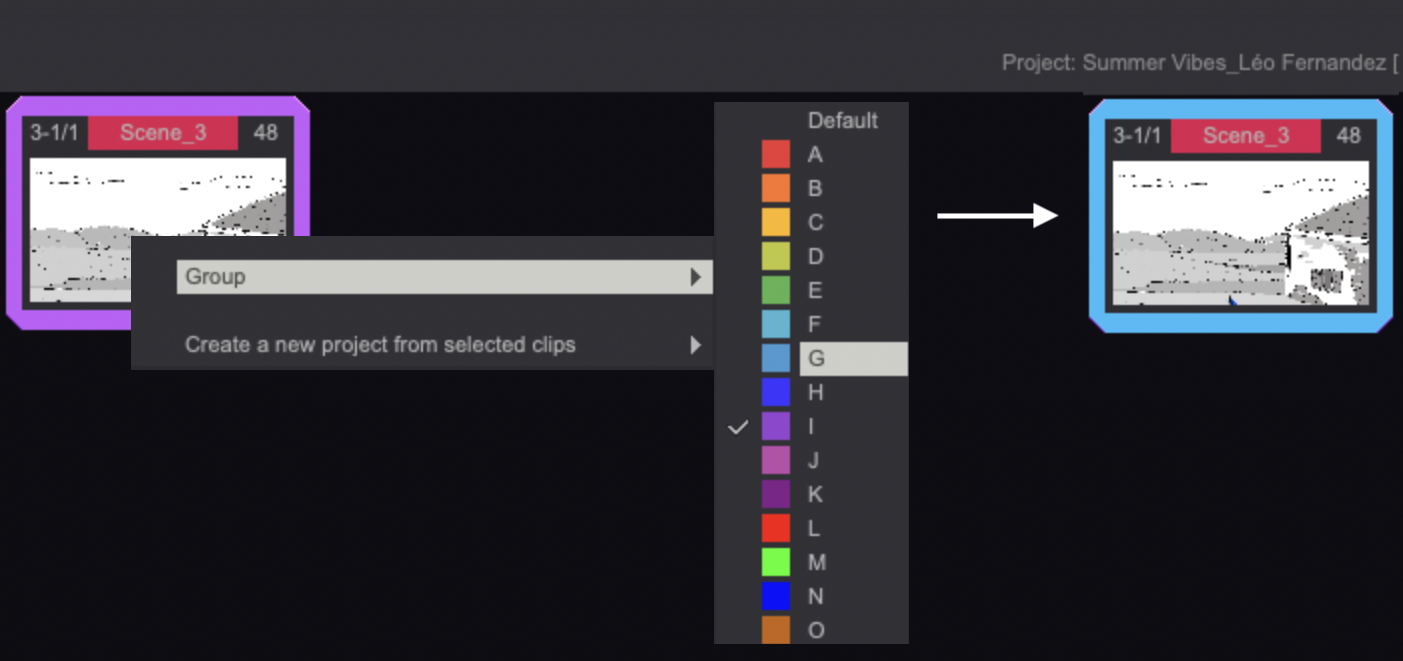
Right-clicking on a Clip's thumbnail gives you access to a contexctual menu allowing you to select all Clips from the same Color Group at once.
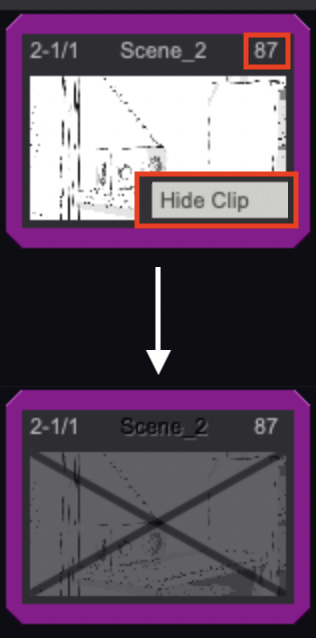
Hide a Clip
Sometimes, a Clip or Scene can be deleted from a movie, or can have several versions. In such cases, you may prefer to hide the Clip / Scene instead of deleting it. To hide a Clip / Scene, right-click on its thumbnail and select the Hide Clip option. You can also left-click on the top-right corner of the Clip's thumbnail to achieve the same result.
Move a Clip
Left-click and hold on a Clip's name to move it where you want. If you select and move a Clip contained in a Scene, the Clip will turn into a new Scene containing one Clip. If you move it from a Scene to another Scene, it will adapt consequently. You can also put it on top of another Clip to turn the two into a Scene:
Change your Storyboard's Display Mode (Views)
The Storyboard Panel gives you access to several *Storyboard Display Modes or Views:
The first Storyboard Display Mode is the Thumbnail View , which has been featured in our examples so far.
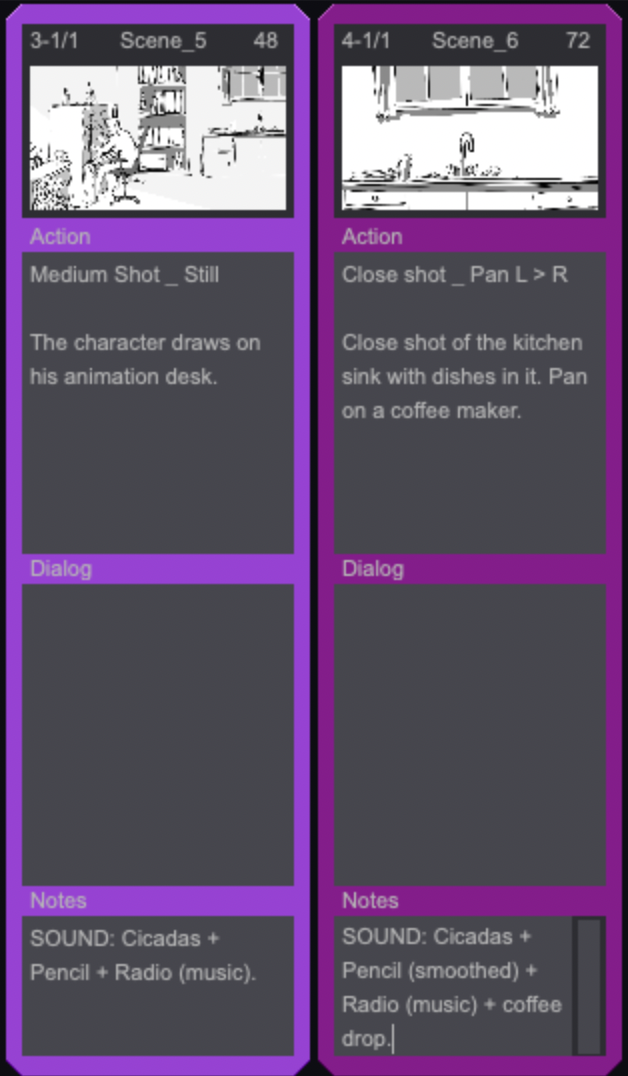
The second Display Mode is the Column View and the third one, the Row View. Both of these Modes allow you to add written information to your Storyboard in the dedicated Action, Dialog and Notes text fields. You can Copy, Paste, Cut text in those fields through the usual system shortcuts (Ctrl / Cmd + C ; Ctrl / Cmd + V ; Ctrl / Cmd + X...) or through a right-click. Here is a screenshot of the Column View:
The fourth Mode is the Timeline View which is used to display your Storyboard as an Animatic:

Finally, you can click on the Camera View button ![]() located in your Project’s Playback Bar so that the Camera View is shown on the Clips' thumbnails instead of your Canvas.
located in your Project’s Playback Bar so that the Camera View is shown on the Clips' thumbnails instead of your Canvas.