Working with several layers
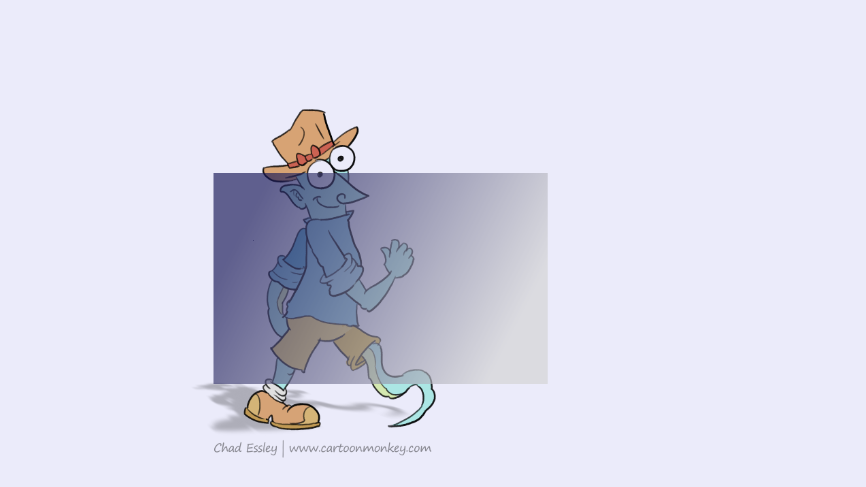
Let's resume our work with the character we have been using throughout this section of the manual. Once you have created a new layer, draw a blue rectangle at the center of the new layer's image using the Filled Rectangle shape, in Color Drawing Mode (Smooth at 0.00, Opacity at 100%):
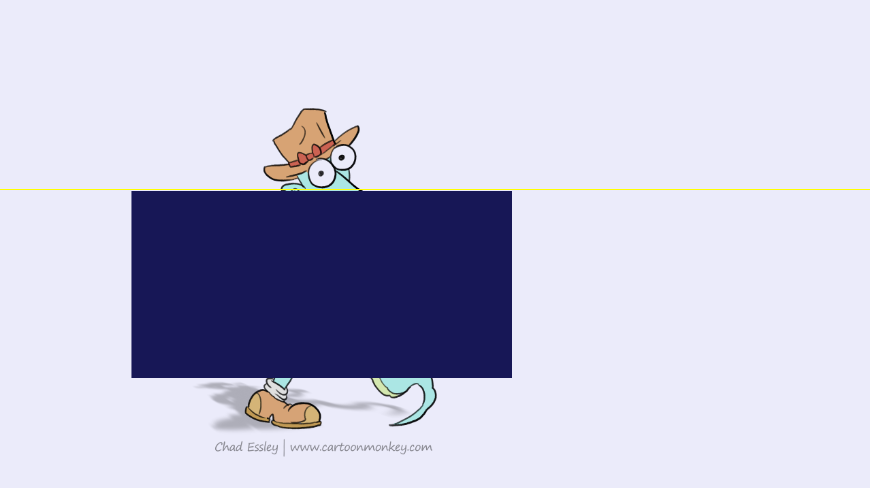
You can also use the Gradient option if you prefer:
The rectangle seems to cover part of the character. When looking at the layers' thumbnails in the Timeline, we see that the rectangle and the character are drawn on two different layers:
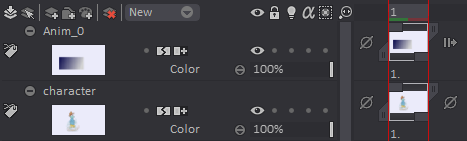
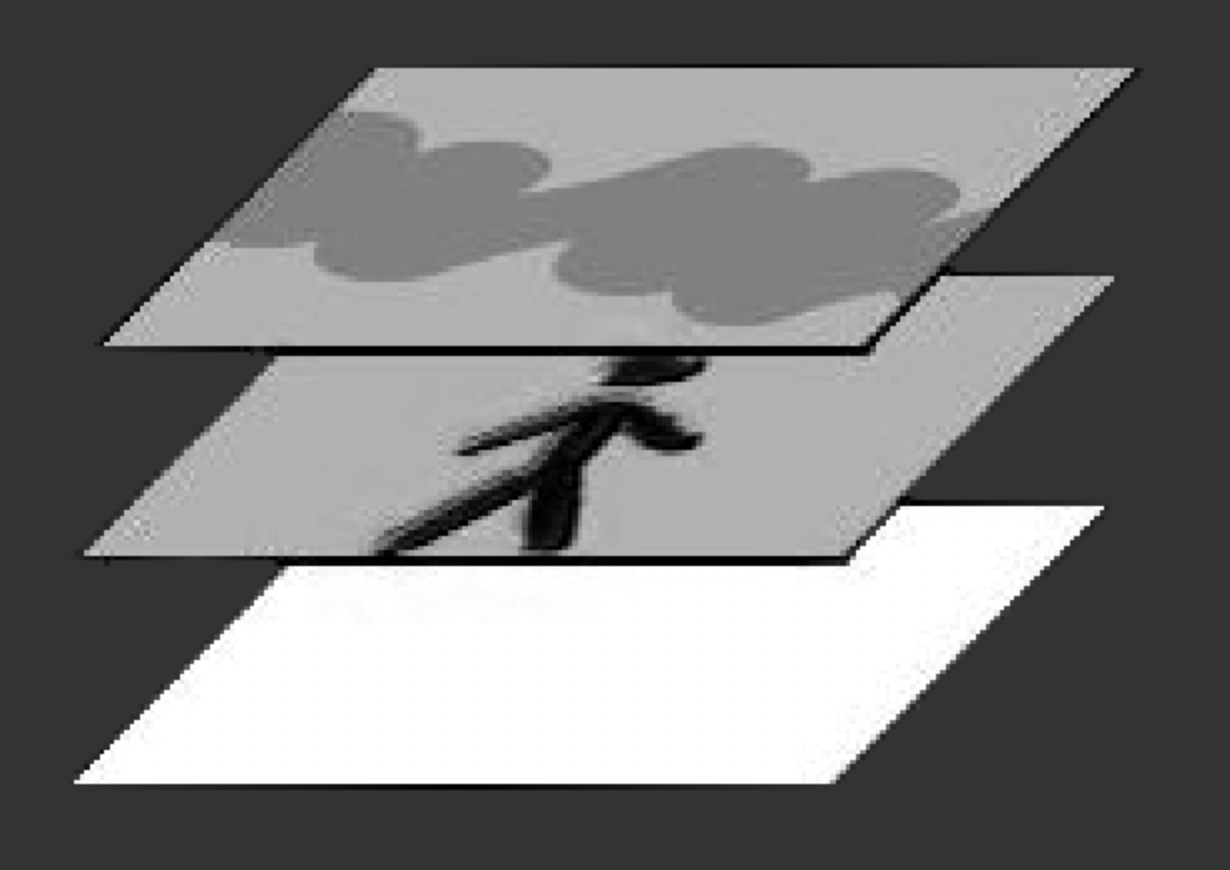
We have thus overlaid two layers on our white background, as illustrated in the diagram below:
The rectangle therefore does not delete the character. If you use the same tool in Erase drawing mode on the same rectangle, you will notice that the character will reappear!
There are several ways to mix the colors of overlaid layers which we'll review in later sections of this manual.
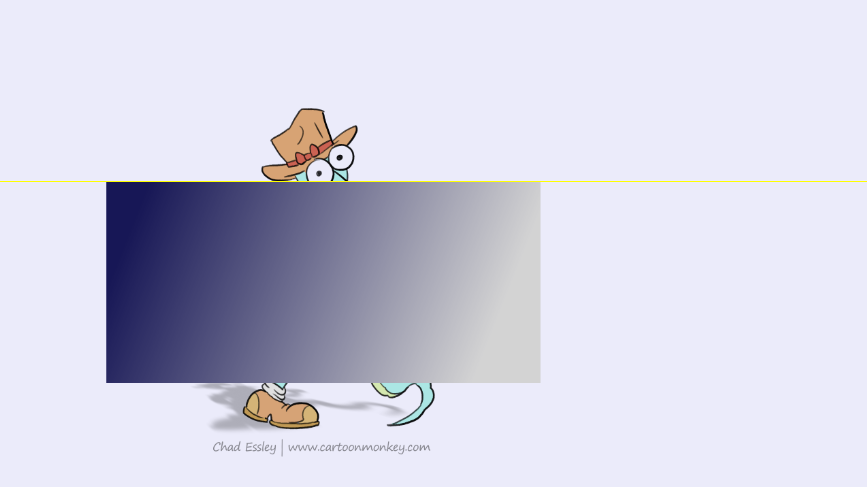
You can also play with the gradient's opacity levels to create another effect: