Image
The Image Guides allow you to display image references into the Project Window. Like the other Guides, images imported as an Image Guide will not appear when exporting your project.
Specificities
Note that you will not be able to copy, paste or select part of an image acting as a Guide.
Closing an Image Guide will delete it. Should you close a Project without closing an Image Guide, it will be present when opening your project after saving it.
Creating and setting an Image Guide
Selecting this Guide type will open an Import Window allowing you to:
- Import an image file from your file browser by clicking on the 'Browse' button and then the 'OK' button.

- Import an image file from the Image Library, which is only available to TVPaint Professional users.
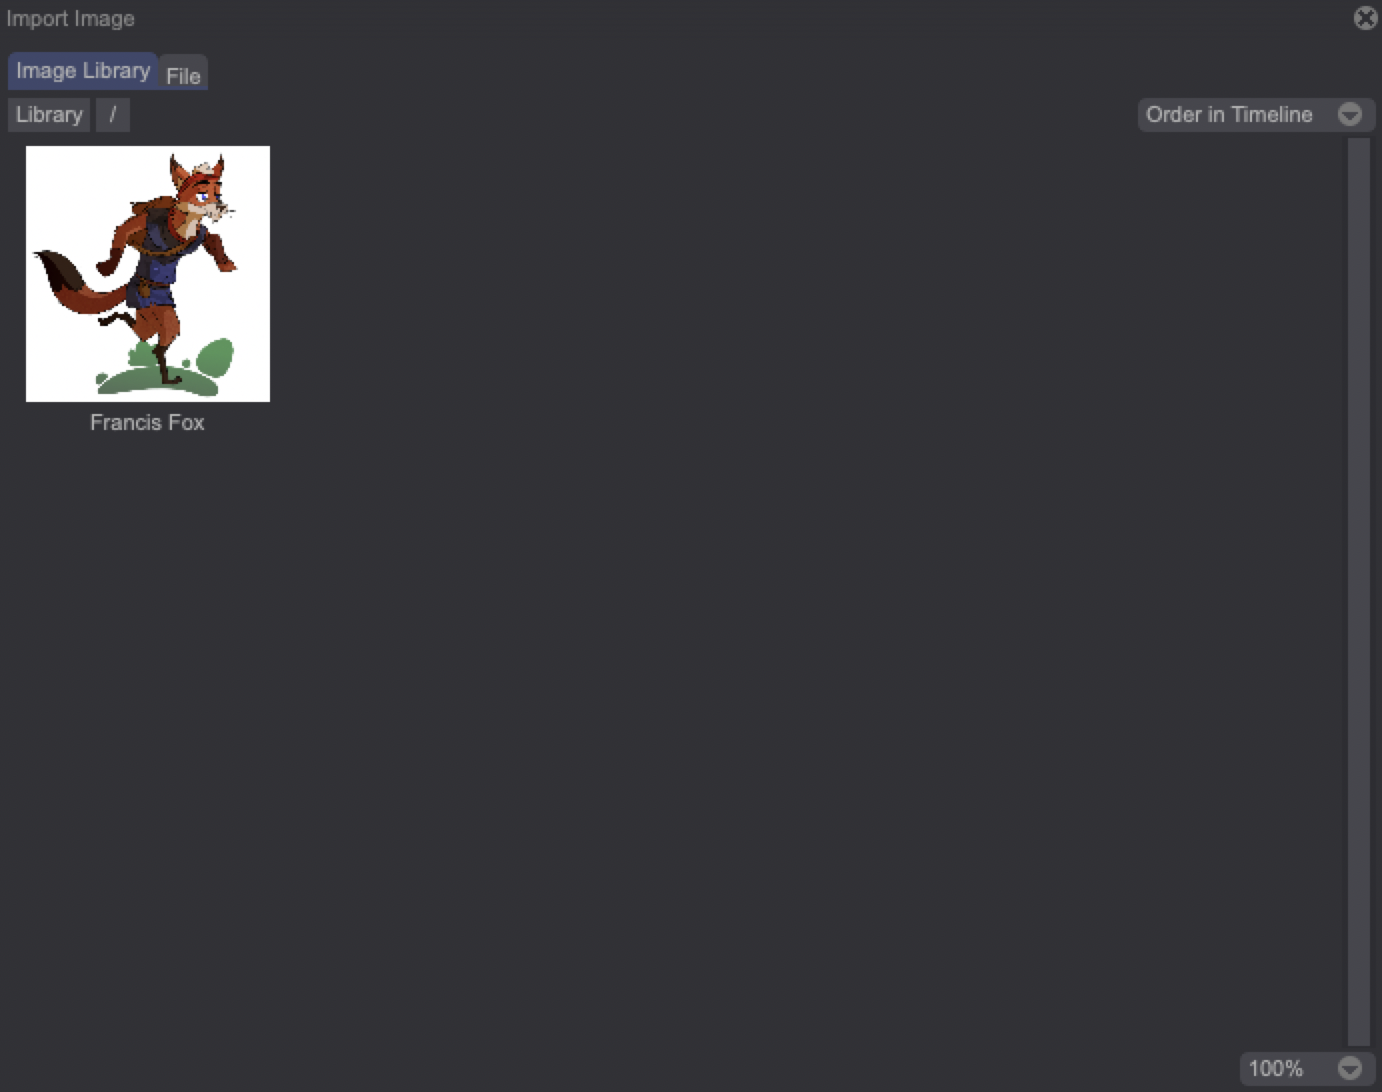
Double-clicking on any of the images from the Library will load it on your Canvas. The selected image will appear framed in blue, meaning you can move it around and resize or rotate it using the dedicated handles:
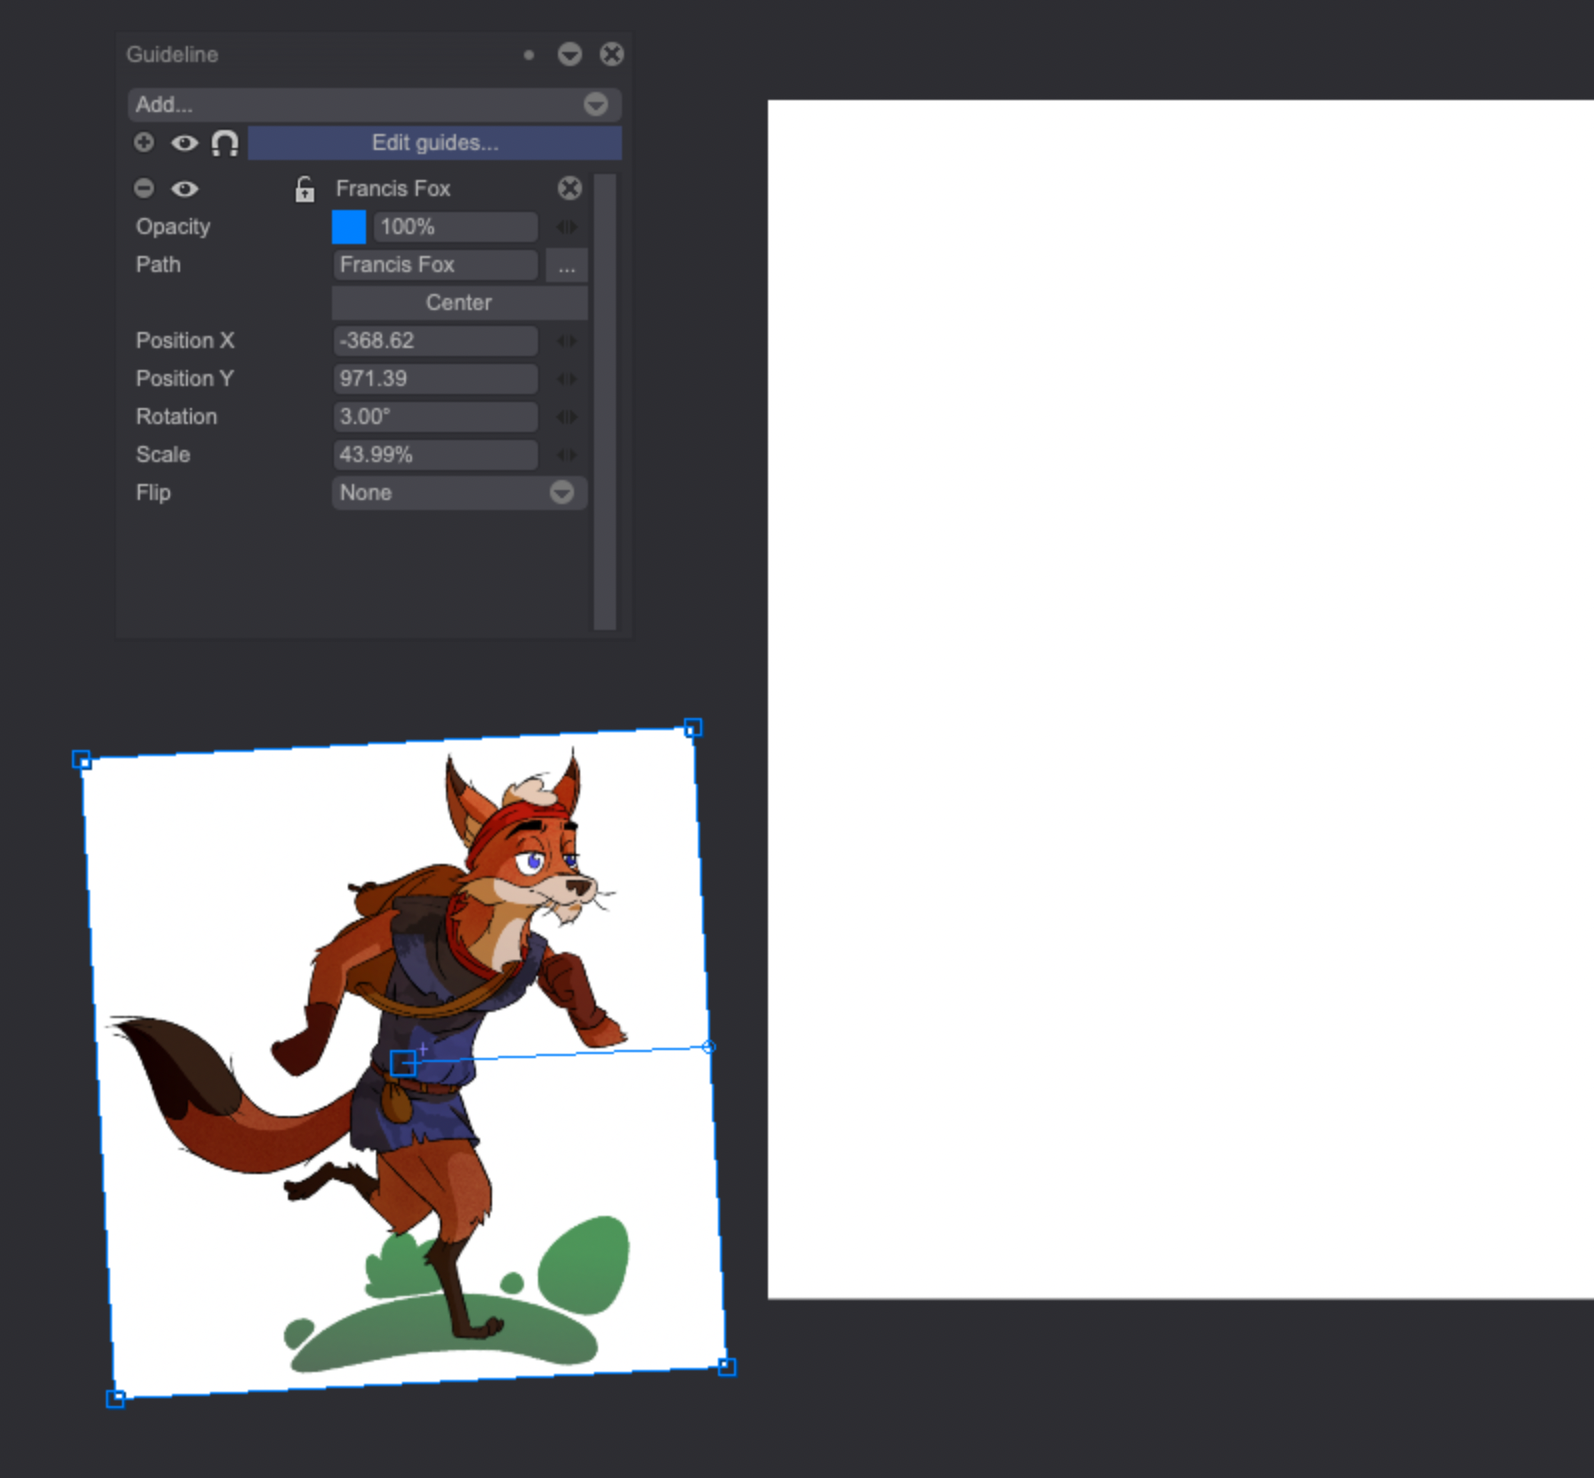
The Guidelines panel will then allow you to change its settings:
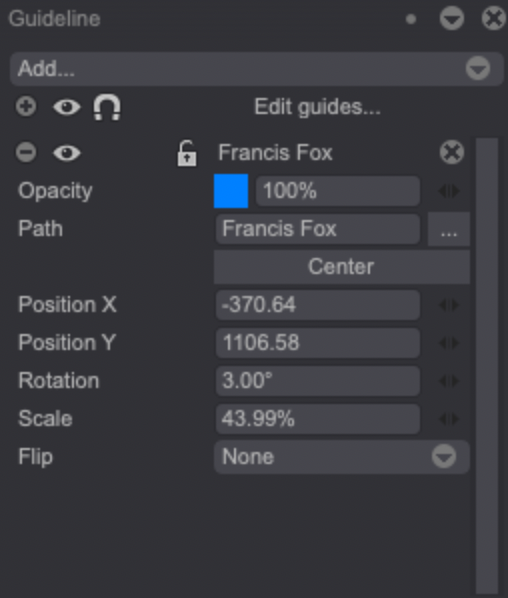
The Eye, Magnet, Lock and Opacity functions have been covered in the previous, Overview section.
- The Path label gives you information about the name of your image and its location. Clicking on the three dots icon will open the Library or your File Browser. Selecting another image there will replace the original one.
- The Center button will center your Image Guide on the Canvas.
- Change the value of the Position X, Position Y, Rotation and Scale fields to modify the position and dimensions of the Image Guide. You can also change these settings using the mini-sliders on the right.
- Clicking on the Flip drop-down menu will give you access to several flipping options: None, Horizontal, Vertical, or Both axes.