Anim brushes
Anim Brushes are Custom Brushes made of several images which the brush engine loops through when drawing. Those kind of brushes have different uses:
- They are often used to create more complex brushes.
- You will notice that the Right Drawer Brush Panels' brushes are often Anim Brushes.
- They can also be used to animate faster.
- For example, you could save different mouth shapes as an Anim Brush and use the Stamp in Place button to quickly place mouth shapes on a character throughout your scene.
Anim Brush Creation
To create an Anim Brush:
- Select the images you want to use on your Timeline.
- Use on of the Cutting Tools to crop the part of your image you want to turn into the Anim Brush.
- You will be asked to confirm your want to cut the selection and turn it into an Anim Brush. Click on 'Yes'.
- Et voilà!You will have a new Anim Brush!
Here is a quick video showing the process:
Anim Brushes Settings
An Anim Brush can be tweaked using the regular Custom Brushes' settings (a list of all the settings is available here). Some options will especially be of useful when you are using an Anim Brush:
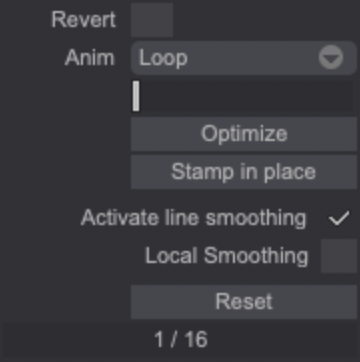
- When turned on, the Revert checkbox will reverse the Anim Brush's images application order.
- The Anim drop down menu will allow you to set the way the Anim Brush's images will be applied (looped, in random fashion etc.)
- As explained in the introduction, the Stamp In Place button can be used to stamp some of the Anim Brush's images. This can be very useful if you wish to recreate an animation from an Anim Brush or place mouth shapes you will have drawn beforehand.
- Finally, the label at the bottom of the Tool Panel will display the number of the image currently used by your Anim Brush.