Custom brushes
TVPaint allows users to create Custom Brushes very easily.
Doing so can be helpful to tailor your brushes to the task at hand and to develop a unique graphic style for your projects.
Brush Creation
Creating a Custom Brush is very easy:
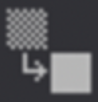
- Start by drawing what will be your future brush's tip (or import an image) on the Canvas.
- Then, use one of the Cutting Tools to turn your drawing into a new brush.
- Voilà, you have a new brush in your arsenal!
- You can now tweak its parameters to your liking.
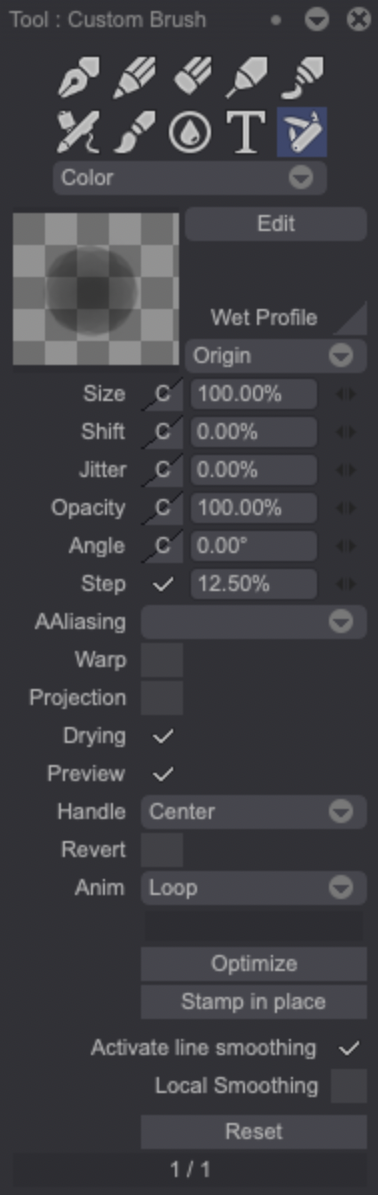
Custom Brush Editing
Once you have created a new Custom Brush, you will be able to edit its tip by opening the Edit Brush panel.
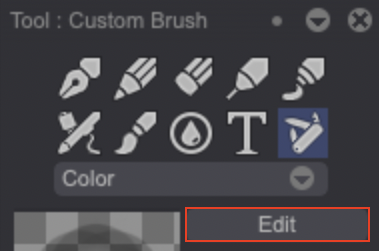
Click on the Edit button located on the Tool Panel to do so:
This will open the Edit Panel:
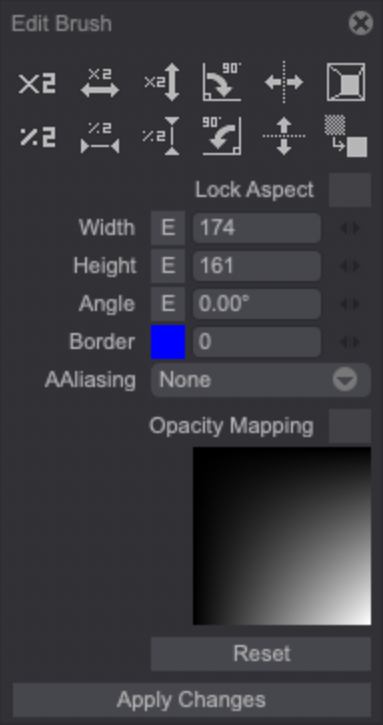
- Several shortcut icons will let you:
- Resize the brush tip:
 ,
,
 ,
,
 ,
,
 ,
,
 ,
,
 .
. - Rotate the brush tip:
 ,
,
 .
. - Flip the brush tip:
 ,
,
 .
.
- Resize the brush tip:
- The
 icon allows you to Optimize the brush tip (which means removing the brush tip's surrounding transparent areas).
 - The
 icon lets you replace transparent areas with the B Color and vice versa.
 - You can also manually change the brush's tip Width and Height using the dedicated fields while checking the Lock Aspect box if you want the brush's tip aspect ratio to be preserved.
- You can change the brush tip's Angle.
- Add a Border to the brush tip. The color can be selected by clicking on the colored square: it will turn your cursor into a color picker which will allow you to choose a new color.
Click on the "E" buttons to edit the brush tip manually on your canvas.
- You can choose to apply an antialiasing filter to the brush tip when you resize it or modify its angle by using the AAliasing drop down menu. Several algorithms are available depending on your needs.
- You can change your brush tip's Opacity Mapping and set the opacity curve by clicking on the opacity gradient thumbnail.
All changes must be saved by clicking on the Apply Changes button located at the bottom of the Edit Brush panel.
Stamp Modes
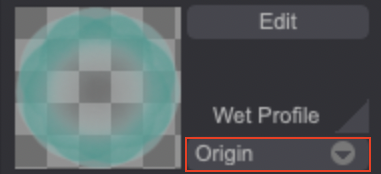
Stamp Modes refer to the way TVPaint's brush engine will handle your Custom Brush (especially regarding colors). You can choose between several modes by clicking on the Origin drop down menu:
Here is a table explaining what the different modes do, along with examples:
| Stamp Mode | Description | Examples |
|---|---|---|
| Origin | Keeps the original brush tip image you have cut. | 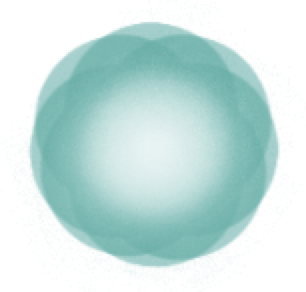 |
| Alpha | The brush will be colored with the A Color according to the original brush's opacity values. | 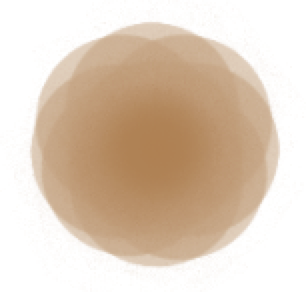 |
| Alpha Max | Like the Alpha mode but with a twist. The maximum opacity level of the original brush's pixels will be used as a limit not to be exceeded while drawing. The examples show a three strokes made at the same spot with the same brush in Alpha mode (1) and in Alpha Max mode (2). | 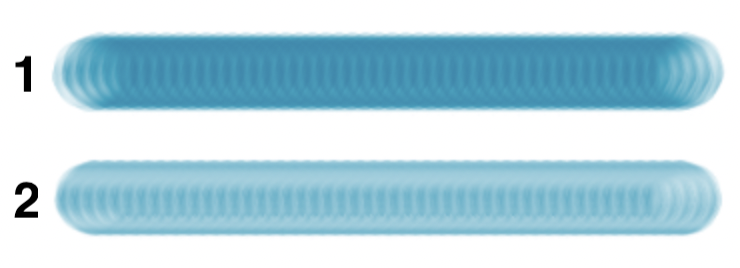 |
| Luma | The brush will be colored using the A and B Colors according to the pixel's luma values. The A Color will be applied on bright pixels while the B Color will be applied on dark pixels. | 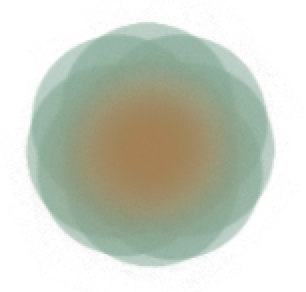 |
| Luma Invert | This mode works like the Luma one but inverts the application of the A and B Colors. | 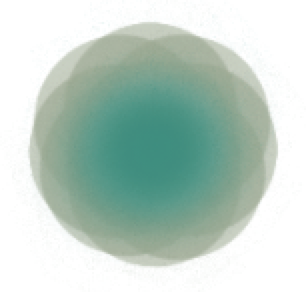 |
| Hue | The brush will be colored using the A Color while taking the pixels' luminosity into account. | 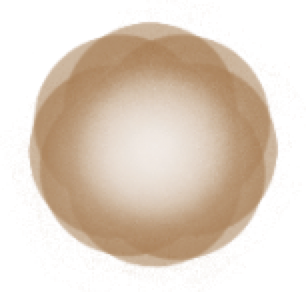 |
| Smear | Like the Alpha mode but will smear your brush's pixels onto the current image's. | 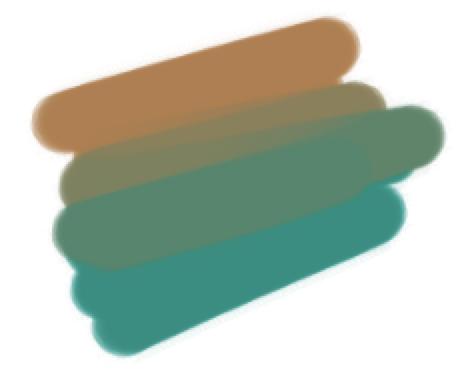 |
| Smear Source | This setting will smear your brush's pixels onto the Source's you will have defined through the Shape Settings panel. |  |
Wet Profile
The Wet profile parameter can be set to change the brush's opacity levels. It is especially useful to recreate watercolor effects.
The Wet parameter changes are only visible when the Alpha and Alpha Max Stamp Modes are being used.
Clicking on the ![]() icon will open an editor panel like a regular profile:
icon will open an editor panel like a regular profile:
- The Y axis manages the opacity level (bottom is 0%, top is 100%).
- The X axis manages the part of the brush affected by the opacity level (left is closer to the brush tip's edges while right is closer to its center).
Here is an example of two different settings and how the affect the brush tip:
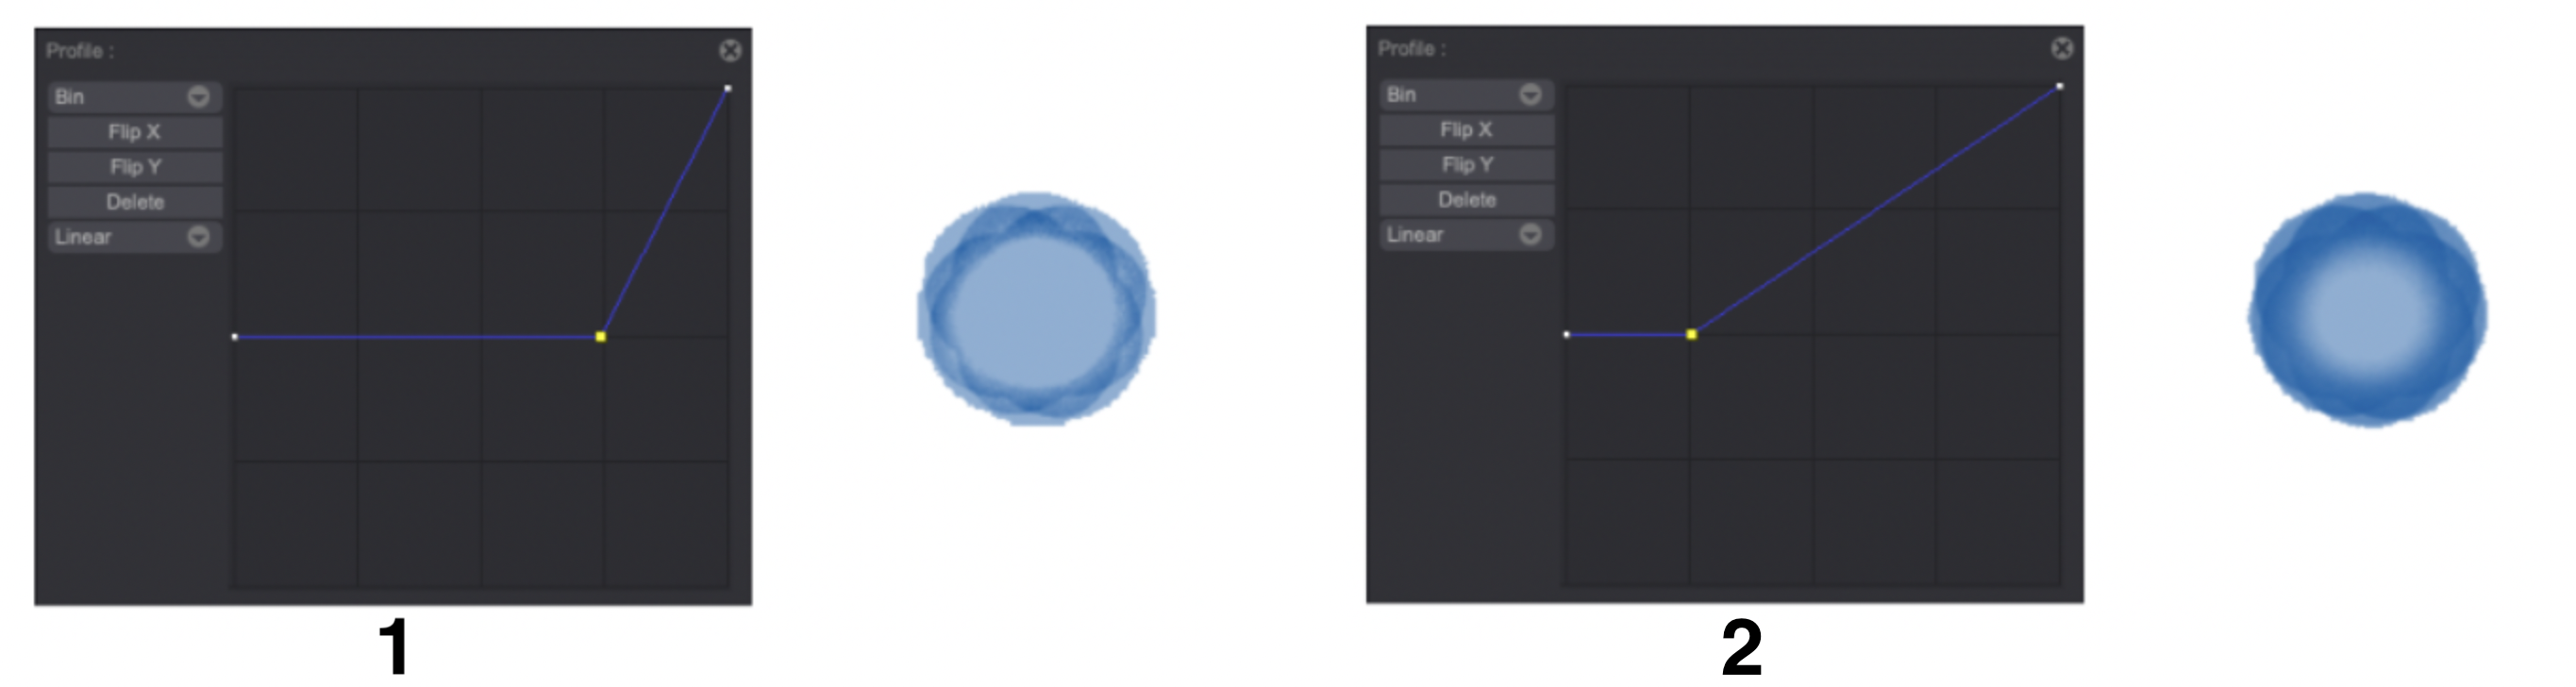
You can see how the brush tip edges' opacity levels are lower on example 1 while they are higher on example 2.
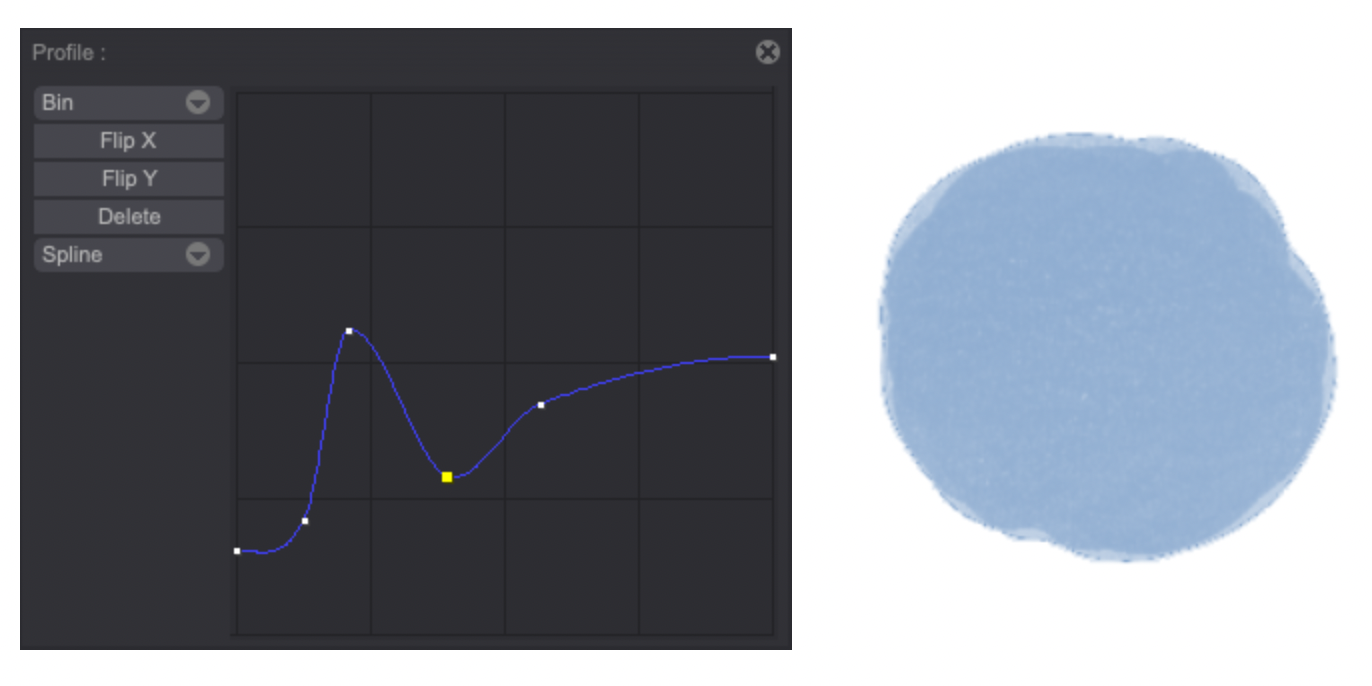
Playing with the Wet profile can completely change a brush, as you can see in the example below, which used the same brush tip as in the previous examples:
Other settings
Custom Brushes have many settings compared to basic brushes.
All those parameters are explained with examples in the Settings Cheat Sheet page.