Drawing Modes Cheat Sheet
Here is an exhaustive list of the available Drawing Modes along with some examples. Some of those modes are explained in greater detail under the list.
| Drawing Mode | Description | Examples |
|---|---|---|
| Color | The default Drawing Mode. Colors will be applied over the existing drawings on your canvas. | 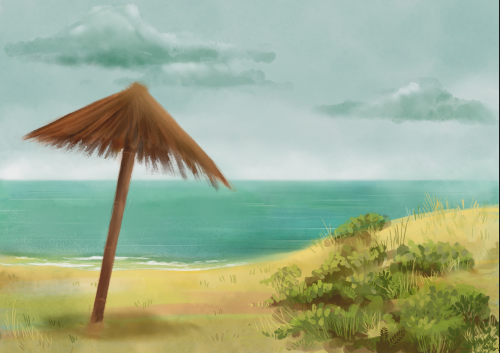 |
| Behind | Colors will be applied behind existing drawings (only transparent pixels will be affected). |  |
| Erase | Turns the current tool into an eraser. |  |
| Panto | This mode can be used to redraw parts of the current image. Detailed explanations are available below. | 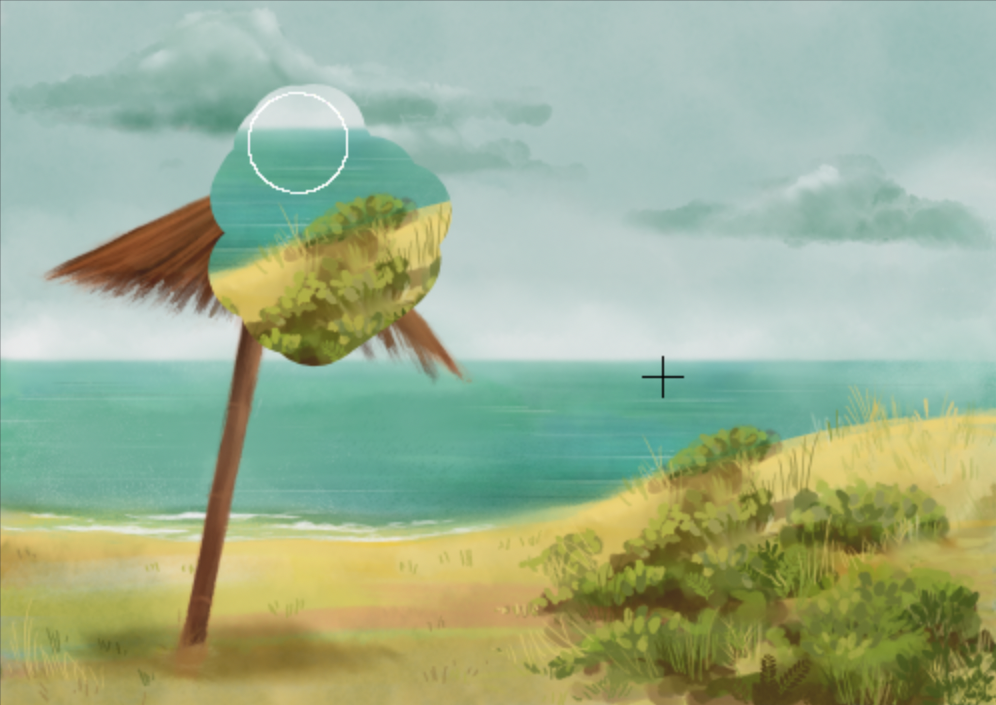 |
| Merge | This mode is only available once a Spare image has been defined. Using a tool set to Merge will allow you to reveal areas of the Spare image and merge them with your current image. | 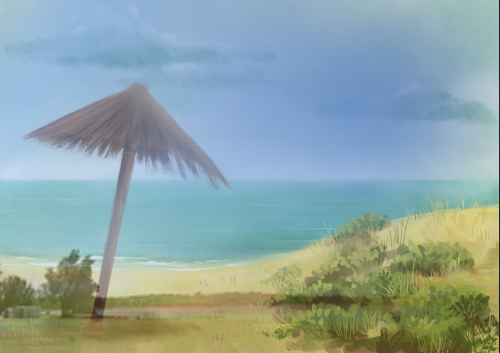 |
| Shade | Your tool will darken your images' opaque pixels. The higher the Power and Opacity levels are, the darker the pixels will become when using this mode. |  |
| Light | Your tool will brighten your images' opaque pixels. The higher the Power and Opacity levels are, the brighter the pixels will become when using this mode. | 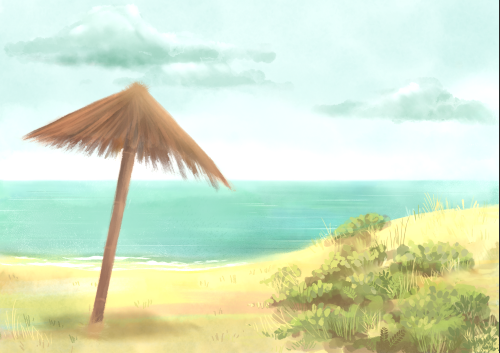 |
| Colorize | Adds the A Color while preserving the image pixels' luminosity. Red was used as the A Color in the example image. | 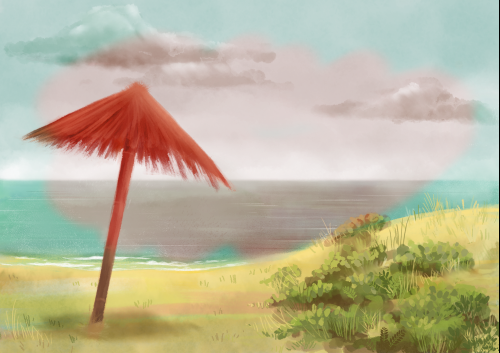 |
| Tint | Adds the A Color while preserving the image pixel's saturation and luminosity. The color change will be less pronounced on pixels with low saturation (pixels close to white, gray or black). Red was used as the A Color in the example image. | 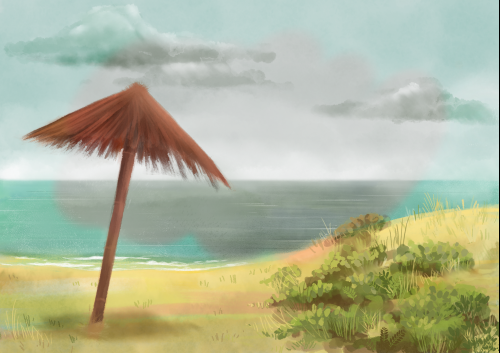 |
| Grain | Adds multicolored grains to the current image. This creates a texture mimcking film grain. The intensity of the effect depends on your Power and Opacity settings. Gray was used as the A Color in the example image. | 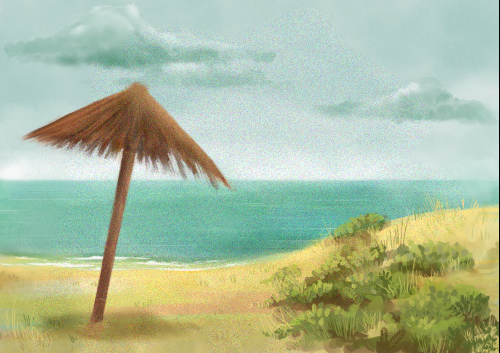 |
| Smooth | Attenuates the edges of an image's elements and adds a blur effect. | 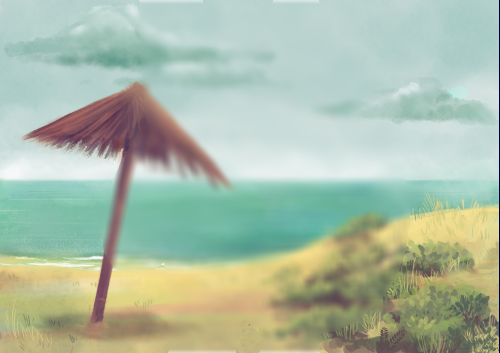 |
| Noise | Adds single-color grains to the current image. The intensity of the effect depends on your Power and Opacity settings. Purple was used as the A Color in the example image. | 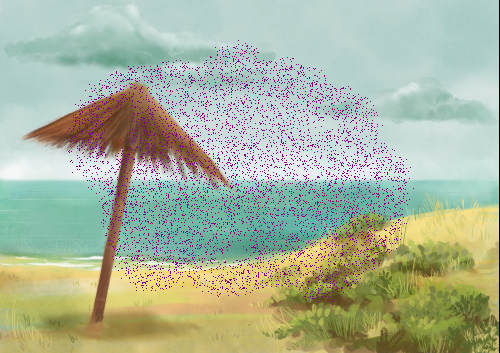 |
| Negative | Inverts the image pixels' values (yellow turns blue, white turns black etc.) | 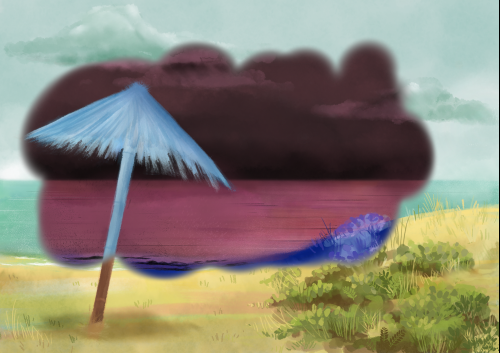 |
| Sharp | Emphasizes the edges of an image's elements. | 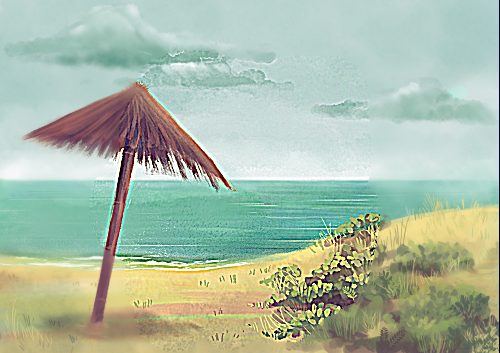 |
| Emboss | Emphasizes the edges of an image's elements by adding shadows. |  |
| Solarize | Mimicks photo solarization by blending a negative of the source image with the source image itself. | 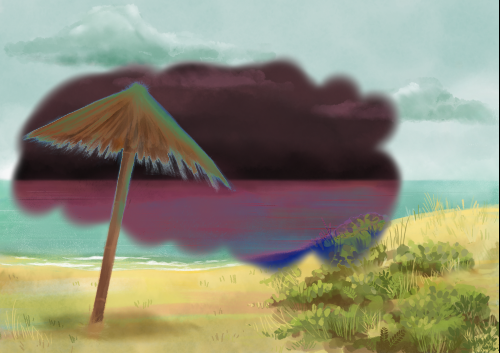 |
| Saturate | Increases pixel saturation. The intensity of the effect depends on your Power and Opacity settings. | 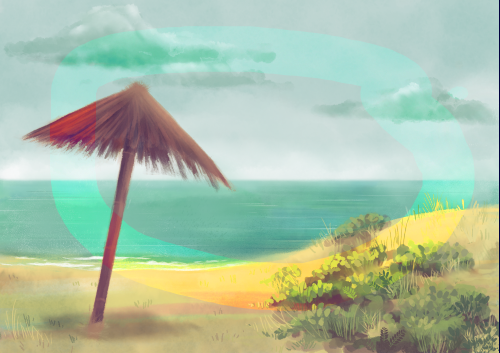 |
| Unsaturate | Decreases pixel saturation. The intensity of the effect depends on your Power and Opacity settings. | 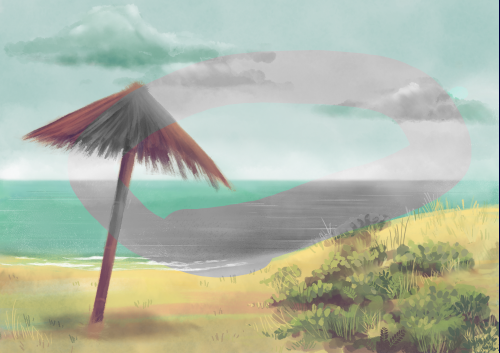 |
| Add | Adds the A Color's RGBA values to the RGBA values of the source image's pixels. Purple was used as the A Color in the example image. | 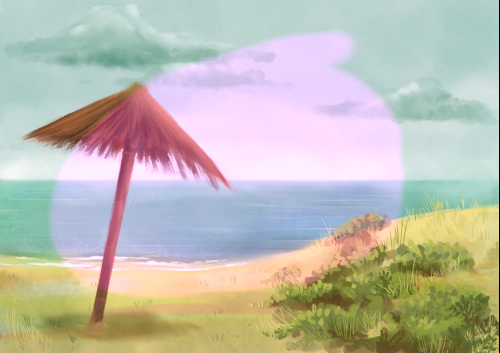 |
| Sub | Substracts the A Color's RGBA values to the RGBA values of the source image's pixels. Purple was used as the A Color in the example image. | 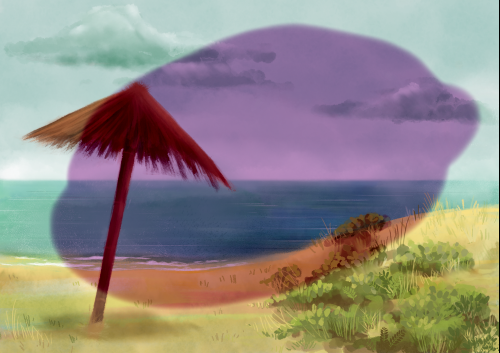 |
| Multiply | Multiplies the individual values of the RGB channels of the source image's pixels with the sum of the A Color's RGB values. | 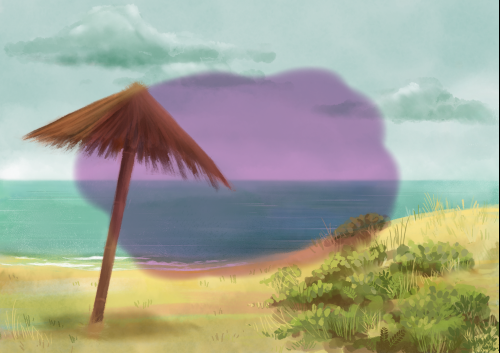 |
| Screen | Same as the Multiply mode but inverts the results. | 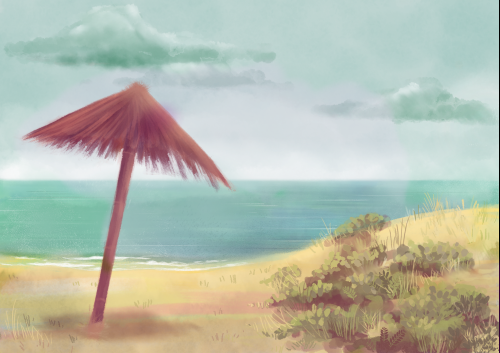 |
| Alpha Diff | Changes the current image pixels' colors by comparing their alpha value with the current tool's. Detailed explanations are available below. | See examples below the table. |
| Healing | Allows you to retouch images. Detailed explanations are available below. | See examples below the table. |
| Burn | Decreases the image exposure. | 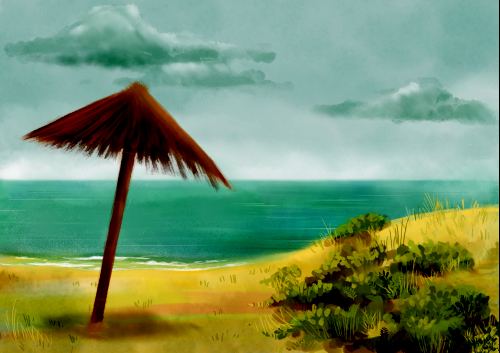 |
| Dodge | Increases the image exposure. |  |
| Darken Only | Darkens only the image pixels which are brighter than the A Color. Dark Blue was used as the A Color in the example image. |  |
| Lighten Only | Brightens only the image pixels which are darker than the A Color. Dark Blue was used as the A Color in the example image. |  |
| B Color To A Color | To use this mode, you will have to: -Draw something with the A Color using the Color mode. -Switch to the A and B Colors, so the B Color becomes the new A Color. -Select the B Color To A Color mode. -Draw over the areas drawn using the previous A Color. | No example. |
The Panto Mode
The Panto mode can be used to redraw parts of the current image.
It relies on the setting of X and Y offset values from your cursor's coordinates to create a second cursor. The image content at this second cursor's location will then turn into source material for your current tool:
Here are the steps to follow to correctly use this mode:
- Open the Shape Settings panel either by:
- Right-clicking on the Stroke Shape from the Main Panel
- Accessing the Windows > Drawing > Shape Settings menu item.
- Set the X and Y Panto values either by:
- Changing their values in their respective fields
- Using the Set button to define the second cursor's offset by clicking, holding and dragging your pen to the desired location.
- Select a brush from the Tool Panel and set its mode to Panto: the second cursor will then appear.
- The image content at the second cursor's location will then be redrawn at the original cursor's position when using your pen on the canvas.
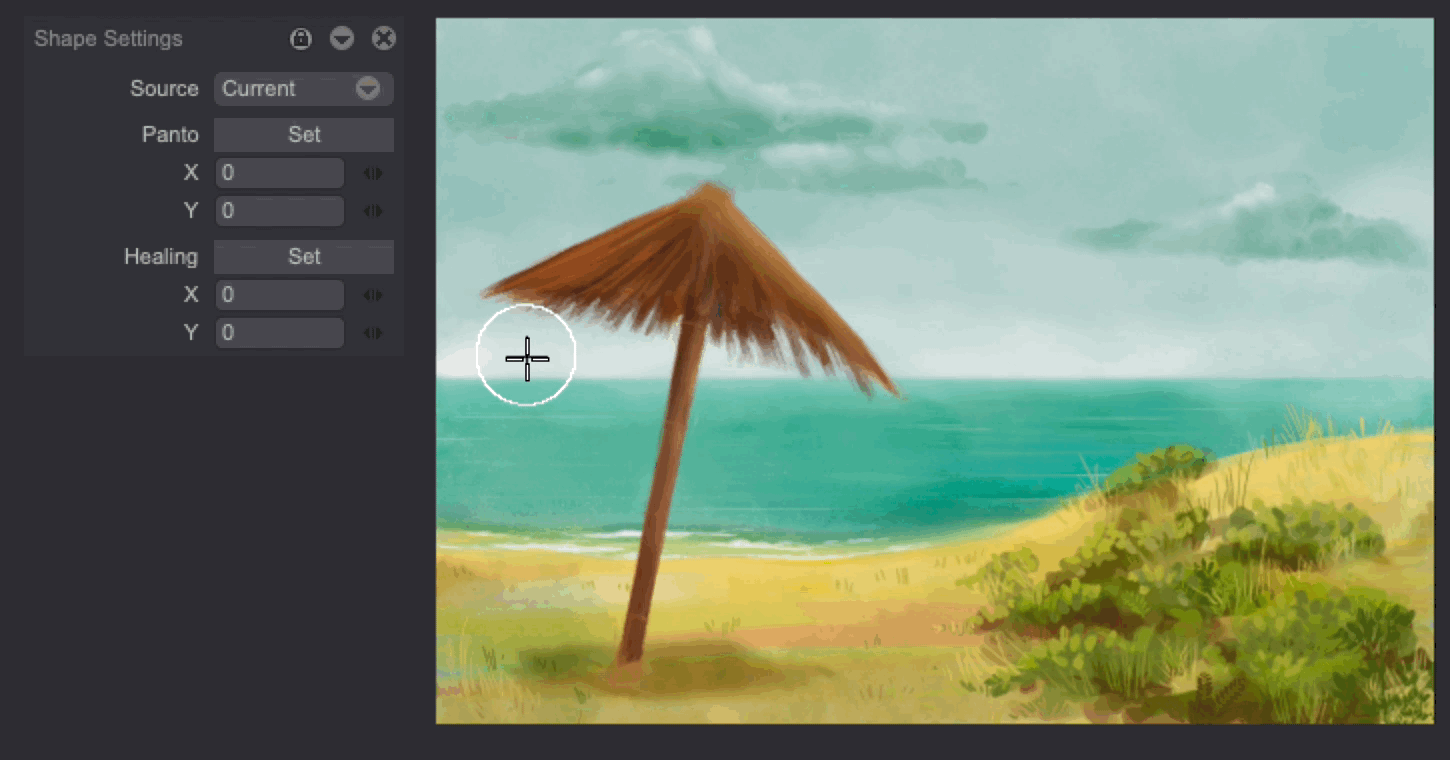
You can also click on the Source button to change the Panto. Source image. You will be able to set the source to the Current Image, the current layer's Previous and Next Images, the Current Display, the Selected Paper and the Spare Image.
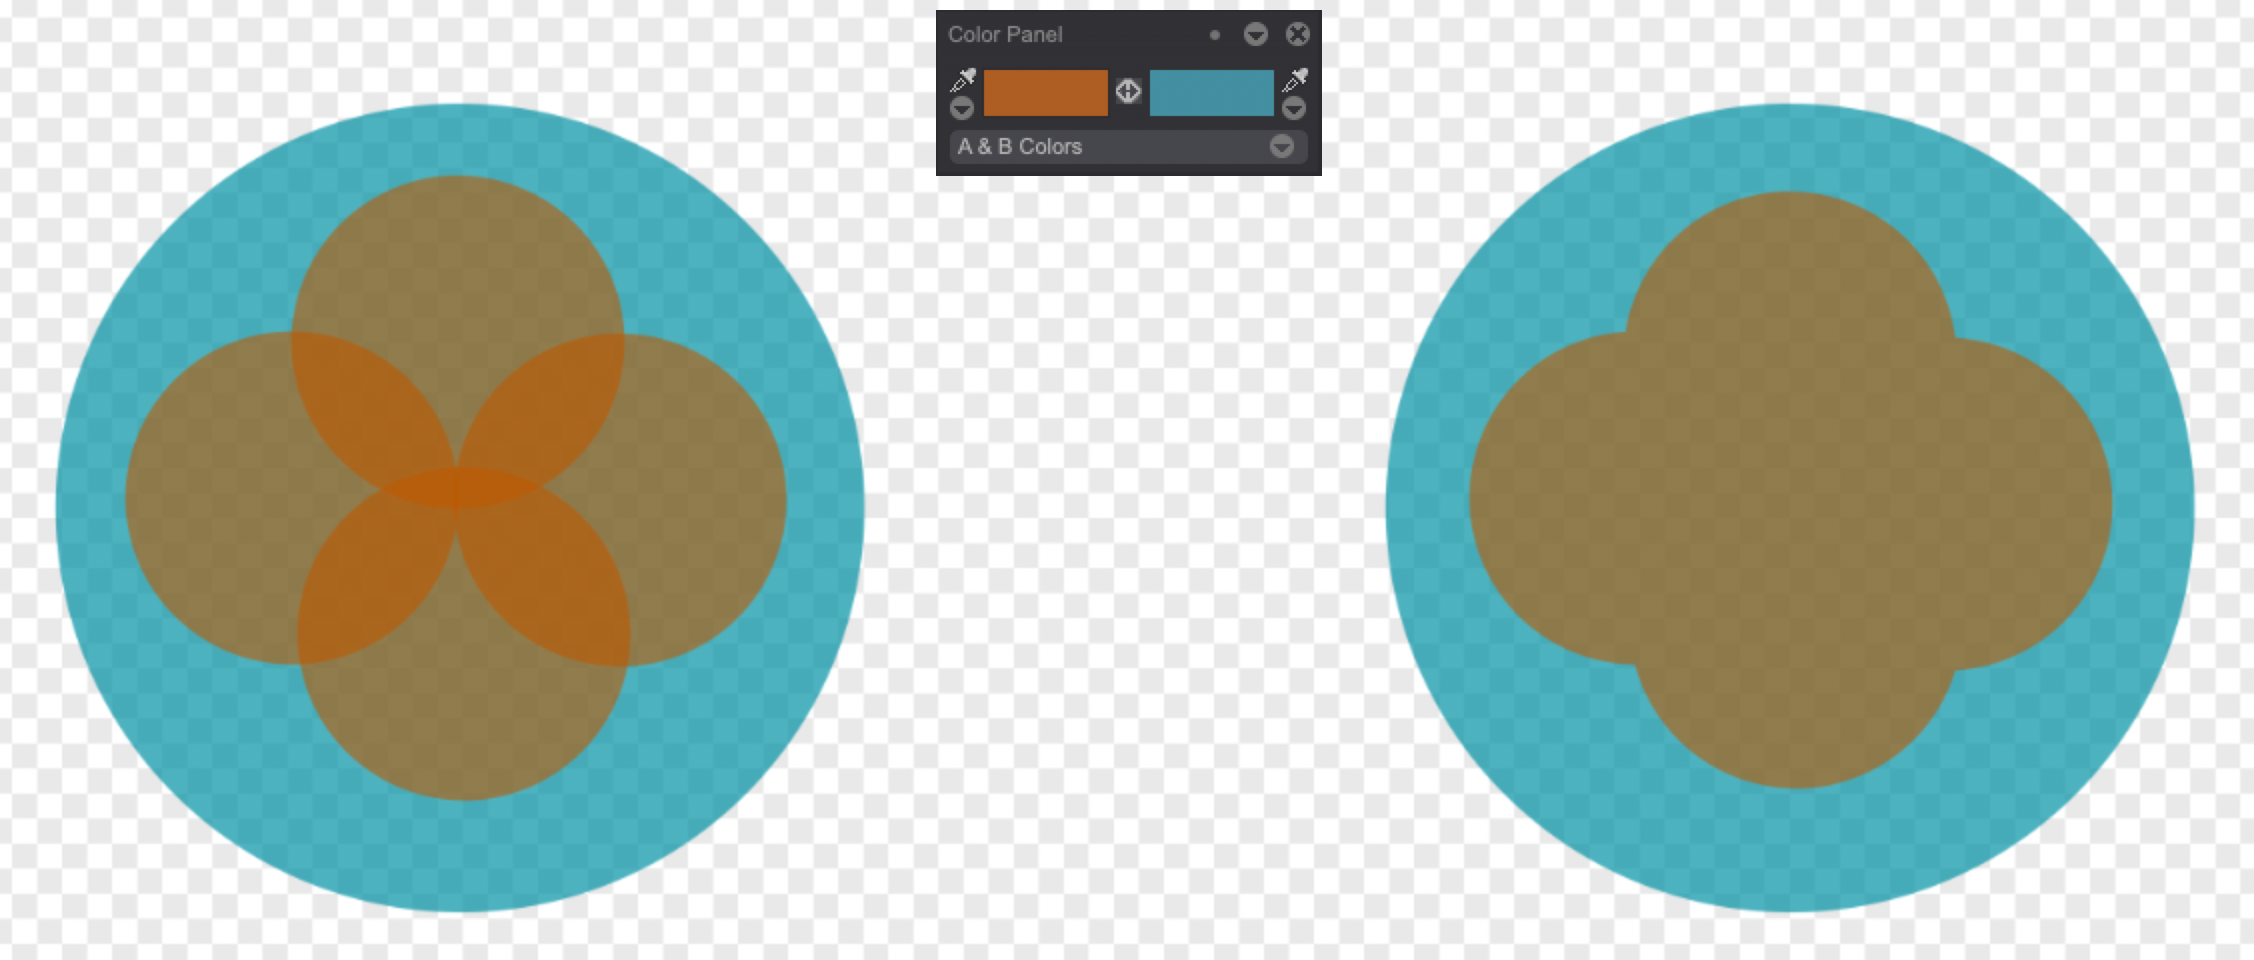
The Alpha Diff Mode
The Alpha Diff Mode changes the current image pixels' colors by comparing their alpha value with the current tool's:
- Pixels with an inferior alpha value will have their color replaced with the current tool's.
- Pixels with a superior alpha value will have their color blended with the current tool's.
Here is an example (the orange inner circles on the left circle were drawn using the Color mode, whereas the orange inner circles on the right were drawn using the Alpha Diff mode):
The Healing Mode
The Healing Mode allows you to retouch images by replicating the texture and luminosity of a reference area, while preserving color data. It is especially useful if you want to remove small, unwanted objects from a picture.
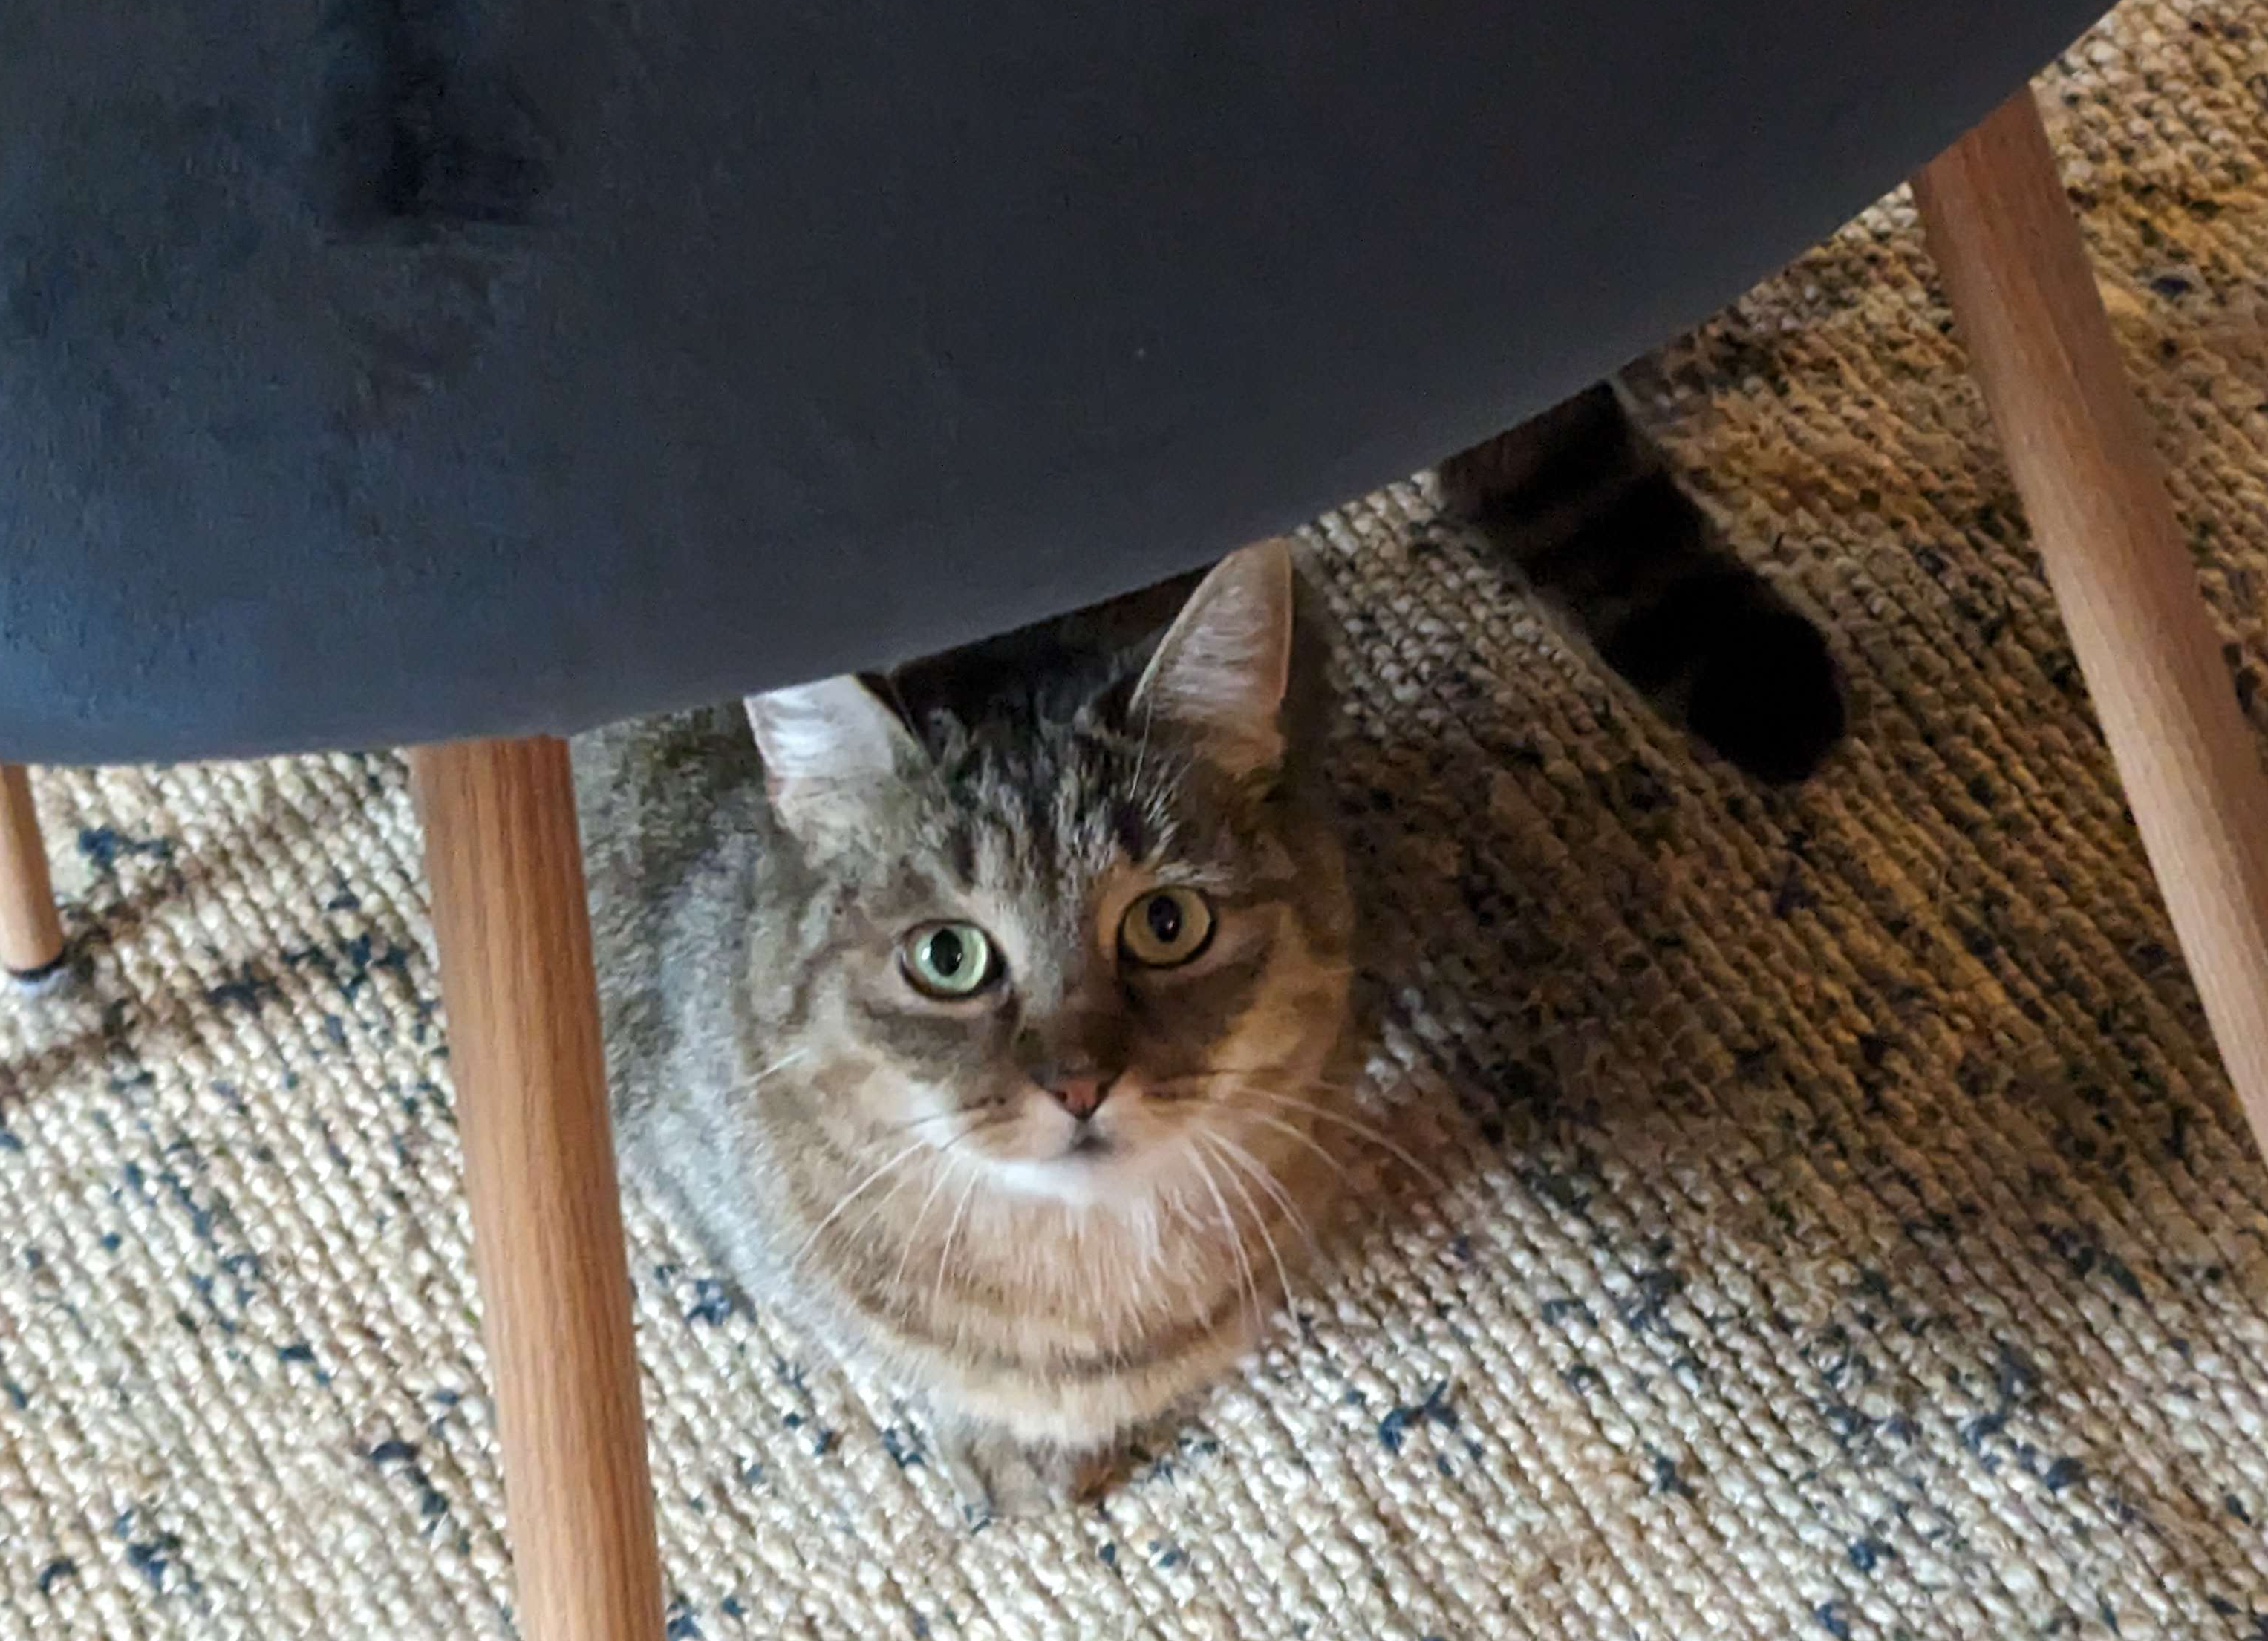
For example, let's say we want to remove this cat's (Griotte) tail from the picture below:
-
Open the Shape Settings either by:
- Right-clicking on the Stroke Shape from the Main Panel
- Accessing the Windows > Drawing > Shape Settings menu item.
-
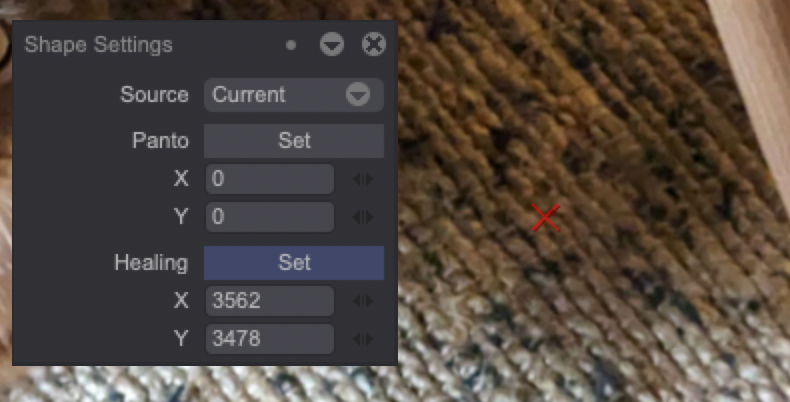
Set the X and Y Healing coordinates by either:
- Changing their values in their respective fields.
- Using the Set button to define the Healing Area by clicking on it.
You will then notice a red mark denoting the area which the Healing mode will replicate the texture and luminosity of:
-
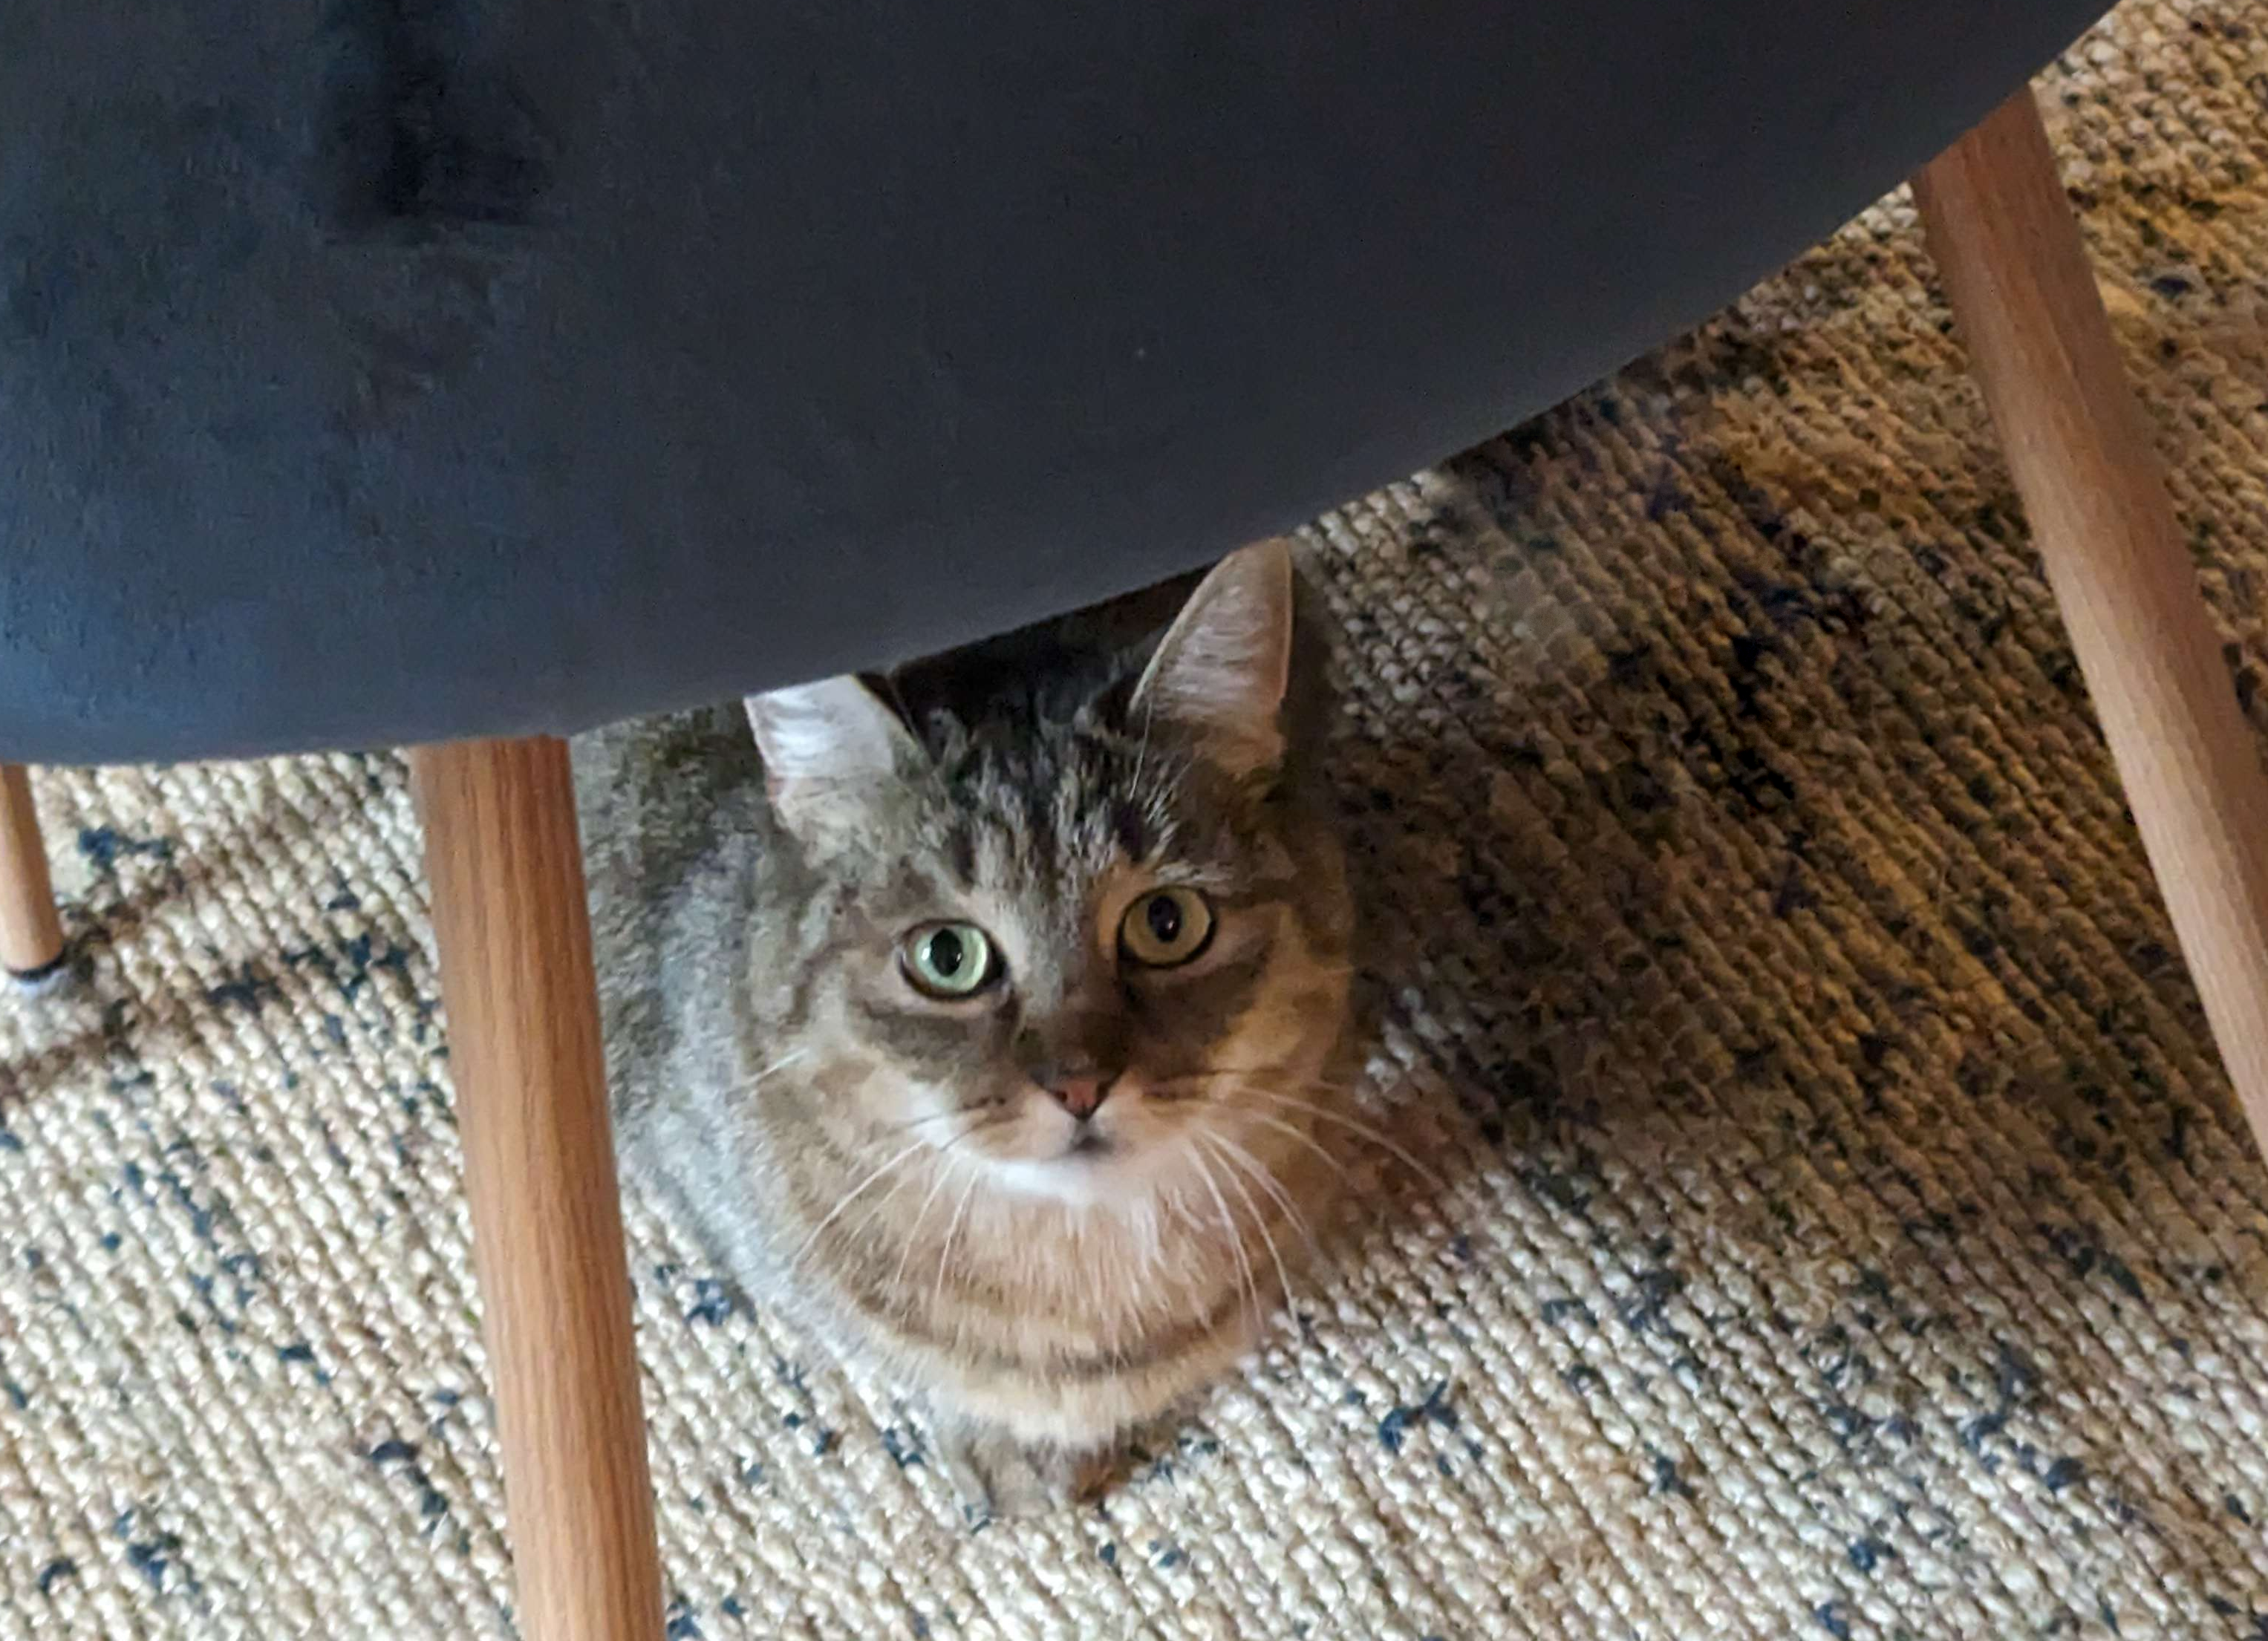
Switch your current tool to Healing Mode and draw on the area you wish to remove and replace with the Healing Area. Here is the final result:
You can also change set the Healing Mode Source to the Current Image (by default), the current layer's Previous and Next Images, the Current Display, the Selected Paper and the Spare Image. This can come in handy should you want to add elements from another image to your current image (instead of removing objects from a picture).